Lofting to Create a Smooth Surface
Apply the loft operation between curves, between surfaces or between an edge and face to create a smooth surface.
-
On the Construct tab, in the Extend
group, click the
 Loft icon.
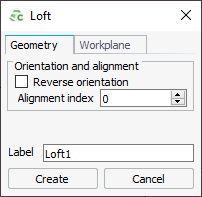
Figure 1. The Loft dialog.
To achieve a valid loft, it may be necessary to reverse the orientation of one of the profiles in the loft, so that the bounding edge matching is done in the opposite direction along the profile.
-
[Optional] Select the Reverse orientation check box to
reverse the orientation of one of the profiles in the loft.
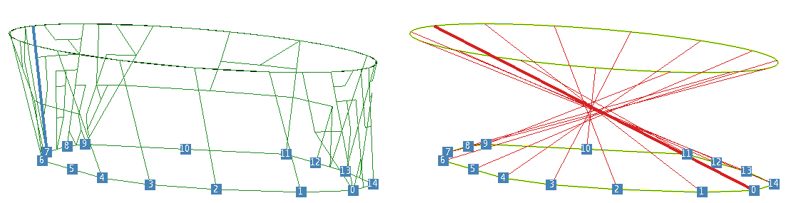
Figure 2. Loft preview showing a valid loft (on the left) and an invalid loft (to the right).
When lofting closed edges or faces, you can introduce twists or remove twists to change the relative alignment of the two profiles in the loft.