Adding Far Field Traces
Add a far field trace by searching and navigating the documentation. Customize the trace quantities and font sizes.
-
Look in the POSTFEKO GUI.
Note: The result palette displays an empty panel with the heading Traces.
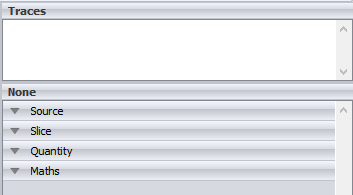
Figure 1. The Traces panel in the result palette. -
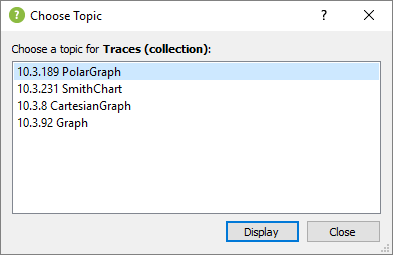
Double-click Traces (collection).
The Choose Topic dialog is displayed.
-
Double-click CartesianGraph.
Note: Traces are added to the ResultTraceCollection.

Figure 2. A snippet of theCartesianGraph object. -
Click the ResultTraceCollection hyperlink to obtain more
information regarding the ResultTraceCollection.
Note: You will use the :Add(result) method in the automation script.

Figure 3. Snippet of the Method list for the ResultTraceCollection topic. -
To change to dB, look in the POSTFEKO GUI
on the result palette.
Note: The dB check box resides under a group named Quantity. This provides a clue what to look for in the documentation.
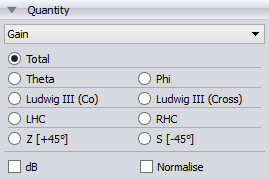
Figure 4. The Quantity panel in the result palette.Note: It is also possible to search for “dB” in the documentation although this search would yield multiple topics. -
Look for “quantity” in the integrated help. Double-click Quantity
(property).
This gives a number of topics.
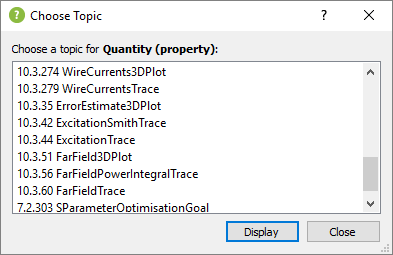
Figure 5. Topic list for the Quantity (property). -
Select the FarFieldTrace topic.
The property list for the FarFieldTrace (object) contains the .Quantity property.

Figure 6. A snippet of the FarFieldTrace object which shows the Quantity property. -
Click the FarFieldQuantity hyperlink.
The property list shows the Boolean property .ValuesScaledToDB.

Figure 7. A snippet of the FarFieldQuantity object which shows the .ValuesScaledToDB property. -
To change the Independent axis to
phi, Look for “axis” in the integrated help.
Select the FarFieldTrace topic.
Use the IndepentAxis property for the FarFieldTrace (object) which requires a string input.
my_farfield_trace.IndependentAxis = "phi"
Figure 8. A snippet of the FarFieldQuantity object which shows the .IndependentAxis property. -
To change the far field's Fixed axis to 30 degrees, look
for fixed in the integrated help. Select the FixedAxes
(property) topic.
Several traces have this property, therefore select the FarFieldTrace topic.

Figure 9. A snippet of the FarFieldQuantity object which shows the SetFixedAxisValue.Use the :SetFixedAxisValue(axis, value, unit)method under the Method list.my_farfield_trace:SetFixedAxisValue("theta",30,"deg")