Create a flare primitive to be used in the construction of the horn.
-
On the Construct tab, in the Create Solid group, click the
 Flare icon.
-
Create the flare using the Base centre, width, depth, height, top
width, top depth method.
Figure 1. The Create Flare dialog.
-
Specify the flare dimensions using one of the following workflows:
- Add the defined variables manually.
- Select a field on the Create Flare dialog
and use point-entry to enter the values.
Note: An active field allowing point-entry is indicated by a
yellow outline.Point-entry allows a variable or named points to be
entered by pressing Ctrl+Shift+left click on a
variable or named point in the model tree.
Use the following dimensions:
- Base centre (C): (0, 0, 0)
- Bottom width (Wb):
BottomWidth
- Bottom depth (Db):
BottomDepth
- Height (H):
-FlareLength
- Top width (Wt):
TopWidth
- Top depth (Dt):
TopDepth
Tip: Parametric models are the preferred construction method. A
parametric model updates automatically when updating a defined variable.
Alternatively, use values instead of defined variables.
-
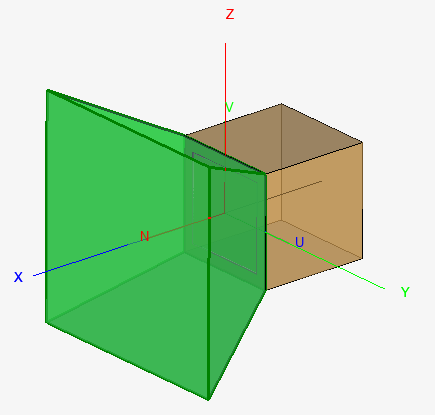
View the preview of the flare in the 3D view. Confirm that
the model looks correct.
Figure 2. The preview of the flare is indicated in green.
-
Click Create to create the flare and to close the
dialog.