HX Job Manager (HXJM) is a utility used for generating HX data decks in batch mode and for launching HX and RADIOSS solver on local/remote machines. HX Job Manager can help you to accomplish the following tasks:
| 1. | Run Extrusion Wizard in batch mode to create HX data decks: |
| b. | On a remote UNIX/Linux box |
| 2. | Launch HX/RADIOSS solver from your desktop: |
| 3. | Use PBS installed on a UNIX machine |
| 4. | Obtain the status of the runs and copy the files back from the remote server. |
In this release, HXJM uses putty tools and gzip to accomplish remote data transfer. These tool are not distributed with HW 14.0 and have to be downloaded by you. These are freeware and can be readily downloaded from the internet.
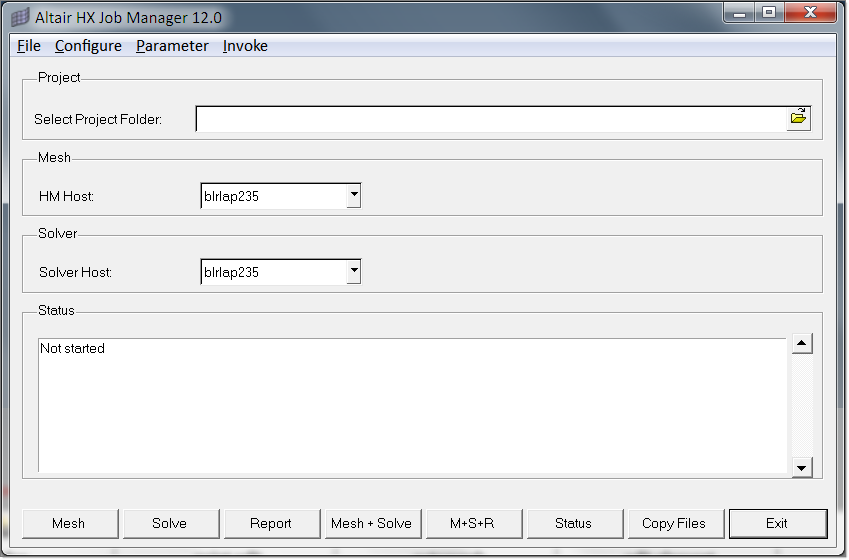
| 1. | Click HX Job Manager in the Utility menu of HyperXtrude Metal Extrusion sub-profile. |

|
The HX Job Manager dialog includes five regions:
| 1. | A title bar that gives the name of the application and the current release number. |

| 2. | Menu bar with pull down menus for accessing various functions – These functions include importing a new project directory, adding/editing server data, creating passwordless connection, creating prm files and invoking applications. |

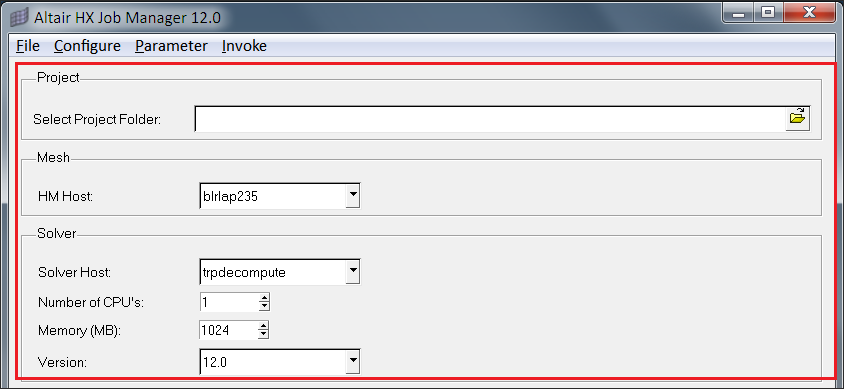
| 3. | Entry widgets to specify the project selection and machines to be used. |
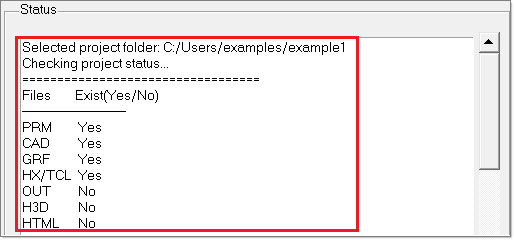
| 4. | Status region to indicate the status/progress. |
| 5. | A menu bar at the bottom to specify an action, such as mesh, solve, etc. |

|
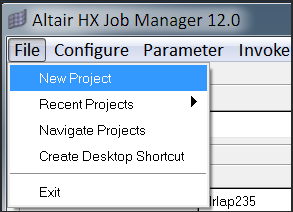
The HX Job Manager contains four pull-down menus along the top of the GUI for accessing various options within the code. The options found under each pull-down menu are described in detail in this section.

Field
|
Description
|
New Project
|
Opens a new project or an old project that is no longer shown in the Recent Projects menu
|
Recent Project
|
Loads a recently opened project. When you load the project, HX Job Manager checks the status of directory and indicate it in the status area
|
Navigate Project
|
Lists all the existing projects in the working directory and its status. Select and load the project from here.
|
Create Desktop Shortcut
|
Creates a shortcut to HXJM and places it on desktop. Without invoking HyperMesh, HXJM can be used by double clicking the desktop icon.
|
Exit
|
Exits HX Job Manager
|
|
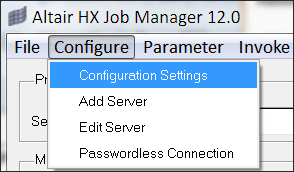
Field
|
Description
|
Configuration Settings
|
Select the installation locations of PuTTY, gzip, SSH and RSH protocols.
|
Add Server
|
Add a new server to HX Job Manager database
|
Edit Server
|
Edit a server that is stored the database
|
Passwordless Connection
|
Set up passwordless connection using PuTTY protocol for remote machines
|
|
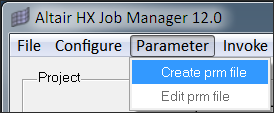
Field
|
Description
|
Create prm file
|
Create parameter (.prm) file. The parameter file is used internally by HXJM to run the Extrusion Wizard in batch mode using parameters specified in parameter file.
|
Edit prm file
|
Edit the parameter file. This feature is not enabled in this release.
|
|
Field
|
Description
|
Select Project Folder
|
Select the folder in which your project resides. Selected folder should contain following files.
For Meshing:
| 1) | Model file – currently supported formats are |
| a) | HM – HyperMesh file containing solids |
| b) | STEP – CAD file in STEP format |
| 2) | Parameter file (*.prm) - This is a text file containing parameters to control meshing and the run. |
For Solving in HX:
| 1) | GRF file (*.grf) – This file contains the mesh, material, and boundary data. |
| 2) | Process parameter file has extension based on the HX sub-profile as below, or it can be TCL (*.tcl) file. |
| a) | HX file(*.hx) – HX user profiles |
| b) | FRG file(*.frg) – HX-Forge |
| c) | RTM file(*.rtm) – HX-RTM |
These files will be created in meshing step.
For Solving in OptiStruct:
| • | FEM file (*.fem) – This file contains mesh, material and boundary data |
|
Mesh
|
Select a host on which you want to launch HyperMesh
|
Solver
|
Select a host on which you want to launch HX/RADIOSS solver
|
Status
|
Status panel shows the status of project running by the HX Job Manager
|
|

Field
|
Description
|
Mesh
|
Starts the meshing operation. First, make sure that you have selected and configured local/remote machine, which will be used for meshing the model.
|
Solve
|
Starts the HX/RADIOSS solver. First, make sure that you have selected and configured remote machine, which will be used for solving the model.
|
Report
|
Generate the report for the completed run. This operation is supported only for HX Solver.
|
Mesh+Solve
|
Start meshing and the HX solver in one click.
|
M+S+R
|
Start meshing, HX Solver and generate report in one go.
|
Status
|
Get the status of a job running in the remote machine.
|
Copy Files
|
Copy result files from the remote machine to the local machine.
|
Exit
|
Exit the HX Job Manager. This will not stop the jobs launched on the remote machine.
|
|
|


