This tutorial shows you how to set up the second stage of a forming analysis with the User Process utility.
| 1. | The files for this tutorial, redraw_radioss.hf and cup_draw_001.sta, are zipped in the file cup_draw_001.zip. Copy and unzip cup_draw_001.zip into your working directory. |
Note: The model files for this tutorial are located in the file mfs-1.zip in the subdirectory \hf\Incremental\. See Accessing Model Files.
| 2. | In the tree of the User Process browser, right-click Blanks, select From File..., browse to cup_draw_001.sta, and then click Open. |
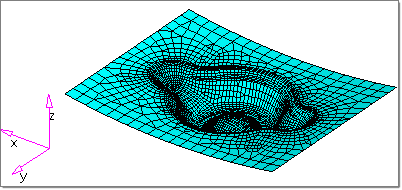
In the tree, under Blanks, Blank 1 loads with material and thickness information. The model that appears on your screen should look something like this:

| 3. | From the File menu, select Import > Model. |
| 4. | On the Import tab under File selection, browse to redraw_radioss.hf, and then click Import. |
A part appears on your screen.
The Import tab closes and the User Process tab opens.
| 6. | Near the top of the tree, right-click Process: Type > Forming > Single Action. |
| 7. | Right-click Process: Single Action Draw, and then select Autoposition. |
Notice that the tools are positioned with respect to the part, and the tool kinematics are updated.
| 8. | Under Tools > Binder, click Force:1000.0, click the value, 1000.0, enter the value -150000, and then press Enter. |
The new value applies ~15 tons in the negative z direction.
| 9. | At the top of the tree, right click Process: Single Action Draw > Run. |
| 10. | At the prompt to create input, click Yes. |
| 11. | In the dialog that appears, browse to your working folder; for File name, enter Redraw; click Save. |
The RADIOSS solver launches.


