| 1. | Copy the file, hot_forming.hf, into your working directory. |
Note: The model files for this tutorial are located in the file mfs-1.zip in the subdirectory \hf\Incremental\. See Accessing Model Files.
| 2. | From the File menu, click Open. |
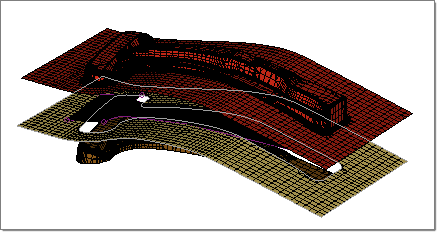
| 3. | Browse to the file, hot_forming.hf, and click Open. |

|
After opening the model for the first time, the User Process groups all of the components into the Blanks category. The following steps show you how to move the components into the the correct categories.
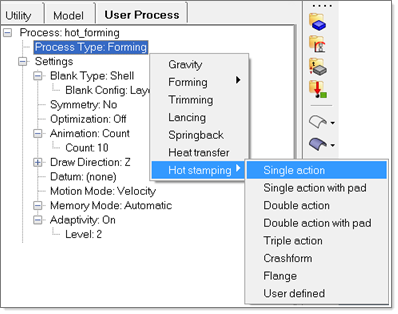
On the tree of the User Process, right-click ProcessType: Forming, and then select Hot stamping > single action:

|
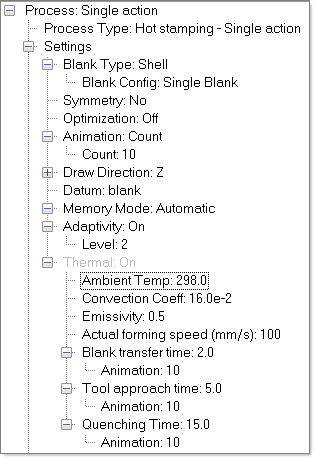
| 1. | On the tree under Thermal, select Actual forming speed {mm/s}, click the current value, and then enter the value 100. Note that temperature is in degrees Kelvin. Keep the default values for the remaining thermal coefficients. |
| 2. | For Blank transfer time, enter 2.0. |
| 3. | For Tool approach time, enter 5.0. |
| 4. | For Quenching Time, enter 15.0. |

|
On the tree, select Initial Temp, click the current value, and then enter 1073, which is the usual initial temperature for hot stamping.
|
Because you are using the standard action draw template, the defaults for the Tools parameters can be kept as they are, with the exception of the Temp value.
| 1. | On the tree, under Die, select Temp, click the current value, and then enter 373. |
| 2. | Do the same for the remaining Tool components. |
|
| 1. | Right-click in the white space of the User Process. From the context menu that appears, select Autoposition. |
The status of the auto positioning operation is displayed in the left, bottom corner of the window. Done indicates that tools have been successfully positioned with respect to the blank.
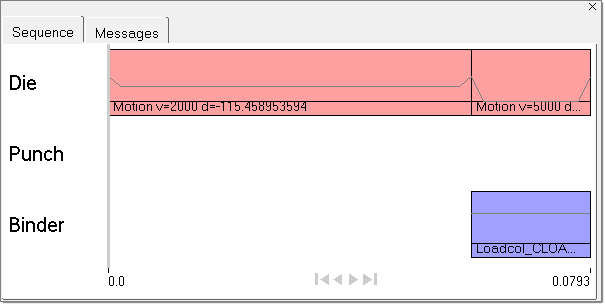
| 2. | To review the process sequence, click View > Process Sequence. |
| • | The Sequence tab displays the tool kinematics sequence. |
| • | The Messages tab displays the errors in the setup, if any. |

| 3. | After viewing the sequence, in the User Process browser, right-click and select Create Input. |
| 4. | Right-click again, and select Run. |
| 5. | Enter a desired name in the file browser, and then click Save. The run begins. |
|
|


