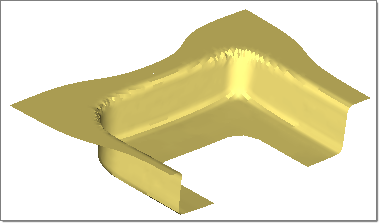
This tutorial shows you how to set up a trimming analysis on a simple box form. The part shape, stress, and strain state at the end of a draw-forming operation are the inputs for this analysis.
| Note: | You can select either elements or components to indicate the area for the trimming operation. Selecting components removes only the elements inside of the trim line. |
| 1. | The files for this tutorial, trim_line.igs and radios_trimming_sta, are zipped in the file Radioss_trimming.zip. Copy and unzip Radioss_trimming.zip into your working directory. |
Note: The model files for this tutorial are located in the file mfs-1.zip in the subdirectory \hf\Incremental\. See Accessing Model Files.
| 2. | On the bottom of the tree in the User Process, right-click Blanks, select From File..., browse to the file radios_trimming_sta, and then click Open. |
The model on your screen should look something like this:

| 3. | Click File > Import > Geometry. |
| 4. | On the Import tab that opens, for File type, select IGES, browse to the file, trim_line.igs, and then click Import. |
The trim line for your model is imported.
| 6. | Near the top of the User Process tree, right-click Process Type, and then select Trimming. |
| 7. | Under Blanks > Blank1, right-click Trim Lines, and then select New. |
| 8. | Right-click Trim line 1, and then select Select Lines... |
| 9. | Under trim_line.igs, verify that the Remove:Inside option is selected. |
| 10. | To trim the part, right-click Process: Trimming, and then select Create Input. |
| 11. | In the dialog that appears, browse to your working folder, for File name, enter a file name, and then click Save. |
Note: For RADIOSS, trimming is performed with HyperForm and the trimmed blank is saved with the specified file name. For LS-DYNA, the solver is launched to create the trimmed blank.
Return to Incremental Tutorials


