Import a single custom data file by defining the import template.
On the Home tab, in the
File group, click the Import icon. From the drop-down list, click the Custom data file icon.
Browse to the location of the file and select a custom data file.
Under Delimiter, select one of the following delimiters
that separate the columns of data.
Tab
Space
Comma
Other
The data file may contain lines of text that are not part of the data to be
imported.
In the Start reading file at (line number) field, enter
the line number at which data should be imported.
In the Specify number of lines to read field, enter the
number of data to read.
If the data contains column title, select the Data contains column
titles check box.
Click Next to continue with the template.
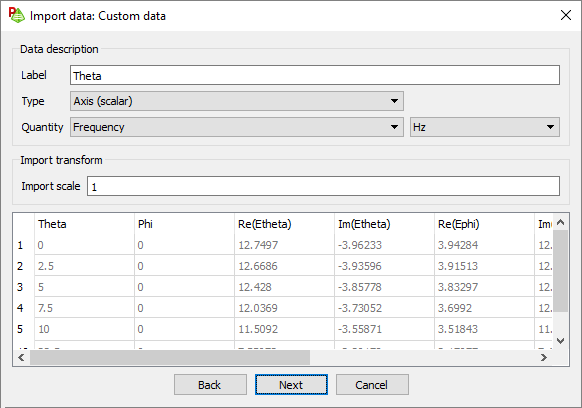
Figure 1. The Import data: Custom data dialog.
In the Label field, specify a descriptive label for the
data.
In the Typedrop-down list, select one of the following and then a
relevant Quantity for the data column:
Axis scalar
Select this option if the column is used as an independent
axis on a graph.
Quantity: frequency, position, radius, angle, time or a
user-defined quantity.
Scalar
Select this option if any scalar result type may be used.
Quantity: far field, near field, voltage, current, power,
specific absorption rate (SAR), impedance / admittance,
scattering parameters, axial ratios, gain / directivity,
radar cross section (RCS), voltage standing wave ratio,
reflection coefficient, Poynting vector (magnitude)
user-defined quantities and several other typical data
types.
Complex pair (Real + Imaginary)
Select this option of two adjacent columns contain the real
and imaginary components of a complex number.
Quantity: far field, near field, voltage, current, impedance
/ admittance, scattering parameters, reflection coefficient,
or a user-defined quantity.
Ignore
Select this option if a column is to be ignored during the
import process.
In the Import scale field, enter a value to scale the
data.
If the data in the column is in dB, select the Data is in dB (not
linear) check box.
 Import icon. From the drop-down list, click the
  Custom data file icon.