HWD-0060: Using PowerPoint Publishing
- Publish a HyperWorks Desktop session to PowerPoint
- Modify your session and synch your edits with an opened PowerPoint file.
- Update slides in PowerPoint and synch those edits with a HyperWorks Desktop session.
The HyperWorks Desktop PowerPoint Publishing feature reduces the effort needed to generate and update Microsoft PowerPoint (PPT) presentations from HyperWorks Desktop (HWD) sessions. This is achieved by establishing on Windows a live link connection between HyperWorks Desktop and PowerPoint, publishing to PowerPoint on Linux is also supported. The synchronization can be triggered either from HyperWorks Desktop or PowerPoint using a PowerPoint add-in. Changes made in the PowerPoint presentation are preserved when new runs are post-processed after updating your session; full support of report templates are provided. The PowerPoint layout can be defined the first time you publish using PowerPoint master templates.
Tools
PowerPoint 2007 or newer must be installed on the same machine where you run HyperWorks Desktop if you publish on Windows using a live-link connection between PowerPoint and HyperWorks Desktop. If you publish on Linux to the file system, you need also need PowerPoint 2007 or newer to open or update the presentations on Windows.
To access PowerPoint Publishing, from the menu bar, select . Or, from the Standard toolbar > PPT menu, select Publish to PowerPoint.
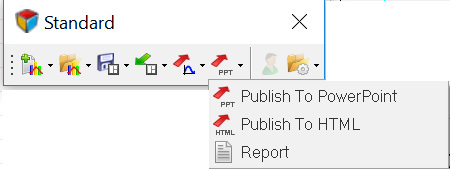
Figure 1.
Open the Session File
-
Select the file
../tutorials/mv_hv_hg/animation/Publishing_Demo_Session.mvw.
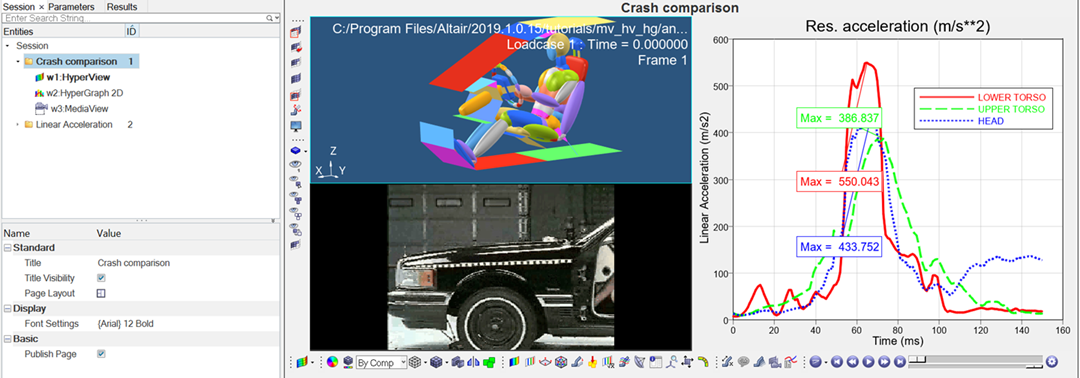
Figure 2.
Select a Master PPT Template to Define the Export Options
Before exporting your session to PowerPoint, you can optimize the layout using the PPT Export Options. A master template helps you adapt the image size and position the images dependent on the master layout. For more information or to create your own company's PowerPoint master template, please see Create a PowerPoint Master Template.
-
From the menu, select PPT Options. Or, from the
Publishing PowerPoint dialog, click PPT Options.
The PPT Export Options dialog is displayed.
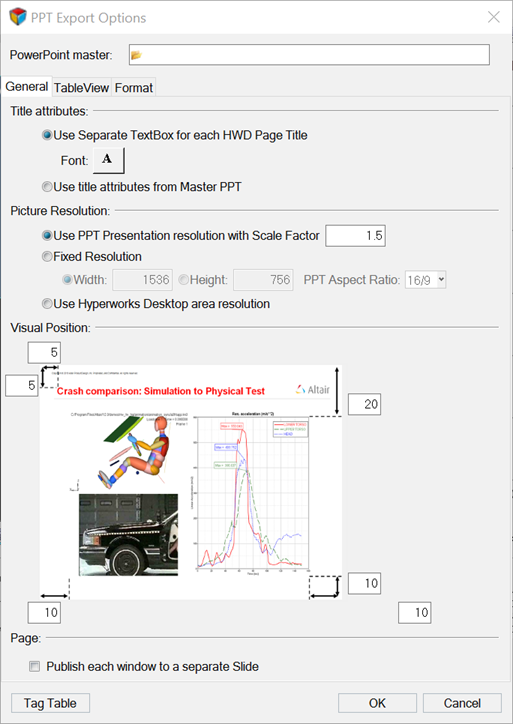
Figure 3. -
From the PowerPoint master field, click the file browser icon,
 , to load the following master
template file:
../tutorials/mv_hv_hg/animation/Publishing_Demo_Master.potx.
Please make sure that Use title attributes from Master PPT is selected when you insert the path using Copy and Paste. Using the file browser will automatically change the settings when you confirm your selection and click Open.
, to load the following master
template file:
../tutorials/mv_hv_hg/animation/Publishing_Demo_Master.potx.
Please make sure that Use title attributes from Master PPT is selected when you insert the path using Copy and Paste. Using the file browser will automatically change the settings when you confirm your selection and click Open. -
Under Visual Position, enter the values outlined in red in the image below and
click OK.
These values set the graphics area to a defined position in the PowerPoint slide. The values are a percentage of the whole page width and height.
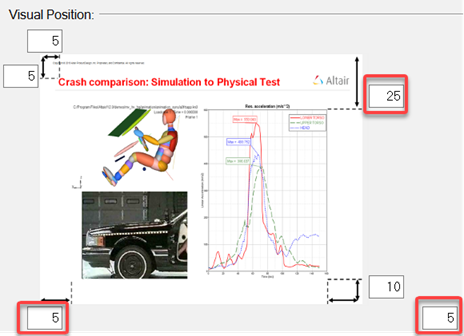
Figure 4.
Publish the Session to PowerPoint
-
From the Standard toolbar, select the PPT icon,
 , or select File > Publish >
PowerPoint from the menu bar.
The Publishing PowerPoint dialog is displayed.
, or select File > Publish >
PowerPoint from the menu bar.
The Publishing PowerPoint dialog is displayed.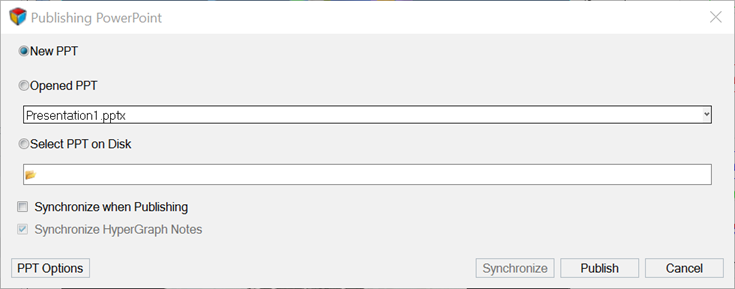
Figure 5.Important: If this is the first time you are using PowerPoint publishing, click Yes to install the Altair Add-in to PowerPoint. Without installing the PowerPoint Add-in, PowerPoint Publishing will not work on Windows.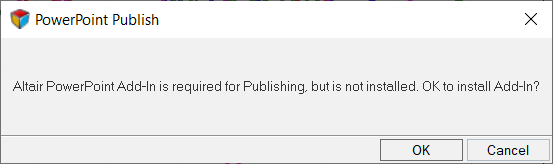
Figure 6. -
Click Publish.
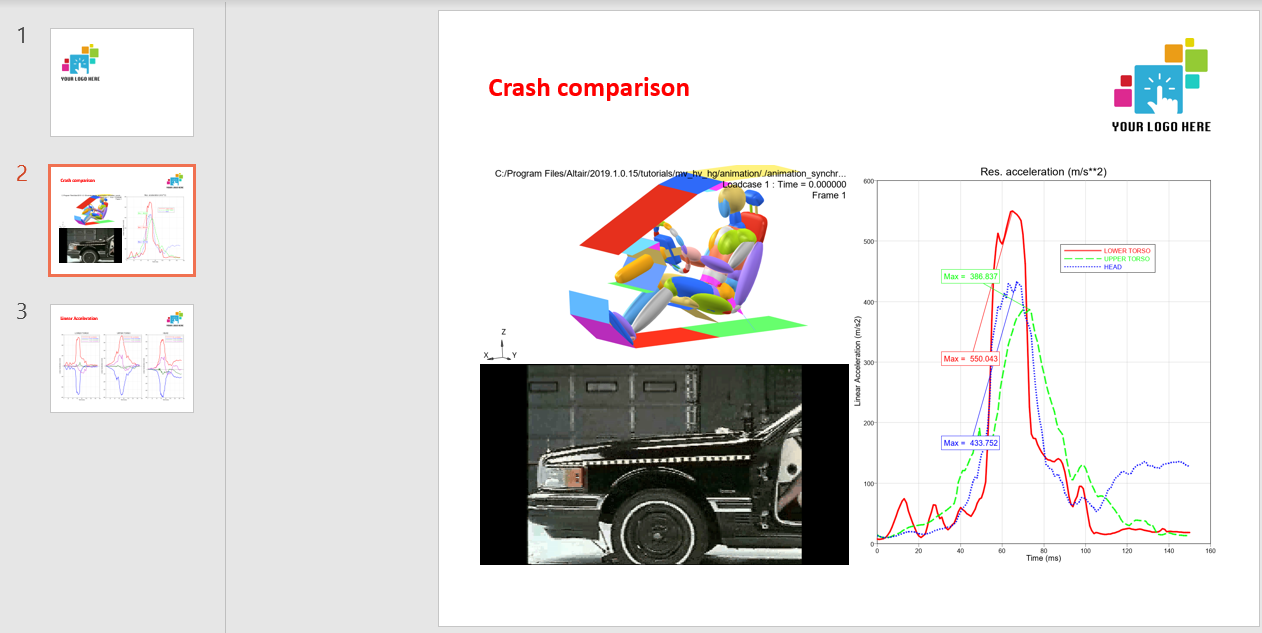
Figure 7.A PowerPoint presentation, Presentation 1, is created from your HyperWorks Desktop session.Important: If you click Publish, all selected pages and windows will always be added as new slides to your PowerPoint presentation.Click Synchronize when Publishing to add new pages to PowerPoint and also synchronizes images, animations, and headers in the previously created PowerPoint pages. This option is explained in Modify Session Content and Synchronize and Update an Existing PowerPoint Presentation.
Modify Session Content and Synchronize and Update an Existing PowerPoint Presentation
-
Select the animation window in the upper left corner of the graphics area to
modify the image. Use the Rotate button,
 , to rotate the image 90 degrees. Press Zoom,
  , once to zoom in on the image.
-
Click Line Style and select the last option from line
style menu, as shown in the image below.
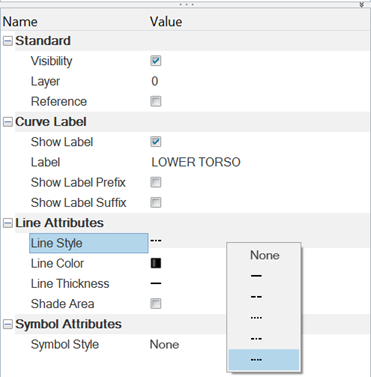
Figure 8. -
From the Plot Browser, select the Note icon,
 , at the top of the browser.
-
Repeat step 12 for Note 2, changing the border color from green to
orange. Change the border color for Note 3 from blue
to purple.
The curve color and its corresponding note should match.
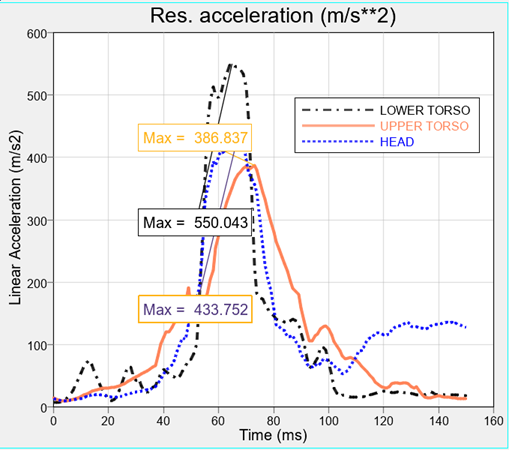
Figure 9. -
From the Standard toolbar, select the PPT icon, , or select from the menu bar to display the Publishing PowerPoint
dialog.
Notice that since you have already published to PowerPoint once, the Opened PPT option is selected. Presentation 1 refers to the PowerPoint slides that were created in Publish the Session to PowerPoint.
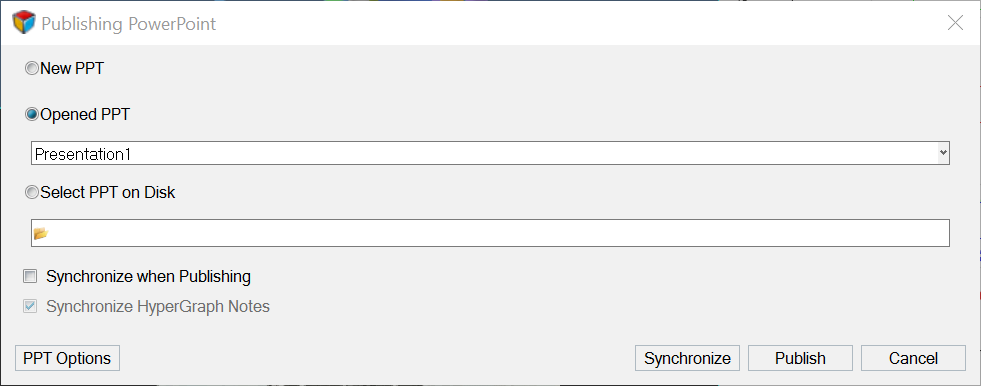
Figure 10. -
Click Synchronize to only modify the images in the
opened PowerPoint presentation that were edited in the HyperWorks Desktop session.
Notice that the PowerPoint slide shows the changes made to the animation and plot windows.
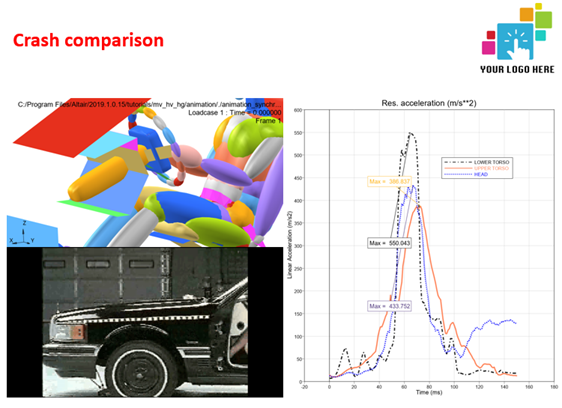
Figure 11.
Use the Altair Add-in Tools to Update the PowerPoint Presentation with Changes Made in HyperWorks Desktop
-
From the HyperWorks Desktop session, select the HyperGraph plot Res. acceleration on the right side of
the graphics window. Click Zoom, , three times to zoom in on the plot.
-
Select the animation window in the top left corner of the graphics area. Click
 to fit the image in the window. Click to rotate the image until it is right-side up.
-
From PowerPoint, click the Altair tab.
The following toolbar is displayed.

Figure 12. -
Click Sync Live to update PowerPoint with the
modifications made to in HyperWorks Desktop.
The changes from your HyperWorks Desktop session are synchronized to the PowerPoint file.
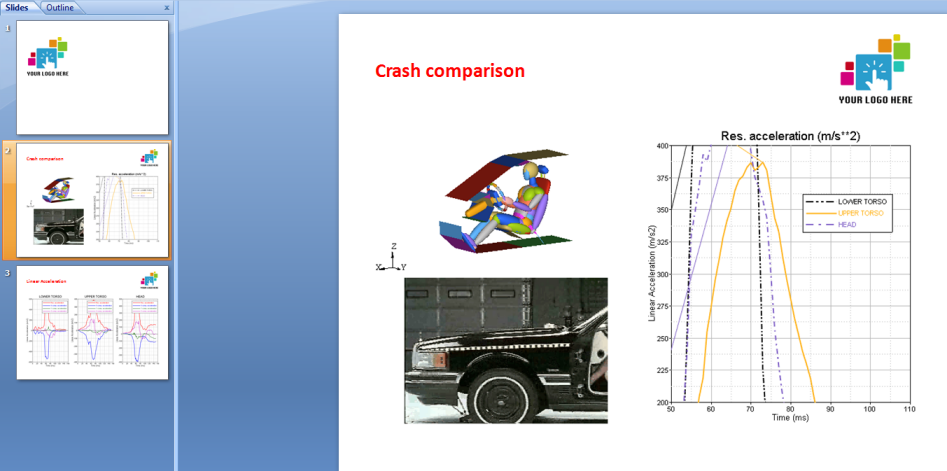
Figure 13.
Select Pages or Windows to Publish
Sometimes, you may not want to publish ALL of the pages from a session to PowerPoint. You can use both the Session Browser and Quick Publish to select certain pages and windows only.
Method 1 - Using the Session Browser
-
Click the PPT icon, . From the Publishing PowerPoint
dialog, select New PPT and click
Publish.
Notice that only the windows on the Crash comparison page were published.
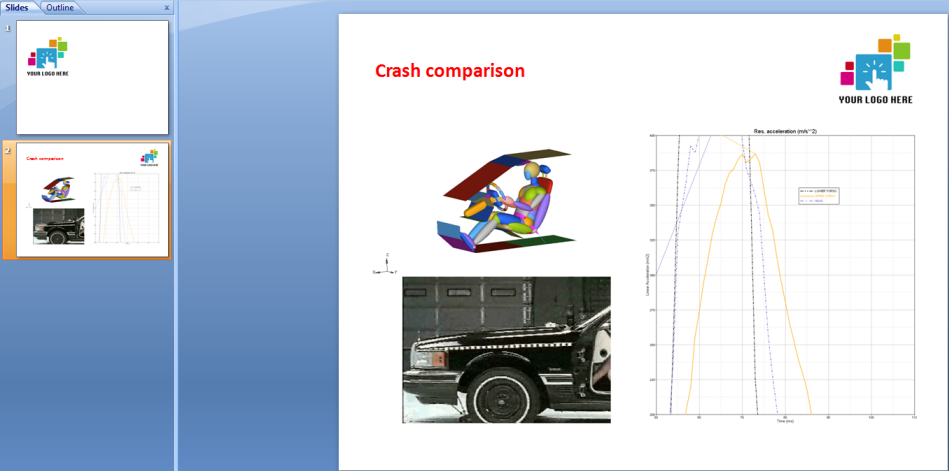
Figure 14.
Method 2 - Using Quick Publish
-
Select windows 2 and 3 on page 2
(Linear Acceleration page), as shown in the image below. Right-click to display
the Session Browser context-sensitive menu and select
Quick Publish.
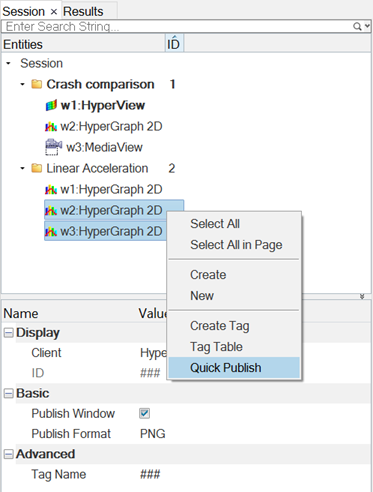
Figure 15.Note: Even if a page or window is not selected for publishing under the Publish column, it will still be published because Quick Publish overrules the Browser settings.The pages and/or windows you selected are attached as new pages to your opened PowerPoint project, independent from the settings the in the Session Browser for publishing selected pages and windows.
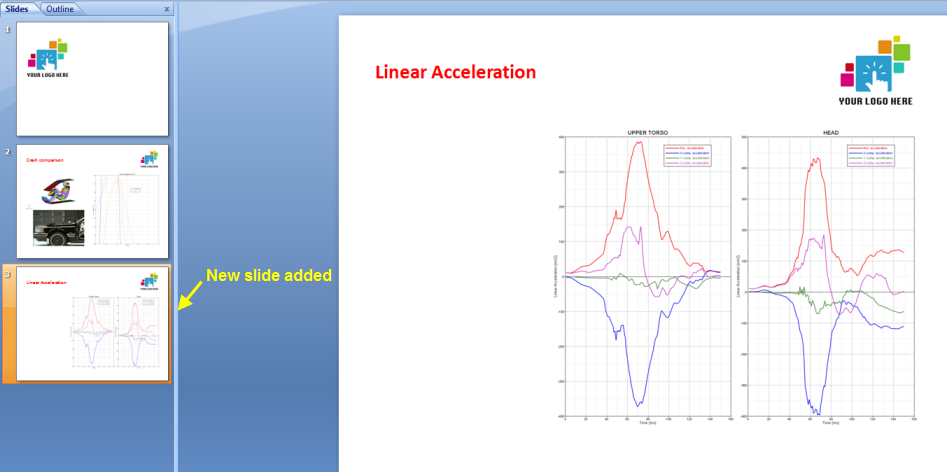
Figure 16.
Create HyperGraph 2D Note Tags and View in PowerPoint
-
Select the Notes icon, , from the toolbar at the top of
the Plot Browser.
The plot information is filtered to show only the plot notes for each window.

Figure 17. -
Select Note 1-3, right-click to display the context-sensitive menu, and select
Create Tag.
The Tag Table dialog is displayed.
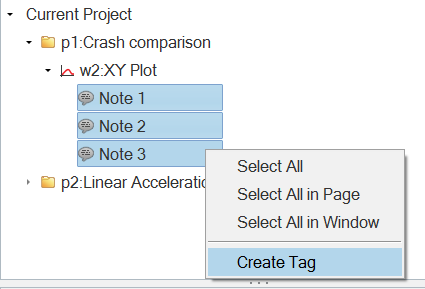
Figure 18.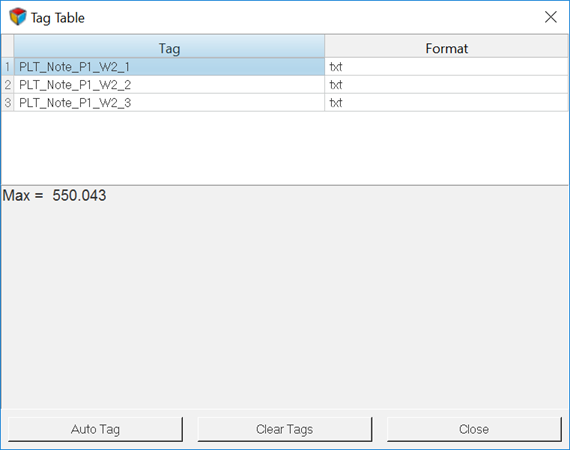
Figure 19. -
From the Standard Toolbar, click .
-
From the Publishing PowerPoint dialog, select New PPT
and click Publish.
A new PowerPoint presentation is created which displays Notes 1, 2, and 3.
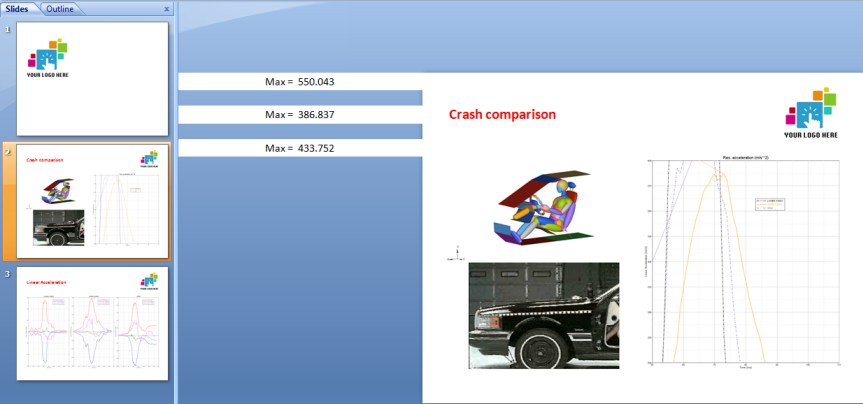
Figure 20. -
Select slide 3 and click Paste to paste the notes.
Select each plot window image on slide 3 to re-size them and reposition the
notes as shown below.
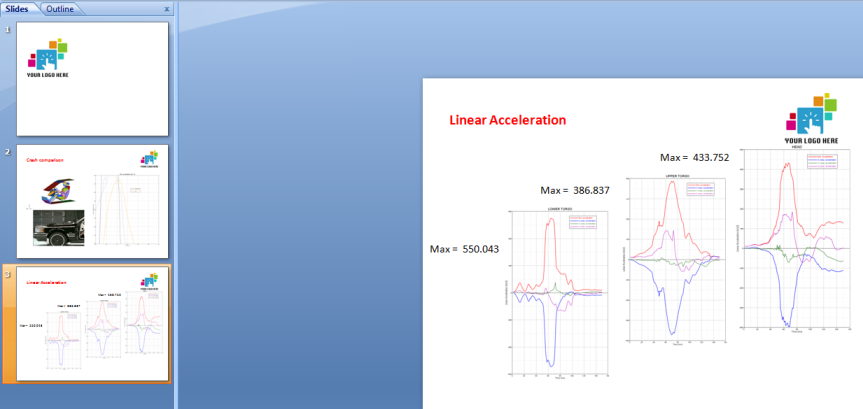
Figure 21. -
From the Altair toolbar, select View
Names to view the tags names on the PowerPoint slides.
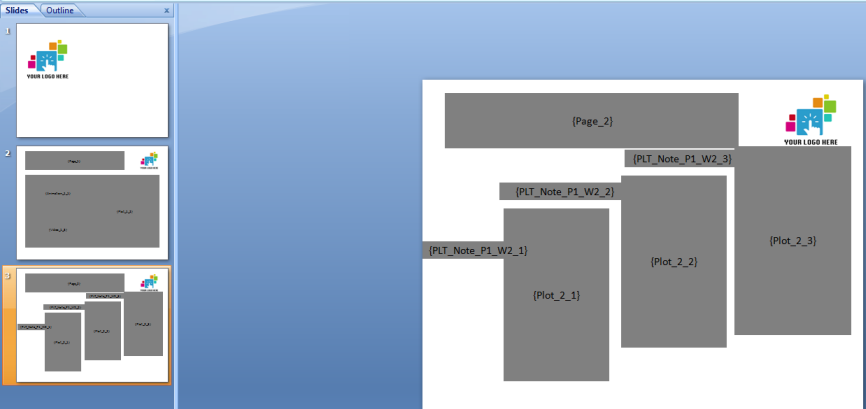
Figure 22.
Change the Published File Format Using the Tag Table and Publish Settings Dialog
-
Click in the Format column for line 2, Animation_1_1, and change the format
from PNG to GIF. Click
Close.
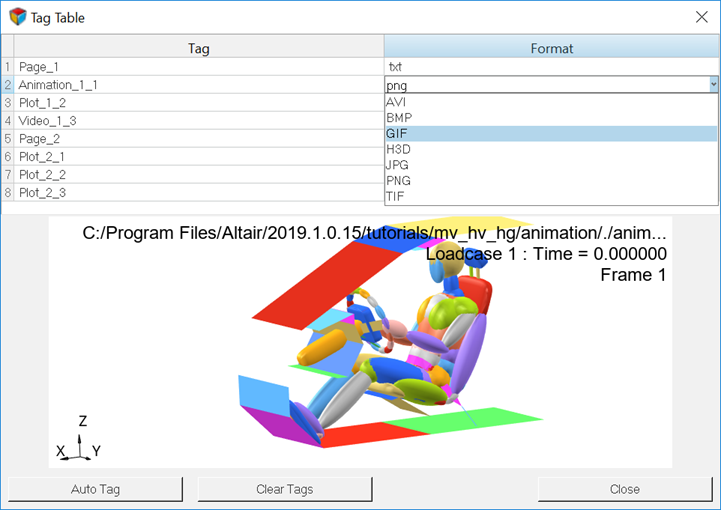
Figure 23. -
From the lower portion of the Session Browser, select
GIF from the Publish Format drop-down menu.
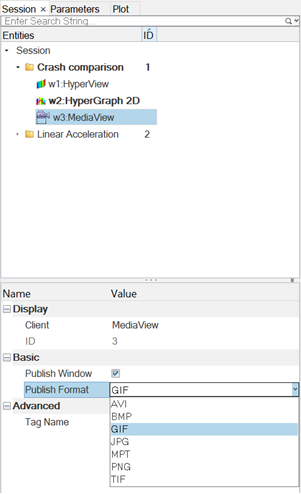
Figure 24. -
Select . Ensure the the Master option is activated, as shown in the image
below. Click Apply to close the dialog.
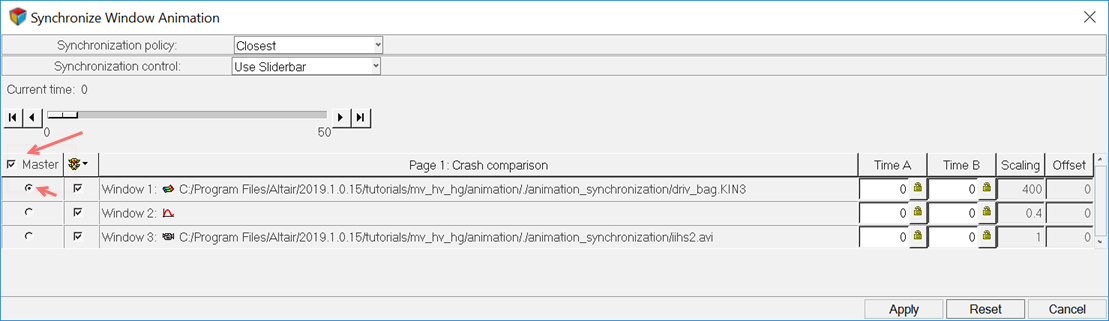
Figure 25.Note: When you export to an animated GIF or AVI and you have both animation and plotting on the same page, ensure that in the Synchronize Window Animation dialog that the animation window with the least time steps on the page is checked as the master. If it is not, a screen shot of each time step will be made to create the video, which can result in poor performance when a time history curve has 2000 time steps and the animation has only 40 time steps, for example. -
From the Standard toolbar, select the PPT icon, . Select New PPT and click
Publish.
Uninstall the Altair PowerPoint Add-in from PowerPoint
-
From PowerPoint, click the Office button,
 , and select PowerPoint
Options.
In Windows 8/PowerPoint 2013, you must use File > Options to view the PowerPoint Options dialog.
, and select PowerPoint
Options.
In Windows 8/PowerPoint 2013, you must use File > Options to view the PowerPoint Options dialog. -
From the Add-Ins dialog, select the Altair
PowerPointAddin_V# from the list and click
Remove.
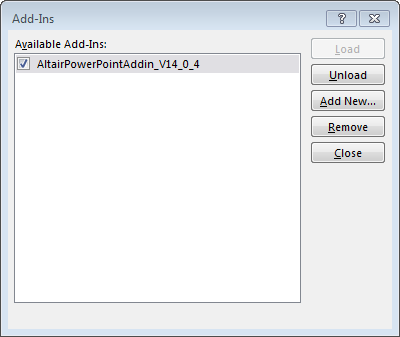
Figure 26.
Create a PowerPoint Master Template
-
You only need a select number of slide master styles to create a master
template for PowerPoint publishing. They are the Slide
Master, the Title Slide Layout, and the
Title Only Layout, as shown below.
- Select the rest of the slide template options and click Delete.

Figure 27. -
Perform the following edits:
- Change the font size of the upper title text box to 28.
- Change the font size of the lower title text box to 20.
- Right justify the text.
- Reposition the text boxes to the right side of the slide.
Figure 28. -
Select the Slide Master slide. Perform the following
edits:
- Delete the text box below the title.
- Change the title font color to red, bold and left justify the text.
- Change the font size to 24.
The edits are also displayed on the two other slides.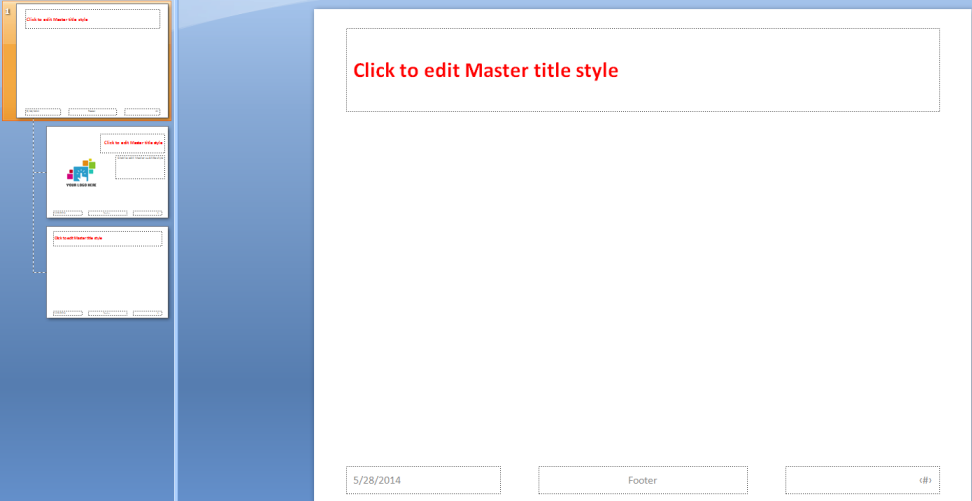
Figure 29. -
The template should look similar to this:
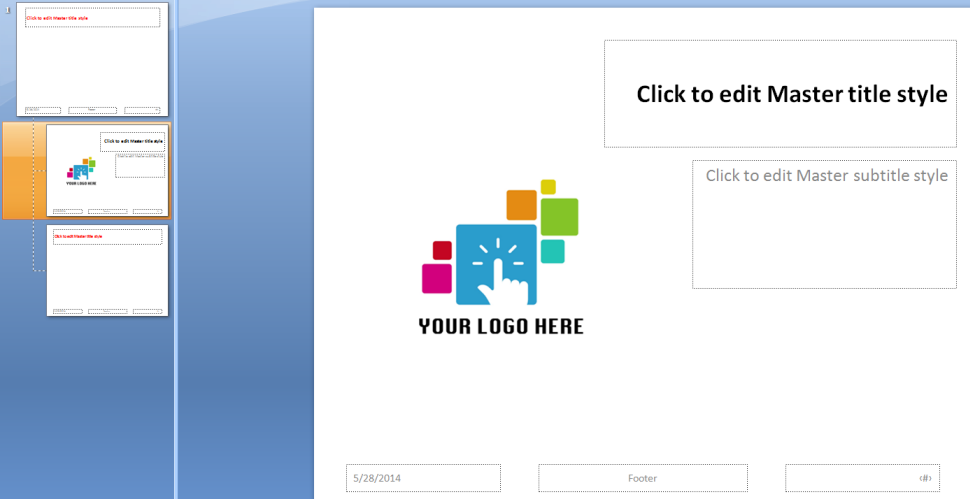
Figure 30. -
From the View menu, select Normal.
The presentation template view should look similar to this:
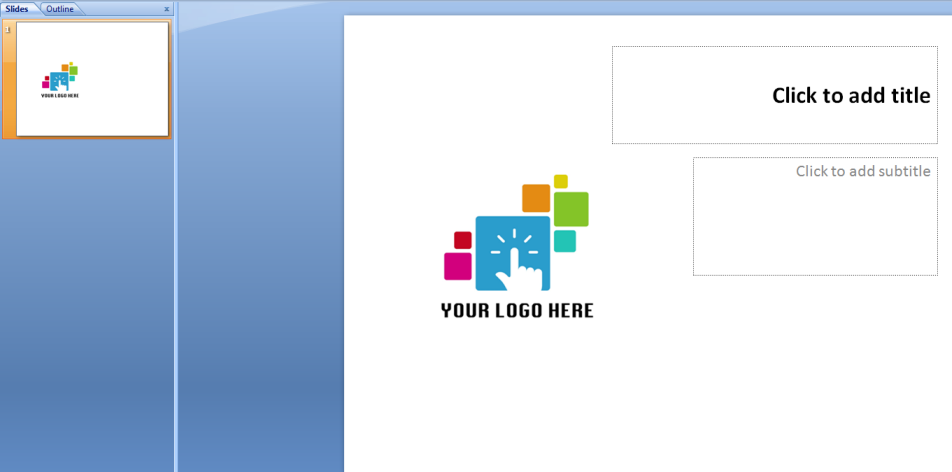
Figure 31.