


|
Server Integration
The DataPrep Export element in Automator’s Visual Process Designer allows data to be exported in various formats. Before exporting Power BI file types, the API settings of the connector need to be modified. Use the Server Integration page to configure the settings for Power BI API.
To access the Server Integration page
-
On the Navigation Tree, click System Settings, and then select System Preferences.
-
At the top of the page under Automator Settings, select the Server Integration tab.
For the settings of Power BI, the following details should be provided:
-
Client ID: It is a string that carries user information as provided during registration in Power BI. It is used by these connectors to identify Automator once it is registered. The Client ID is public information that goes hand in hand with the Client Secret Key.
Note: To get the Client ID for Power BI, click here.
-
Client Secret Key: It is used to authenticate Automator when it requests access to user accounts in Power BI. It goes hand in hand with the Client ID and should be kept private.
Note: To get the Client Secret Key for Power BI, click here.
-
Host Name: It is the full name of the machine on which Automator is installed.
-
Port: It is the value of the port on which Automator is installed.
-
Redirect URL: It is the URL to which Power BI directs after authenticating the user. The field is automatically filled after supplying the Client ID, Client Secret Key, and host name.
Power BI API Keys and Application Registration
Note: The following steps were documented on May 16, 2022, using Power BI Service 13.0.18218.51.
The integration with Power BI is divided into two phases:
-
Phase 1: Application Registration: In this phase, the Automator application is registered using the following tools:
The registration of the application will allow also allow you to generate a Client ID, which is required in the integration with Power BI.
-
Phase 2: Generation of Client Secret Key: After a successful registration in Phase 1, you can then generate the Client Secret Key via Microsoft Azure.
The related steps for Phase 1 and Phase 2 are presented below.
PHASE 1
To register the Automator application using the Power BI Embedding Tool
-
Access https://app.powerbi.com/embedsetup. From the choices of embedding solution, select Embed for your customers.
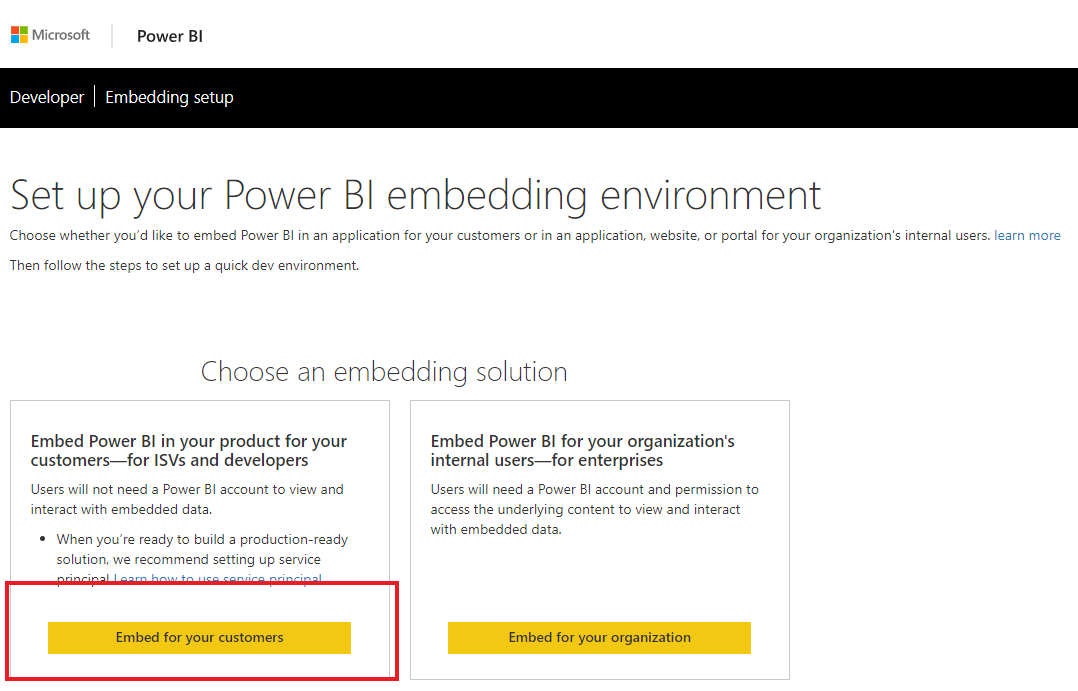
NOTE: The registration process in Power BI requires an Azure Active directory, an organizational user, and a Power BI service account. To sign up for an Azure subscription or to log in using an account with such subscription, click here.
To learn how set up your Azure Active Directory and organizational user, click here.
-
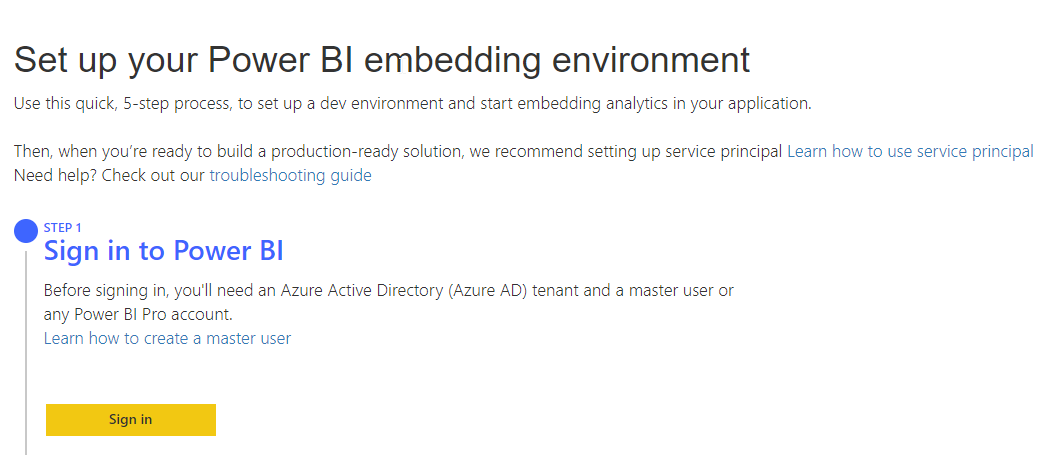
Sign in using your Power BI account in Step 1 of the Embedding Setup tool, and then click Next.
-
In Step 2: Register your application, provide the following details:
-
Application Name – The name of your app, i.e., Automator.
-
API access – Select the APIs you need as well as the level of access required. For details about permissions in Power BI, click here.
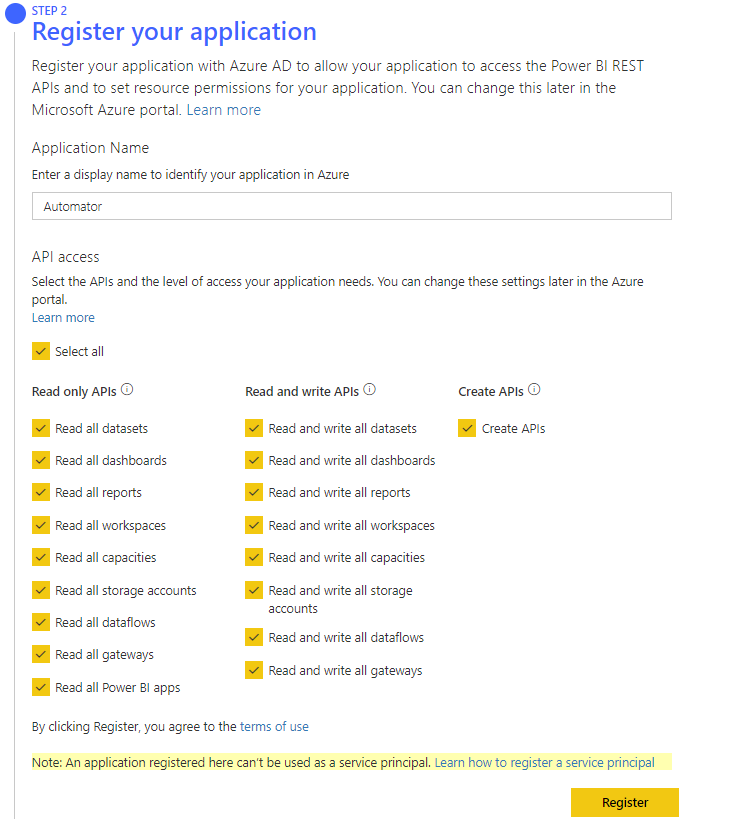
Click Register. You may opt to skip Steps 3 and 4 of the Embedding Setup tool at this point.
-
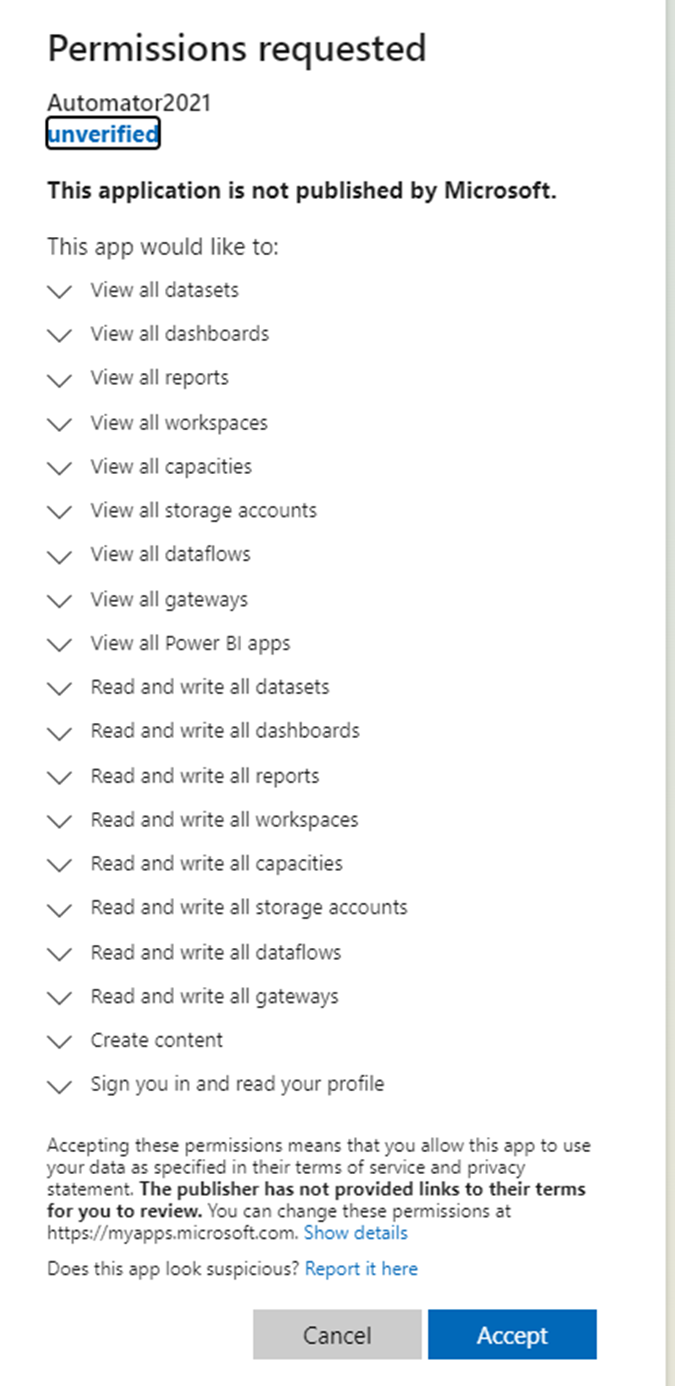
In Step 5 of the Embedding Setup tool, click Grant permissions. This shows the permissions requested for the application.
-
Click Accept.
To register the Automator application using Azure Active Directory
-
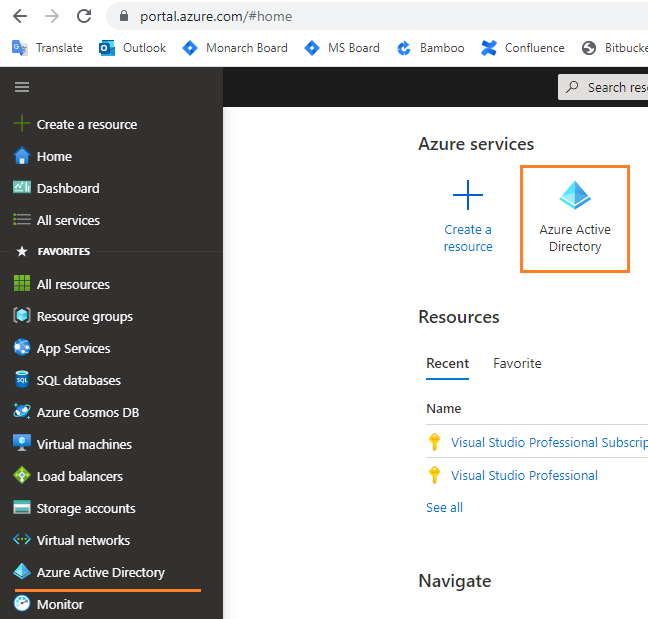
Open the Azure Portal at https://portal.azure.com.
-
In the list of Azure Services, click Azure Active Directory.
-
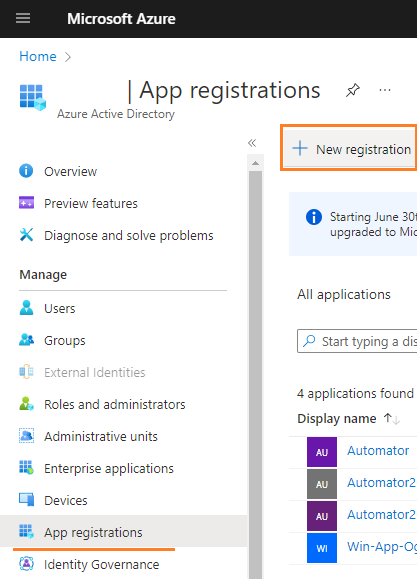
Navigate to App registrations and click the New Registration button. Proceed with the registration of your application.
-
Navigate to page of the registered application by clicking its corresponding name from the list of App registrations.
-
Configure the application’s API permissions. In the application’s page, click API permissions from the left panel, and then click the Add a permission button.
-
Navigate to the Power BI Service, and click Delegated permissions to request API permissions.
PHASE 2
To get a Client Secret key for Power BI
-
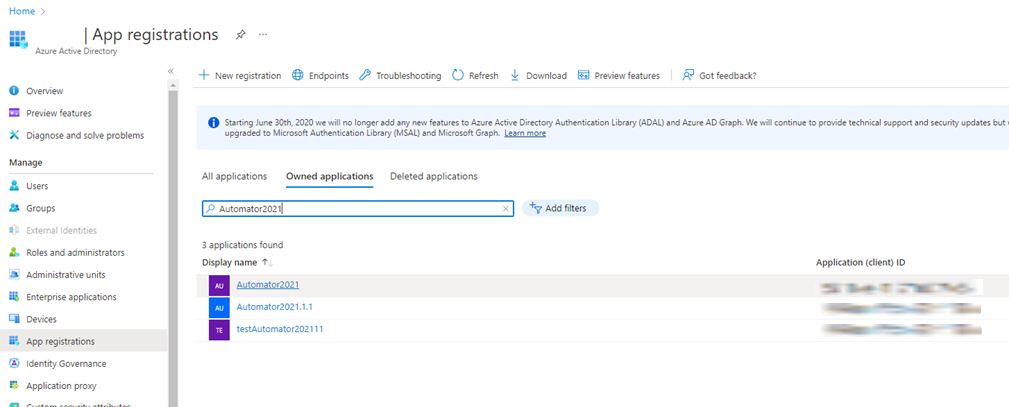
Access Microsoft Azure to view your app registrations by clicking here.
-
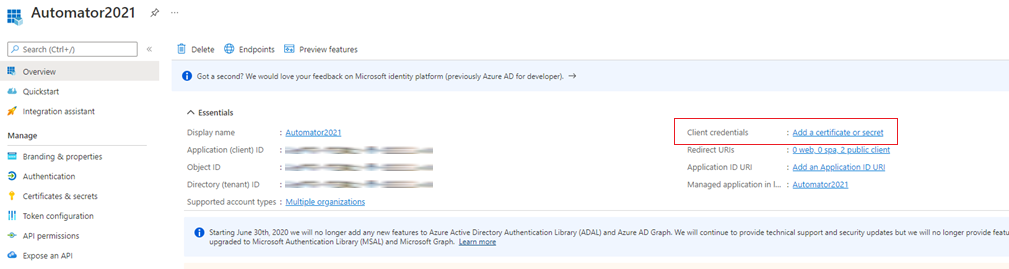
In the Owned applications tab, click the display name of your registered app (e.g., Automator2021) to view its properties, including the Application ID generated previously.
-
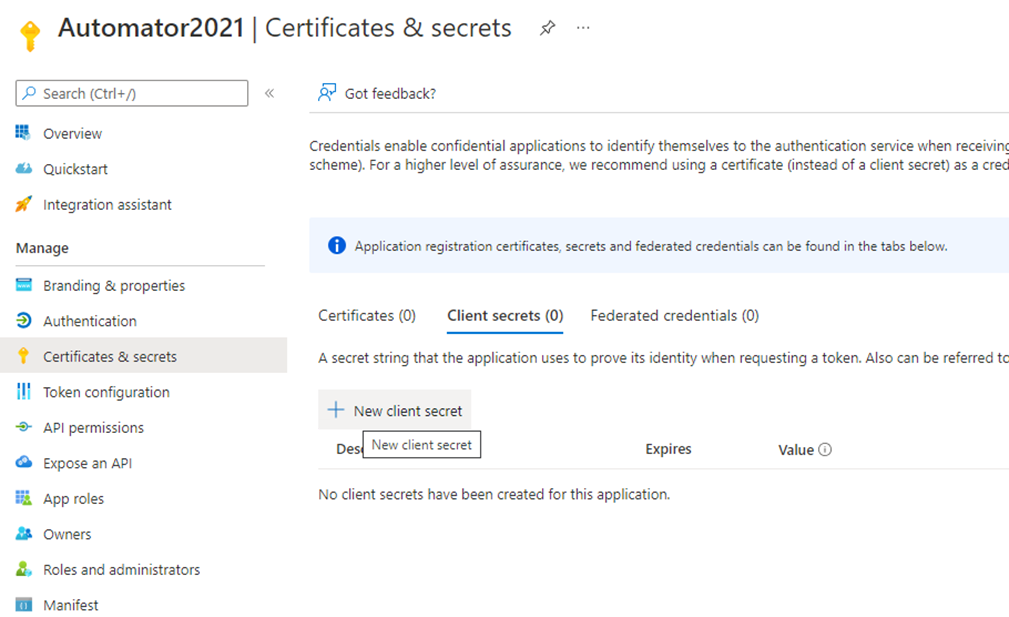
In the Overview pane of the app page, click Add a certificate or secret.
-
In the Certificates & secrets pane, open the Client secrets tab and create a new secret key by clicking +New client secret.
-
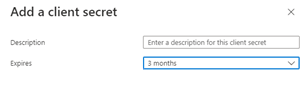
In Add a client secret, provide a description for the secret key, and set its expiration.
The Client
secrets tab should now show the newly created client secret. The
text combination under the Value
column serves as the client secret key.
NOTE: The following steps should be performed to complete the integration:
-
After generating the client ID and secret key, input them in the corresponding fields in the Server Integration pane of Automator settings under System Settings. Then, enter the host name and port. The Redirect URL field should now be populated with the redirect link.
-
In Microsoft Azure, access the Authentication pane of the app page, and click Add URI to input the redirect URL generated in Monarch Server.
-
Click Save.