


|
Panopticon Streams
Retrieves topics using the meta data of applications that are provided by Panopticon Streams Server.
Steps:
1. Select Panopticon Streams from the Data Sources pane. The Panopticon Streams Settings pane and the retrieved Panopticon Streams source are displayed.
|
NOTE |
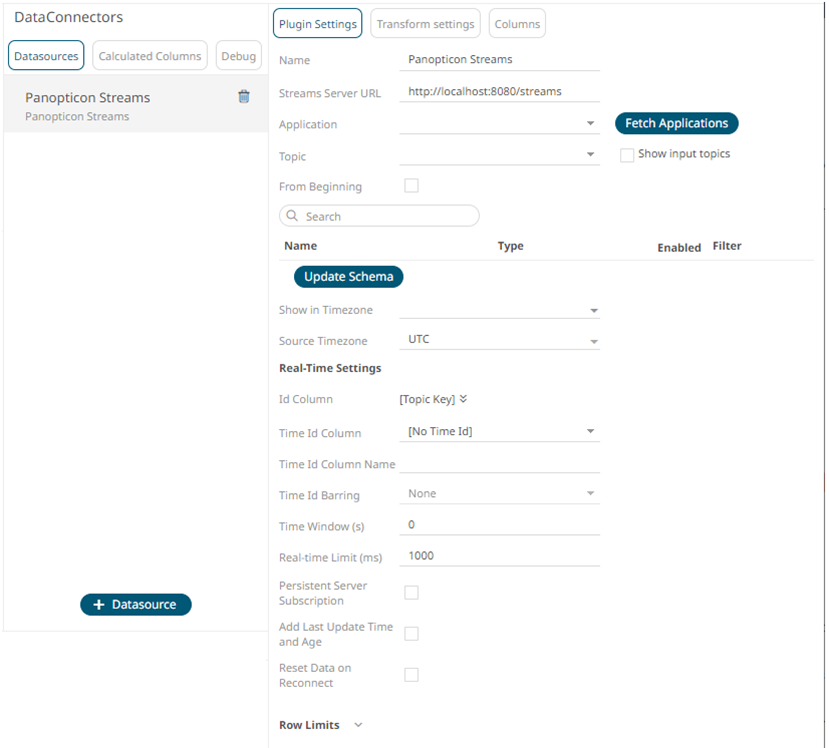
The key provided from the Kafka subscription is automatically selected as the Id Column.
|
2. Enter the Name of the Panopticon
Streams data source, then click  .
.
3. Enter the absolute path, including the http where the Panopticon Streams server is located, in the Streams Server URL box (i.e., http://localhost:8080/streams).
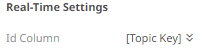
4. Click 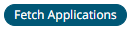 . The
first application in the Application
drop-down list is selected and the schema
of the output topic is displayed, if it is started in the Panopticon
Streams server.
. The
first application in the Application
drop-down list is selected and the schema
of the output topic is displayed, if it is started in the Panopticon
Streams server.
This also populates the Id Column with the set of columns, of arbitrary type, that can be concatenated to form a unique row identifier.
5. Click the Application drop-down list box to select another application.
6. Check the Show Input Topics box to include input topics in the Topic drop-down list.

7. Select a topic. This populates the list of columns, with the data type found from inspecting the first ‘n’ rows of the file.
8. Check the From Beginning box to subscribe from the beginning to the latest messages.
If un-checked, you will only be subscribed to the latest messages.
9. Click  to
ensure that the latest schema of the topic is being applied.
to
ensure that the latest schema of the topic is being applied.
10. Then select:
· Enabled (determines whether the message field should be processed)
· Filter (defined parameters that can be used as Filter)
11. Date/Time values of output data and Date/Time inputs, where supported, is by default unchanged.
You can opt to define the Show in Timezone and Source Timezone settings.
12. For this section:
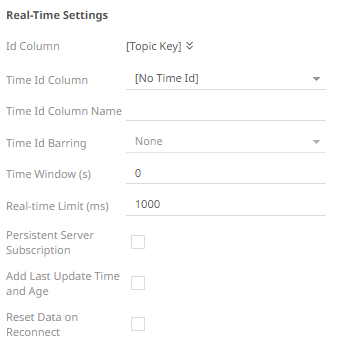
Refer to Define Real-Time Settings for more information.
13. Set the row limit of the data set.
14. Tap the Preview Selected Data Source slider to turn it on.
15. Click  to display the data preview.