


|
Creating a New Theme
Creating a new theme allows setting the colors, fonts, color palettes, general colors, and shape palettes to be used in workbooks and visualizations.
Steps:
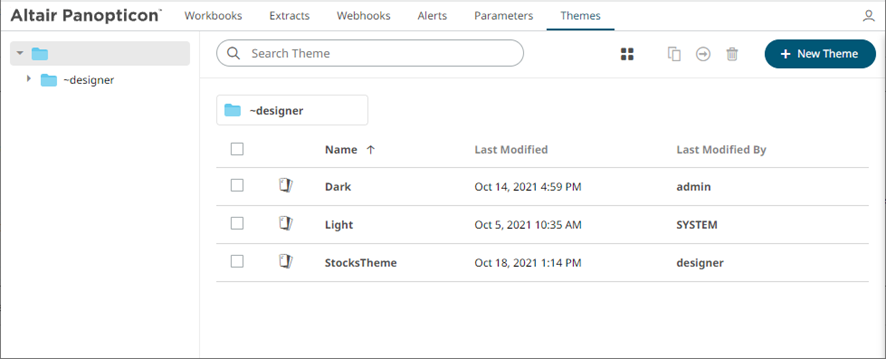
1. On the Themes page, click
 .
.
The New Theme dialog displays.
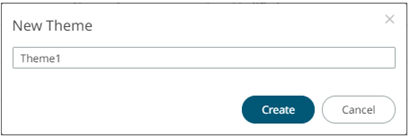
2. Enter the name of the theme then click
 .
.
The new theme is displayed on the Themes page.
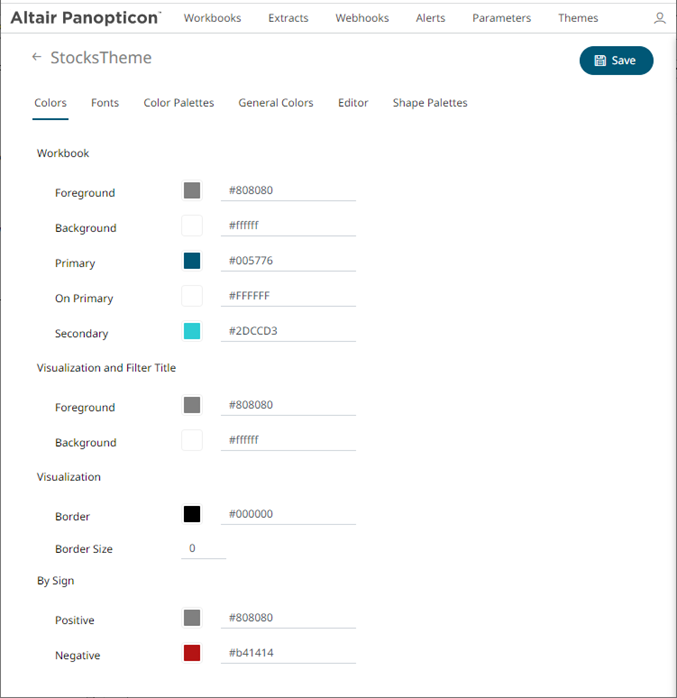
3. On the Colors tab, you are allowed to modify the colors of the following properties:
|
Property |
Description |
|
Foreground |
Foreground color of the workbook. |
|
Background |
Background color of the workbook. |
|
Primary |
Primary color of the workbook (i.e., used on the Add Dashboard button). |
|
On Primary |
Foreground color within the primary color. |
|
Secondary |
Secondary color of the workbook (i.e., used on the selected part resize handles and border). |
|
Title Foreground |
Foreground color of the title in visualizations and filters. |
|
Title Background |
Background color of the title in visualizations and filters. |
|
Border |
Border color of the visualizations. |
|
Positive |
Color of the positive values for the By Sign option used in numeric visual members. |
|
Negative |
Color of the negative values for the By Sign option used in numeric visual members. |
you can either:
· click the corresponding Color box to display the Color dialog to:

¨ select the color, or
¨ click to enter the values
for RGB
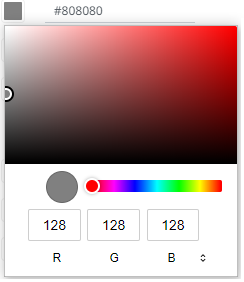
for HSL
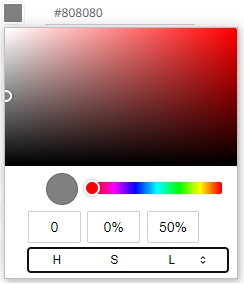
for the Hex color code
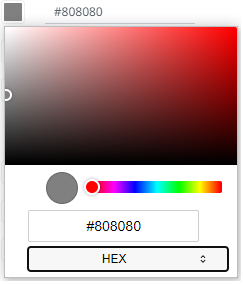
· or enter the Hex color code

4. Enter the Border Size of the visualizations.
5. To set the fonts to be used, click the Fonts tab:

6. For the workbooks, visualization and part titles, enter or select the preferred font Type and Size and check the style boxes: Bold and Italic.
|
NOTE |
· The available custom fonts on Panopticon Real Time can be selected on the Font drop-down list. · For the Part Title, the Bold check box is selected by default. |
7. Select the visualization title Alignment: Left or Center.
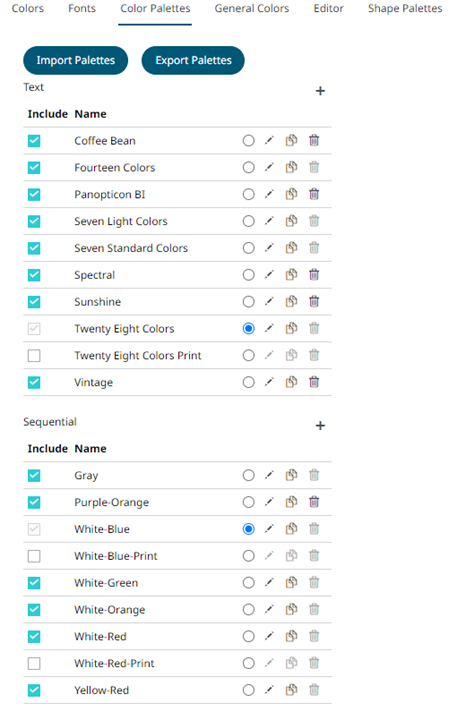
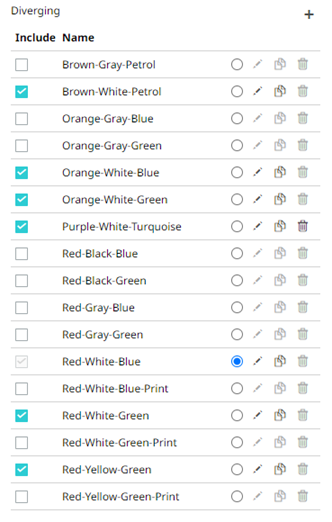
8. To select the Diverging, Sequential, and Text color palettes to use within the workbooks, click the Color Palettes tab.
|
NOTE |
For more information on how to create, modify, duplicate, or delete Text, Sequential, or Diverging Palettes, refer to the sections below. |
9. Check the boxes of the provided color palettes that will be included for each category.
10. Click the radio button of the preferred Default color palette for each category.
11. To upload color palettes, click
 .
The Upload Color Palette dialog displays.
.
The Upload Color Palette dialog displays.
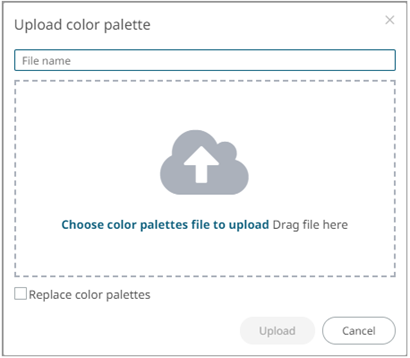
12. To upload a color palette, either:
· drag the file from your desktop and drop on the dialog, or
· click Choose color palettes file to upload and then browse and select one on the Open dialog that displays
The name of the color palette is displayed on the uploaded color palette area and in the Name box.
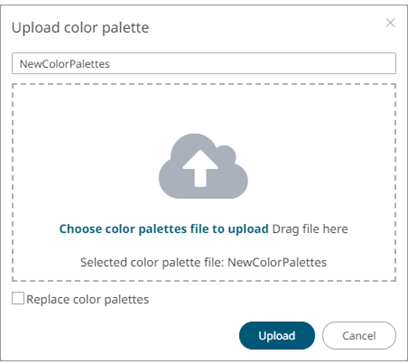
You can opt to rename the uploaded color palette.
13. To replace the color palettes, check the Replace Color Palettes box.
14. Click  .
.
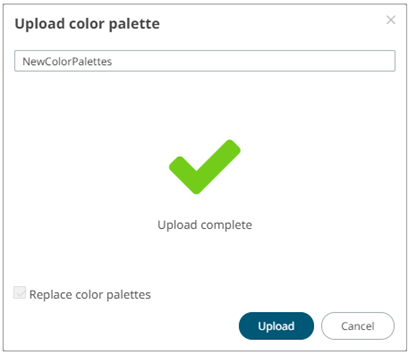
A notification displays once the color palettes file is uploaded.
15. To export color palettes, click
 .
The .excp
file is exported. You can now
move this file to the desired location.
.
The .excp
file is exported. You can now
move this file to the desired location.
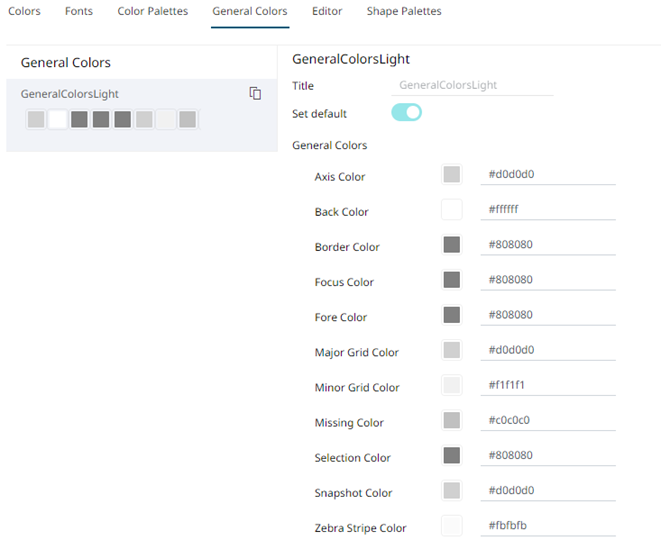
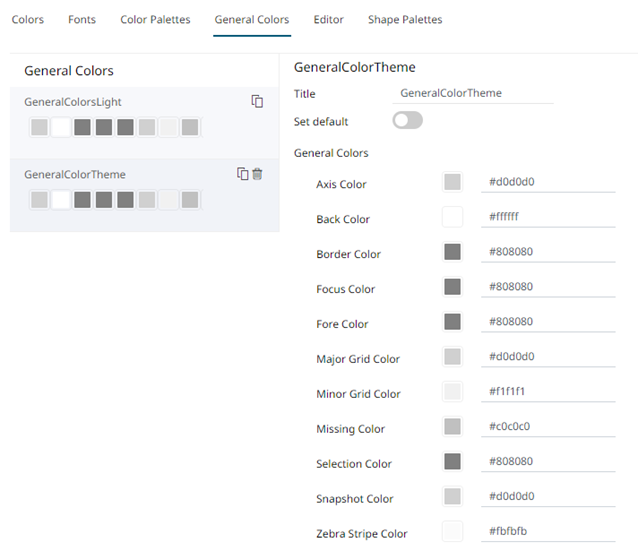
16. To set the general colors to be used for visualizations, click the General Colors tab.
By the default, the new General Colors is named GeneralColorsLight.
17. Click
Duplicate  to
make a duplicate copy of the new general colors.
to
make a duplicate copy of the new general colors.
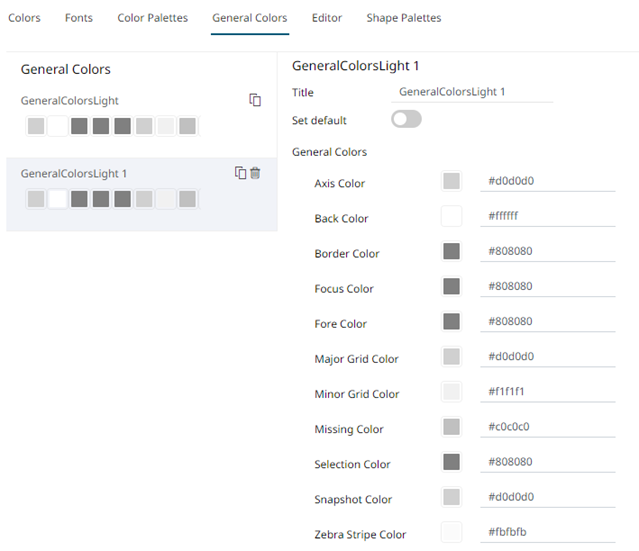
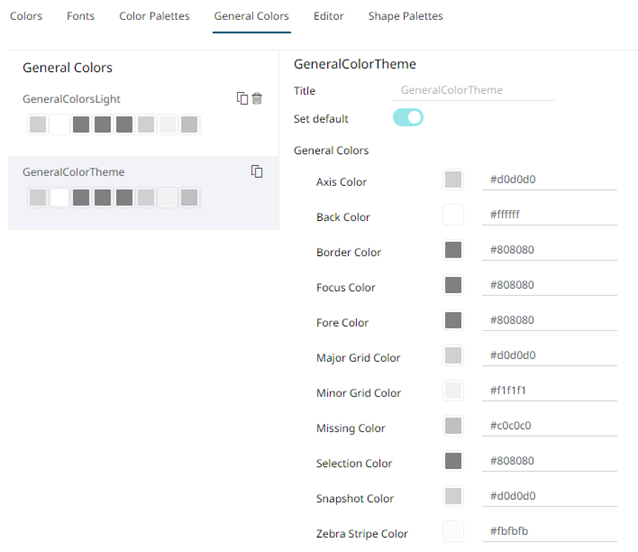
18. You can enter a new name and click
 .
Set Default is turned off and the Remove icon is now
available.
.
Set Default is turned off and the Remove icon is now
available.
Tap the Set Default slider to turn it on and the Remove icon is no longer available.
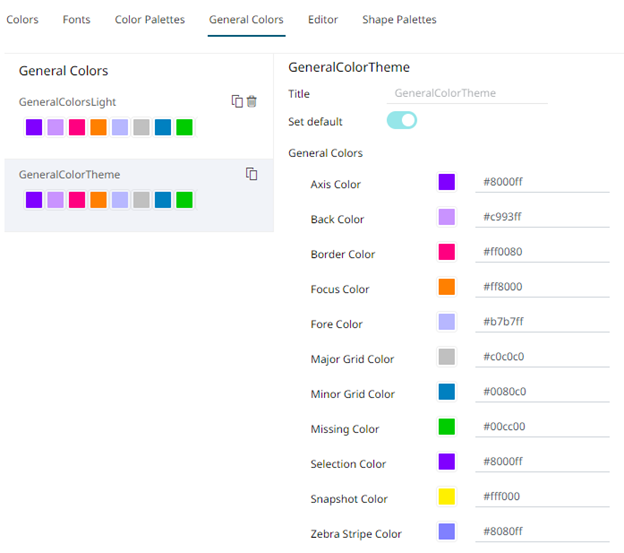
19. Click any of the color boxes to display the Color dialog.
Select or specify the new general colors: AxisColor, BackColor, BorderColor, FocusColor, ForeColor, MajorGridColor, MinorGridColor, MissingColor, SelectionColor. SnapshotColor,ZebraStripeColor.
Or enter the corresponding Hex color code.
For example:
Repeat steps 17 to 19 to add more general colors.
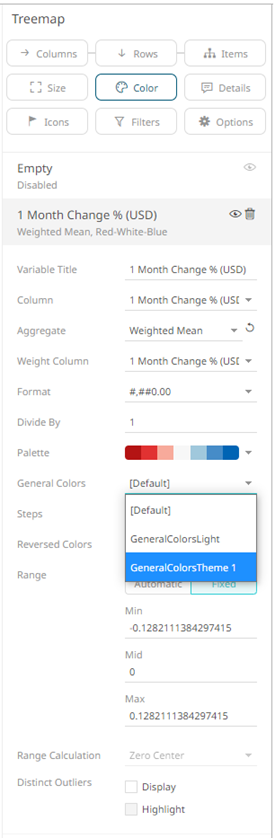
Once the new theme is saved and selected in the opened workbook, all of the defined General Colors will be added as options in the General Colors drop-down list of a Color variable in a visualization.
For example:
20. Select any of the general colors and tap the Set Default slider to make it the default.
21. Select
any of the general colors that is not set as the default, and click
Delete  to
remove.
to
remove.
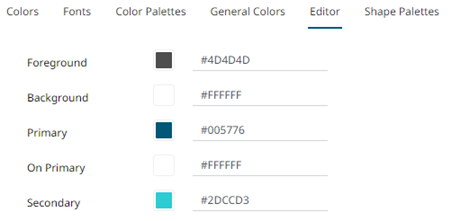
22. To set the Foreground, Background, Primary, On Primary, and Secondary colors for the editor style of the Dark theme, click the Editor tab.
23. Click on any of the color boxes to display the Color dialog and select or enter the preferred color.
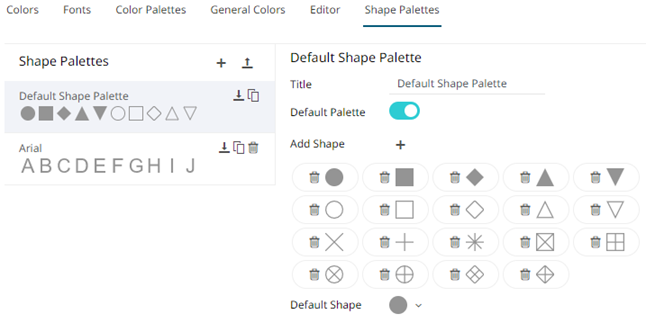
24. To set the shape palettes that can be used with the workbook theme, click the Shape Palette section to expand.
|
NOTE |
For more information in how to create, upload, download, modify, duplicate, or delete shape palettes, refer to the sections below. |
25. Click Save to
save the new theme.
to
save the new theme.
Clicking
the displays the Themes page with the new theme added in
the list.
displays the Themes page with the new theme added in
the list.
|
NOTE |
Unlike the default Dark and Light themes, new themes can be deleted. |