Process Parameters
Use the Process Parameters icon to define the filling, gelling and tilt-pouring processes of the simulation.
Basic
Use the Basic tab to define the conditions for ending a simulation.
Ending Conditions
| Parameter | Description |
|---|---|
| Filled Volume | End the simulation when the material volume in the mold reaches the specified percentage. |
| Gelling Rate | End the simulation when the gelling rate of the material reaches the specified percentage. |
| Time | End the simulation when the filling time exceeds the input value. |
| Continue to Calculate the reaction after filling | Select this option to continue calculating the foaming reaction after the cavity is filled. |
Advanced
Use the Advanced tab to define tilt-pouring or centrifugal foaming events for a foaming analysis.
Tilt Pouring
| Parameter | Description |
|---|---|
 |
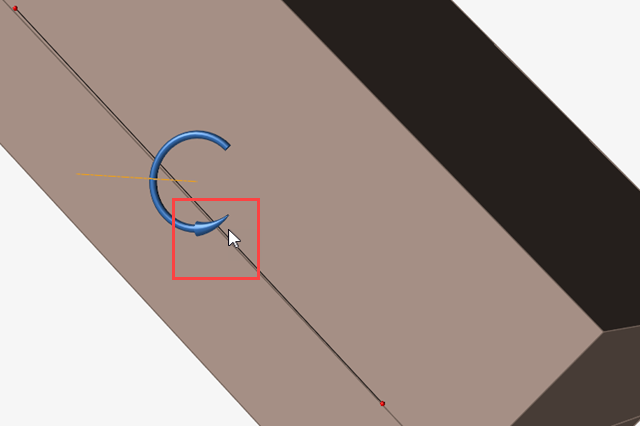
Select and manipulate the Move tool to define the mold-tilting location, or enter the X, Y and Z coordinates in the microdialog. |
| Rotation Axis | Select the axis to orient the tilt of the mold. |
| Preview | Play an animation of the of the tilt-pouring rotation. |
| Time | Enter the start time for each tilt-pouring event. |
| Angle | Enter the angle of the tilt relative to the current position of the mold. |
 |
Insert and delete rows in the data table for tilt pouring:
|

Centrifugal Foaming
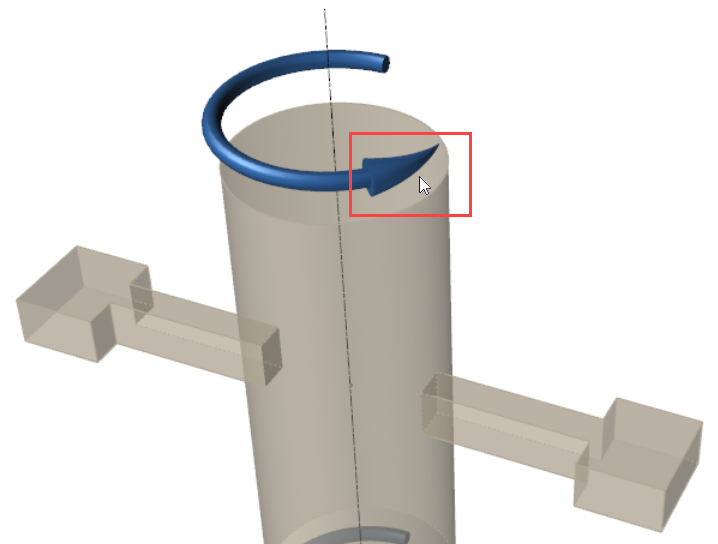
Select the option for Centrifugal Foaming on the Advanced tab and define the parameters in the microdialog.
| Parameter | Description |
|---|---|
 |
Select and manipulate the Move tool to position the rotational axis, or enter the X, Y and Z coordinates in the microdialog. |
| Rotation Axis | Select the axis to orient the rotation of the mold. |
| Time | Enter the start time for each change in angular velocity. |
| Angular Velocity | Set the mold's angular velocity at different times during the process. |
 |
Insert and delete rows in the data table for centrifugal
foaming:
|
