Troubleshooting: "Apply Smoothing" Deletes Some Surfaces
Condition
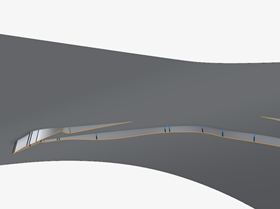
When I select Apply Smoothing, some addendum surfaces are deleted, and the addendum is displayed in red.
Note: While Apply Smoothing is the optional last step of addendum creation, it is
important that it works if you want to add fillets when finalizing the draw
die.
Cause 1
The addendum doesn't completely intersect the binder.
Remedy 1
- Deselect Apply Smoothing to go back to rib editing mode.
- Modify the ribs so that the addendum completely intersects the binder at the locations where the surface got deleted.
Cause 2
When you selected Apply Smoothing, some ribs were
automatically moved to smoothen the addendum wall where it intersects the binder
to facilitate the creation of fillets later. When the ribs were moved, they
became overlapped or too close and the addendum surface is displayed in
red.
Remedy 2A: Fix Overlapping Ribs
Overlapping ribs is the most common issue, so we suggest starting off by fixing them manually.
-
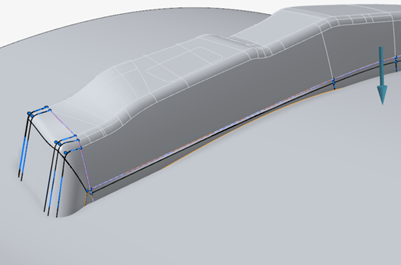
Rotate the ribs so that they don't overlap by doing one of the
following:
- Hover over the rail to display handles. Drag the lower arrow to change the angle of the rib plane.
- Select a handle and enter an Angle in the microdialog.
Note: If a rib can't be rotated, select the rib, and in the microdialog turn off the constraint Tangency G1 to the part so that you can rotate it.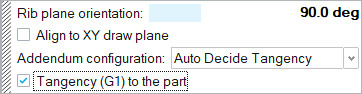
Remedy 2B: Delete Excess Ribs
Check for ribs that are too close together or lie on the same plane, and then manually delete excess ribs.
- Adjust the view as necessary to locate ribs that are too close together or lie on the same plane.
-
Delete ribs as necessary to smoothen the flow.
-
In the guide bar, select Edit Ribs.

-
In the guide bar, select Edit Ribs.
Cause 3
The Smoothing distance between the ribs is too large. Large areas are smoothened, causing overlapping ribs.
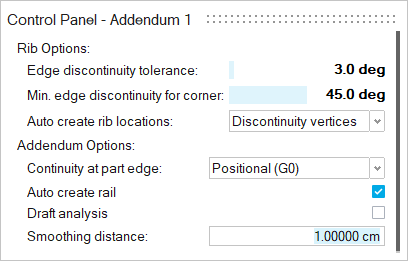
Remedy 3A
In the Control Panel, enter a smaller Smoothing
distance. Smaller areas are smoothened to avoid
overlapping ribs.
Remedy 3B: Relax the Tangency to Propagate the Addendum
Important: This remedy only works if you already have
a partial addendum. It doesn't work if no addendum surface was created at
all; in this case, you need to add ribs to create a partial addendum
first.
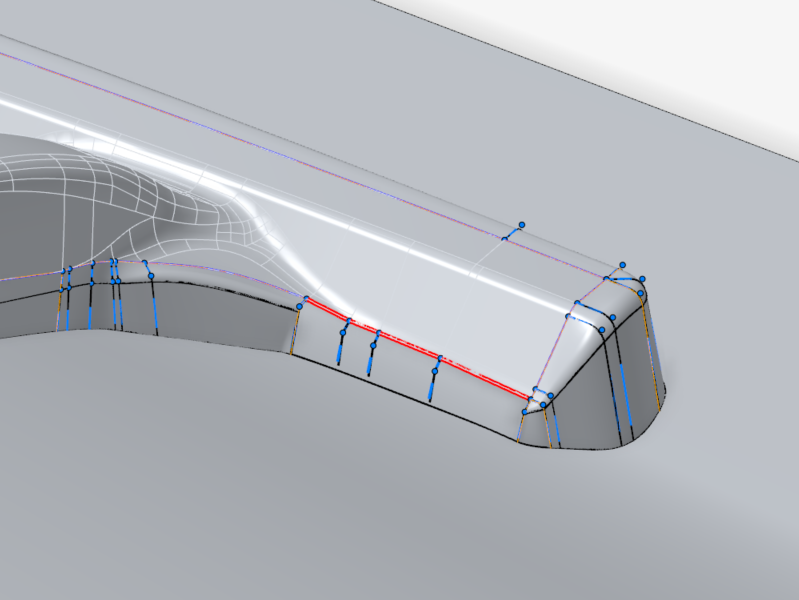
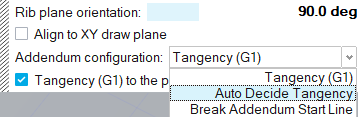
By default, Tangency (G1) is used, creating ribs with tangent
(G1) continuity between adjacent addendum surfaces. In some cases, this is not
feasible, causing the addendum surface to fail to propagate. By turning on
Auto Decide Tangency, you can see how far the surface
can propagate and identify regions that require manual fixes.-
In the microdialog, for Addendum configuration,
select Auto Decide Tangency. This uses G0 when G1
is not feasible.
When Auto Decide Tangency is set, the rib is displayed in yellow. -
The default Tangency (G1) is the ideal addendum
configuration, so you can try turning G1 back on for earlier ribs if it
doesn't break the surface.
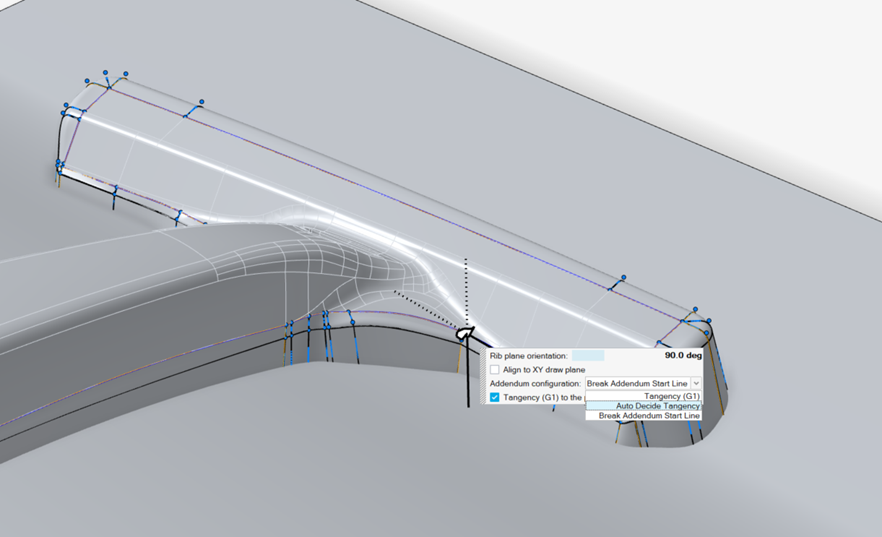
Figure 1. Relax the Tangency to Propagate the Addendum