Exporting a Crash Report When Not Connected to the Internet
A crash report can be exported to a .zip file and emailed to Altair Technical Support.
Use this workflow when the machine where the crash occurred is not connected to the
internet.
In the event of a crash occurring in CADFEKO, POSTFEKO or EDITFEKO, the crash report utility generates a crash
report.
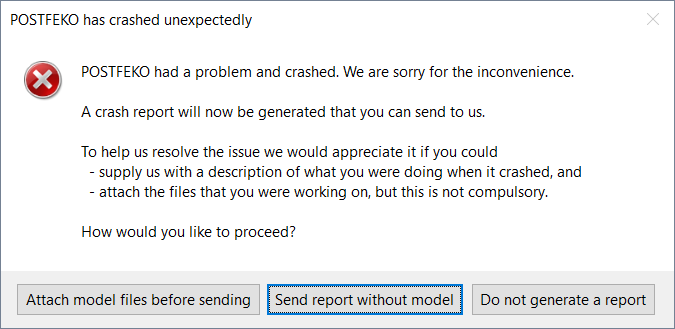
Figure 1. The POSTFEKO has crashed unexpectedly
dialog.
Select one of the following options:
To attach the model files and any related files
to the crash report, click Attach model files before
sending.
If you are working on a confidential model and
do not want to send the model files, click Send report without
model.
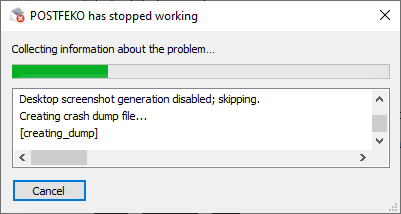
The POSTFEKO has stopped
working dialog is displayed while the details regarding the
location where the crash occurred are collected.
Figure 2. The POSTFEKO has stopped working dialog.
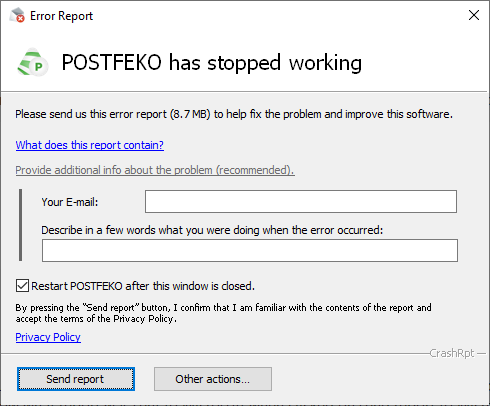
When the crash report is generated, the Error
Report dialog is displayed.
Figure 3. The Error Report dialog.
Note: The file size of the report is indicated at the top of the
dialog.
On the Error Report dialog, click What does
this report contain to view the files contained in the crash
report.
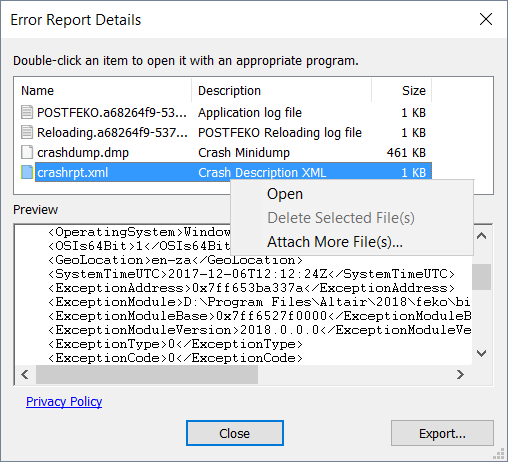
The Error Report Details dialog is displayed.
Figure 4. The Error report details dialog.
On the Error report details dialog, view the list of files
and export to a .zip
file.
To view the data contained in a file, delete a file or add more files,
click the file and from the right-click context menu, select the
relevant option.
Click Export to export the files listed on the
Error Report Details dialog to a
.zip file.
Browse to the desired file location and specify a file name.
Click Close to close the Error Report
Details dialog.
On the Error Report dialog, click Other actions > Close the program.
Copy the exported .zip file to
a machine that is connected to the internet and email the file to Altair Technical Support.
Note: Refer to the Privacy policy1 for more information regarding how we use the information obtained from
the crash report.