Overlay Settings
TableView supports overlaying reports for summary tables.
- Appending rows or columns places the data sources next to each other. Appending also always create new pages.
- Inserting rows or columns (interlacing/alternating rows or columns) displays interlaced columns, and expanded headers.
Overlay Mode
- Append as Rows
- Appends as Columns
- Insert as Rows
- Insert as Columns
When you select an area from the table to interlace columns, all cells above and below the selected area will be merged cells. In other words, they will be expanded horizontally to accommodate the new columns beneath/above them.

Figure 1. Generic example of initial session data in TableView and the appended columns after overlaying reports:

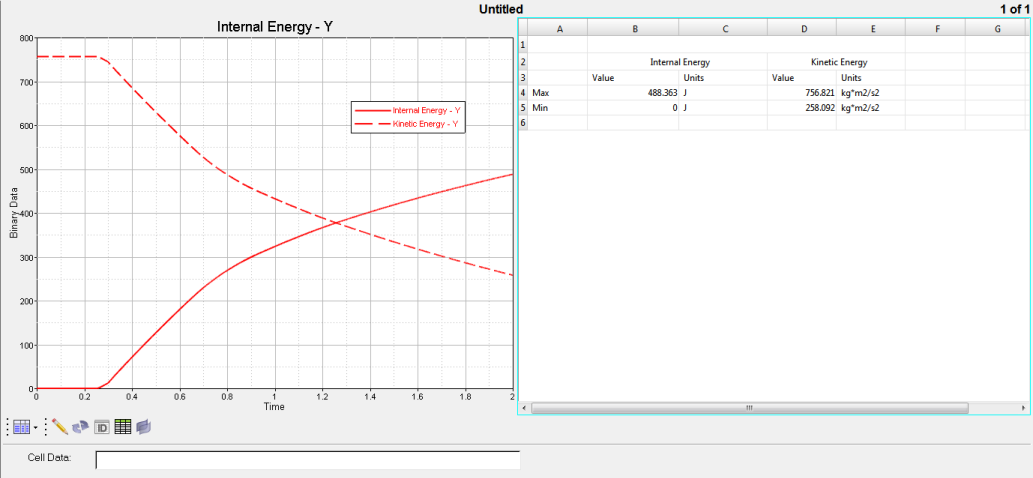
Figure 2. Summary Table for a twice-overlaid report using Append as Columns:

Figure 3. A generic example of your initial session data in TableView and the Interlaced columns after overlaying reports:

Figure 4. A Summary Table example for a twice-overlaid report using Insert as Columns (Interlaced columns) using real data:
Define the Overlay Area and Save as a Report Template
After defining the overlay area, save it as a report template.
Overlay a Report Template
Interlacing Columns
If you choose to interlace data, or Insert as Columns instead of Append as Columns, the procedure varies slightly.
Define the Rows or Columns for an Overlay
-
From the Overlay Settings panel,
 , click Add Overlay Area
to add a new overlay to the table.
-
Define which rows or columns should be used for the overlay.
-
Click in the empty cell under the Cells column and click the selector
button,
 .
.
- Select an area in TableView by holding down the left-mouse button (LMB) and dragging in the table area.
- Release the LMB to select the area and record it in the panel's Overlay Area table.
-
Click in the empty cell under the Cells column and click the selector
button,
- To delete an overlay area, select it from the panel and click Delete Overlay Area.


