


|
Setting Up Alerts on the Web Client
Alerts can be defined against:
q Streaming data sources (including CEP Engines and message queues)
q Periodically refreshed data sources (like Oracle, SAP Sybase, SQL Server, and so on)
Alert definition can be done by right-clicking on a streaming numeric data in a visualization in the Web client and setting the limits, duration, what will be included, how many and when an email will be sent.
|
NOTE |
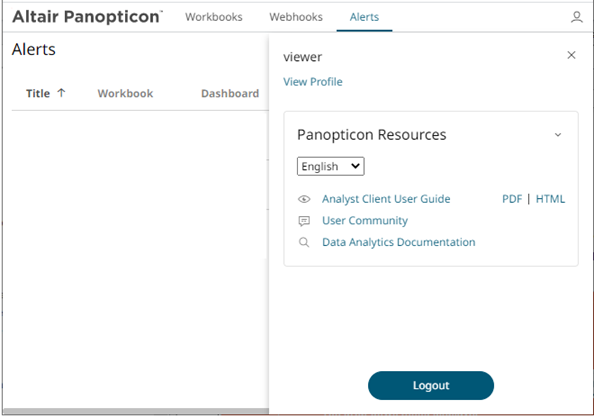
Before setting up the visualization alert, enter the email of the user or group who will receive the alert on the User Profile: Steps: 1. On the
toolbar, click
The drop-down menu displays.
2. Click View Profile. The User Profile page displays.
3. Enter the Email Address. 4. Click
|
 .
.


Steps:
1. Open a workbook on the Web client and right-click on a streaming numeric data in a visualization. Select New Alert on the context menu.
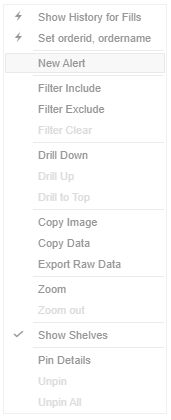
The Alerts dialog displays with the name of the visualization where the alert will be set.
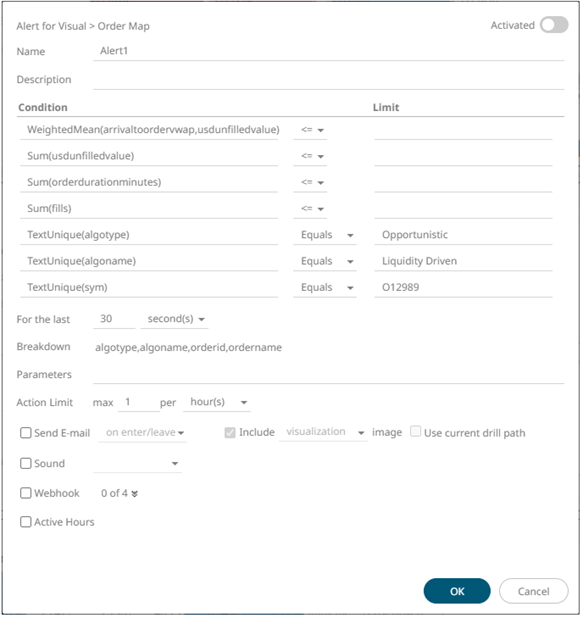
2. Enter or select the following properties:
|
Setting |
Description |
|
Name |
Name of the alert. |
|
Description |
Description of the alert. |
|
Condition |
Allows setting the Upper (<= or Lower (>=) Limit of all the available numeric variables in the visualization. |
|
For the Last |
Checks if a value has reached the limit on the set Date/Time unit: · second(s) · minute(s) · hour(s) · day(s) |
|
Breakdown |
Current breakdown of the visualization. |
|
Parameters |
Available parameters in the visualization. |
|
Action Limit |
The maximum number of times an alert will be sent on the set Date/Time unit: · second(s) · minute(s) · hour(s) · day(s) |
|
Send E-mail |
Determines when an alert email will be sent: · on enter · on leave · on enter/leave If unchecked, the notification will only be displayed on the Web client. |
|
Include |
Determines whether the image of the visualization or dashboard will be included in the alert email. |
|
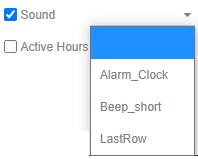
Sound |
The sound that will be played for a triggered alert. The available sounds are mp3 files placed in the AppData/Sounds folder (i.e., C:\vizserverdata\Sounds). Default is None.
|
|
Webhooks |
Webhooks that will be executed when the alert is triggered. |
|
Active Hours |
Determines when an alert should be active. Proceed to step 3. |
3. Check the Active Hours box. The dialog changes to display:
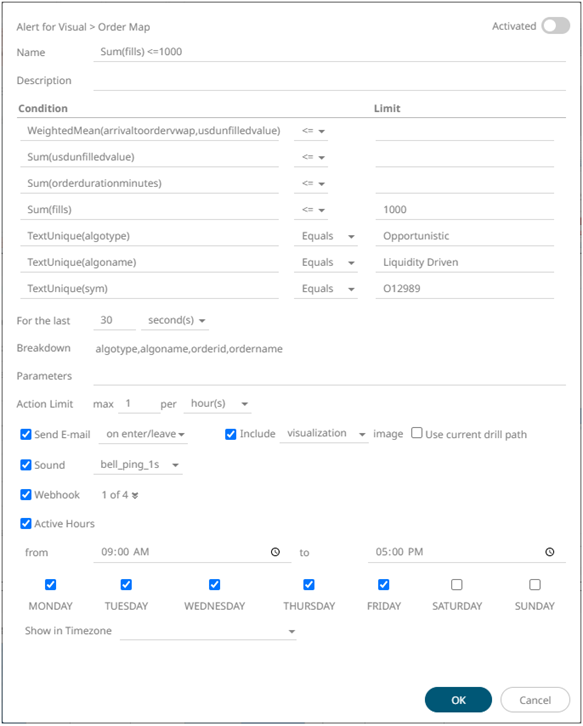
By default, the duration is from 9:00 AM to 5:00 AM on Monday, Tuesday, Wednesday, Thursday, and Friday.
4. To modify the Active Hours, either
use the Up  or Down
  button, or click
  to manually enter the new time.

5. To modify the Active Days, check the boxes of the desired days.
6. Tap the Activated slider to turn it on.
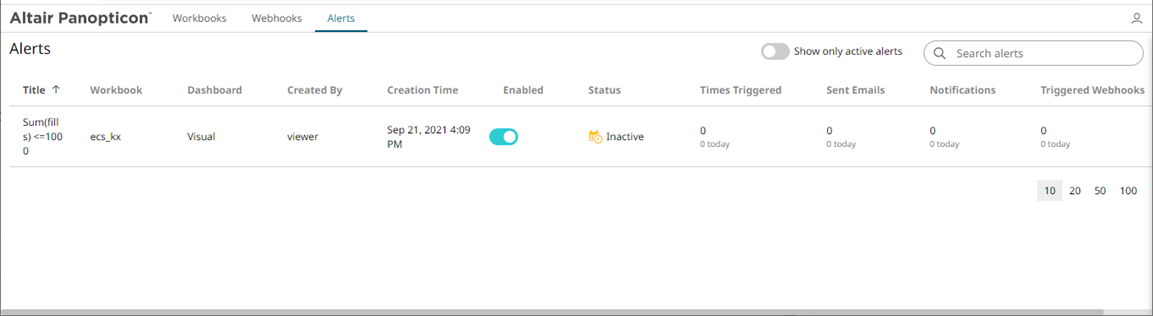
7. Click  . The new alert is added on the Alerts
page.
. The new alert is added on the Alerts
page.
|
NOTE |
When creating alerts for grand total, ensure that no breakdown is set.
|
You can then opt to perform any of the following operations: