|
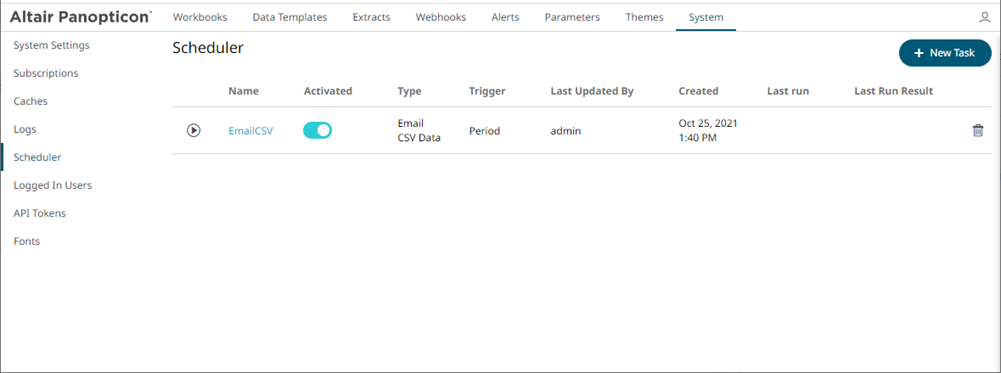
Create Task to Send CSV Data via Email
Panopticon Real Time provides the functionality to create tasks to generate and email CSV data from a workbook, dashboard, or visualization.
Steps:
1. On the New Task pane, enter the Name of
the task and click  . Ensure the name is unique.
2. Tap the Activated slider to turn it on.
3. Select the Trigger. You can either select:
· Period then enter the Interval (in seconds), or

· CRON then enter the CRON Expression.

4. Select the task Type: Email CSV Data.
5. Enter the Description of the task.
6. Upon selecting Email CSV Data, the Scheduler page changes to allow specification of the following:
· Select the Workbook Name in the drop-down list. These are the published workbooks available in the Workbooks page.
· Select dashboards or parts where to source the CSV data from, by checking their corresponding boxes in the Dashboards & Parts drop-down list.
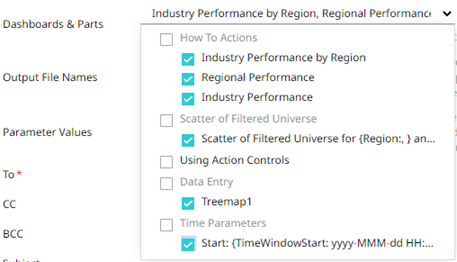
· enter comma-separated list of Output File Names.
|
NOTE |
· The items in the list must be either unique or empty. · Empty string items indicate that the default title should be used. · By default, the text box is blank causing the implicit naming to be used. · If the supplied names are fewer than the selected data sets, the default naming comes into effect for non-specified names.
|
· You can also opt to enter the Parameter Values that will be added as parameters to the subject line of emails or as dashboard values in the CSV Data.
Such as Parameter=Value, and are comma separated. For example:
Region=Europe,Industry=Financials
|
NOTE |
The following Date/Time range querying parameters are also supported in the Email CSV Data task: · CurrentTime · LastWorkDay · WeekStart · QuarterStart For example: {CurrentTime:dd-MMM-yyyy} However, when there is no Date/Time format supplied, the default format yyyy-MM-dd will be used instead.
|
7. Enter the email address of the recipient in the To field.
8. You can opt to enter the following:
· the CC and/or BCC recipients of the email separated by a comma.
· the mail message subject to be used in the email notifications in the Subject field.
|
NOTE |
Supports dashboard parameters.
|
· the content of the email in the Body box.
9. Click  .
.
Click  to go back to the
Tasks pane. The new task is added in the list.
to go back to the
Tasks pane. The new task is added in the list.