


|
Adding an External Input
Sources data directly from a Kafka topic.
Steps:
1. In the Application page, click
![]() and
select External_input
and
select External_input  in
the Add Operator pane.
in
the Add Operator pane.
The
External Input node  icon
displays in the Graph panel, as well as the properties to be
defined in the Operator Settings panel, and the preview of
the data in the Schema panel.
icon
displays in the Graph panel, as well as the properties to be
defined in the Operator Settings panel, and the preview of
the data in the Schema panel.
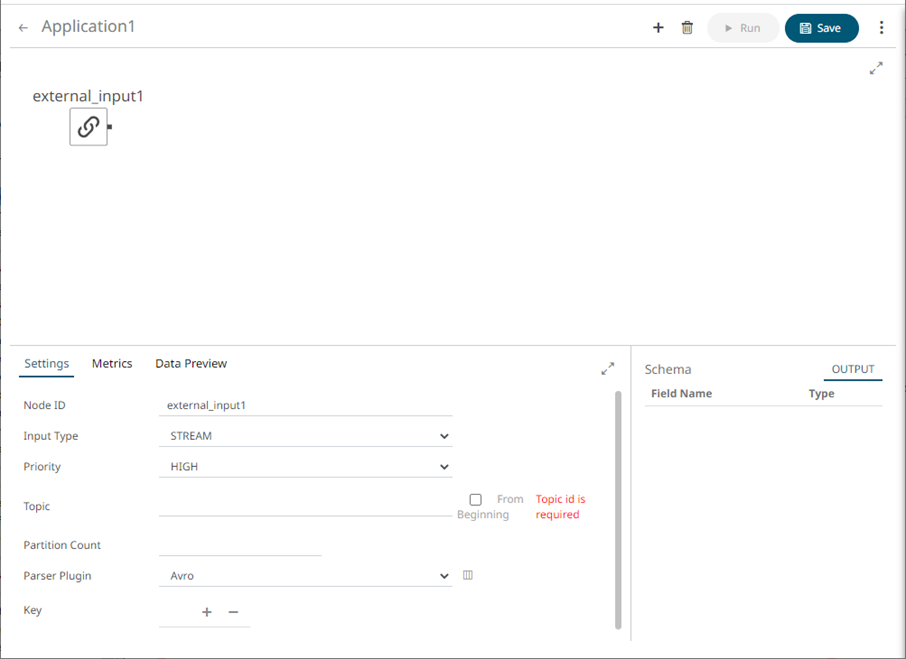
This operator serves as the initial source of the data in the application. The right (outbound) edge allows you to connect to other operators.
2. In the Operator Settings panel, define or select the following properties:
|
Property |
Description |
|
Node ID |
The ID of the external input operator. |
|
Input Type |
Select the input type: STREAM, TABLE, or GLOBAL_TABLE. |
|
Priority |
Select the priority of the node’s startup: · APPLICATION – running and successful completion of the node is critical in the application startup. · HIGHEST – highest priority but not critical. · HIGH (Default) – high priority but not critical. · STANDARD – standard priority. · LOW – low priority. |
|
Topic |
The stream of records or input you will be subscribed to. |
|
From Beginning |
Check to retrieve full history (from beginning to the latest) of the topic. If un-checked, only the latest messages after the application has started will be retrieved. |
|
Partition Count |
Enter the number of partitions for the Kafka topics that will be created for the External Input operator. Partitions allow you to parallelize a topic by splitting the data in a particular topic across multiple brokers wherein, each partition can be placed on a separate machine to allow for multiple consumers to read from a topic in parallel. NOTE: The External Input topic pulls the default partition count from the provided topic meta with generate schema call. |
|
NOTE |
Node ID, Input Type, and Topic properties are required.
|
3. In the Key section, click
![]() to add a
key column from the data source schema. Repeat to add more.
to add a
key column from the data source schema. Repeat to add more.
You
can also delete a key column in the list by checking its box and clicking
![]() .
.
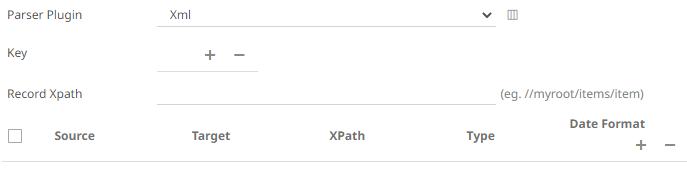
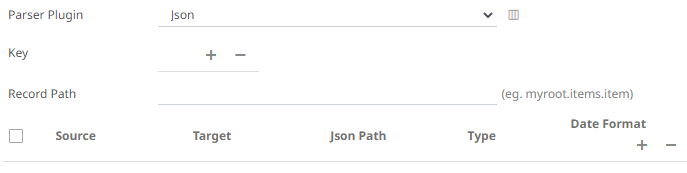
4. Select the Parser Plugin:
· Avro

· XML
· JSON
· Text
If Text has been selected, confirm the Column Delimiter and Text Qualifier, and if the first row of the message includes column headings.
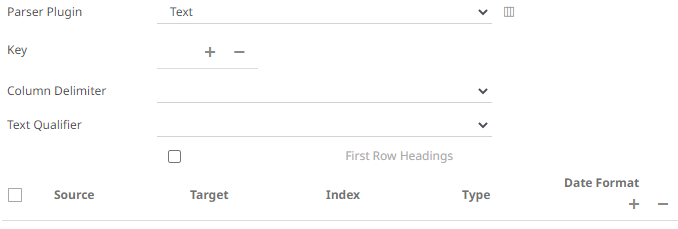
5. Enter or select the following properties:
|
Property |
Description |
|
Source |
The column name of the source schema. |
|
Target |
The column name of the target schema. |
|
XPath/Json Path/Index |
The column name of the target schema. |
|
Type |
The data type of the column. Can be: BOOLEAN, DATE, DATETIME, DOUBLE, FLOAT, INT, LONG, STRING, TIME. |
|
Date Format |
Date/Time format when the data type is DATE, DATETIME, or TIME. |
6. You can also click the following icons:
|
Button |
Description |
|
|
Add a new field entry. |
|
|
Check a box of a field entry and click |
|
|
Fetch the schema of the output topic. This populates the list of columns, with the data type found from inspecting the first ‘n’ rows of the file. |

7. Save the changes.