MV-1025: Model Point-to-Curve (PTCV) Higher-Pair Constraint
In this tutorial you will learn how to model a PTCV (point-to-curve) joint.

Figure 1. A Knife-edge Cam Follower Mechanism
Create Points
In this step you will create points for the model.
Create Bodies
In this step you will create the Cam and Follower bodies.
Create Joints
In this step you will define the revolute joint and the translational joint needed for the model.
-
Open the Add Joint or JointPair dialog in one of the
following ways:
- From the Project Browser, right-click on Model and select .
- On the Model-Constraints toolbar, click the
 (Joints) icon.
-
Create the CamPivot joint.
- In the Add Joint or JointPair, for Label enter CamPivot.
- For Type, select Revolute Joint.
- Click OK.
-
In the Connectivity tab, double click on
 and resolve it to
Cam.
-
Resolve
 to Ground Body and
click OK.
-
In the Connectivity tab, double click
 and resolve it to
PivotPoint.
-
Change the Alignment Axis to
 . Resolve Vector to Global
Z.
-
Create the FollowerJoint.
- In the Add Joint or JointPair, for Label enter FollowerJoint.
- For Type, select Translational Joint.
- Click OK.
-
In the Connectivity tab, double click on
 and resolve it to
Follower.
-
Resolve
 to Ground Body and
click OK.
-
In the Connectivity tab, double click
 and resolve it to
FollowerJoint.
-
Change the Alignment Axis to
 . Resolve Vector to Global
Y and click OK.
Create Markers
In this step you will define markers required for defining the PTCV joint.
-
Open the Add Marker or MarkerPair dialog in one of the
following ways:
- From the Project Browser, right-click on Model and select .
- On the Model-Reference toolbar, click the
 (Marker) icon.
-
Create the CamMarker.
- In the Add Marker or MarkerPair dialog, for Label enter CamMarker.
- Click OK.
-
In the Properties tab, double click on
 and resolve it to
Cam and click OK.
-
In the Properties tab, double-click
 and resolve it to
PivotPoint.
- Click OK. Accept the defaults for axes orientation.
-
Create the FollowerMarker.
- In the Add Marker or MarkerPair dialog, for Label enter FollowerMarker.
- Click OK.
-
In the Properties tab, double click on
 and resolve it to
Follower and click OK.
-
In the Properties tab, double-click
 and resolve it to
FollowerPoint.
- Click OK. Accept the defaults for axes orientation.
Create Graphics
In this step you will load graphics for the Cam and Follower and create graphics for the joints in the model.
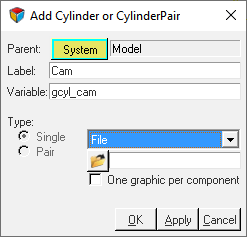
Create the Curve
In this step you will create the curve that defines the profile of the Cam.
Create the PTCV Joint
In this step, you will create the PTCV joint.
-
Open the Add AdvJoint dialog by doing one of the
following:
- From the Project Browser, right-click on Model and select .
- On the Model-Reference toolbar, click the
 (Advanced Joint)
icon.
- In the dialog, enter the Label PTCV.
- From the drop-down menu, choose PointToCurveJoint and click OK.
-
Configure the Connectivity tab for the PTCV joint.
-
Double click
 . In the dialog, choose
Follower and click OK.
-
Double click
 . In the dialog, choose
FollowerPoint and click OK.
-
Double click
 . In the dialog, choose
CamProfile and click OK.
-
Double click
 . In the dialog, choose
CamMarker and click OK.
-
Double click
Specify the Cam Motion
In this step, you will specify a motion for the cam using an expression.
Specify Gravity
In this step you will specify the gravity in the negative Y direction.
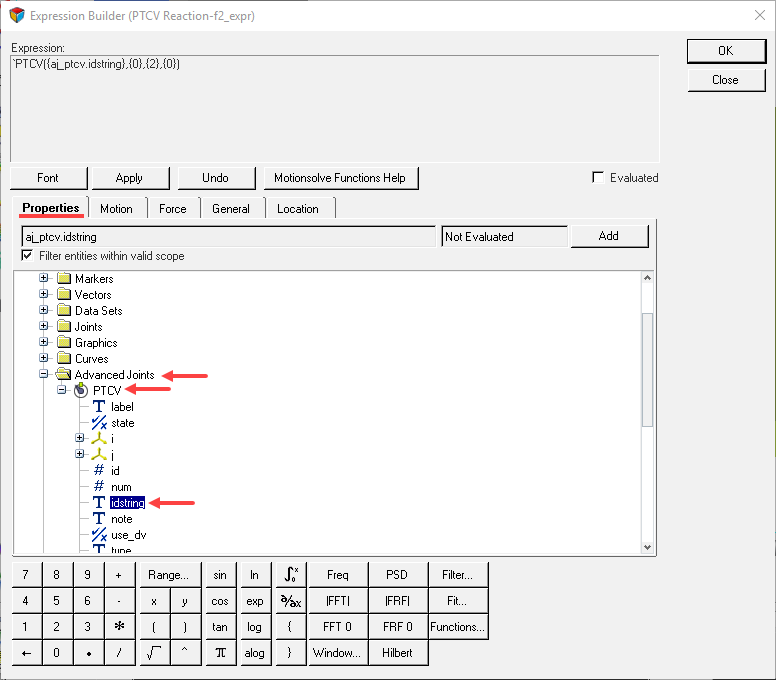
Specify Output Requests
In this step you will specify the output requests in order to monitor the reaction on the PTCV joint.
Run the Model
In this step you will run the knife-edge cam follower model.
View the Results
In this step you will learn how to view the animation and plot the Y displacement of the follower.
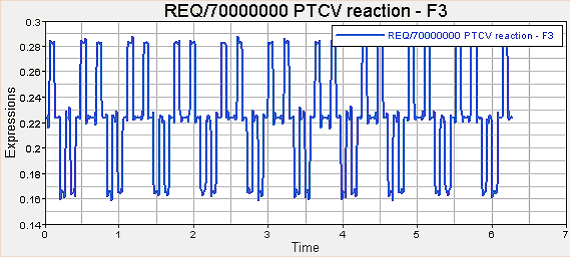
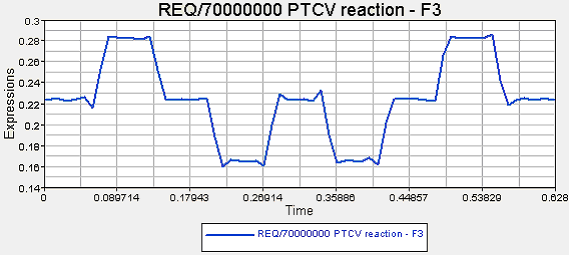
Check the Model for Potential Lift-Off
In this step, you will check the knife-edge cam follower mechanism for potential lift-off by plotting the Y-reaction on the follower.


