In this tutorial, you will create a new workpiece material. After creation, this material can be assigned in the model similar to existing materials in the database.
The model files for this tutorial are located in the file mfs-1.zip in the subdirectory \hx\MetalExtrusion\HX_0404. See Accessing Model Files.
To work on this tutorial, it is recommended that you copy this folder to your local hard drive where you store your HyperXtrude data, for example, “C:\Users\HyperXtrude\” on a windows machine. This will enable you to edit and modify these files without affecting the original data. In addition, it is best to keep the data on a local disk attached to the machine to improve the I/O performance of the software.
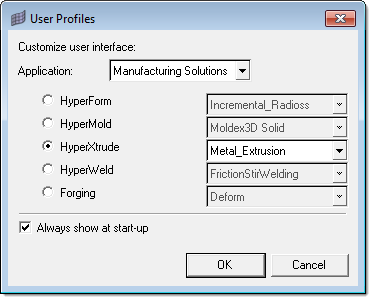
| 1. | From the Start menu select: All Programs > Altair > HyperXtrude to launch the HyperXtrude user interface. The User Profiles dialog appears with Manufacturing Solutions as the default application. |
| 2. | Select HyperXtrude and Metal Extrusion. |

|
| 1. | On the Utility menu, click on the Material Database button. |

|
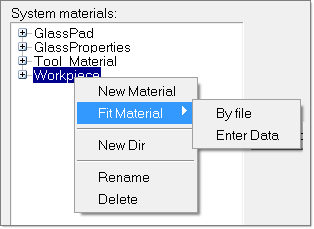
| 1. | Right-click on the Workpiece branch and select Fit Material > By file. |

| 2. | A file browser dialog opens. Select the input file HX_0404.dat from the directory. Click Open. |
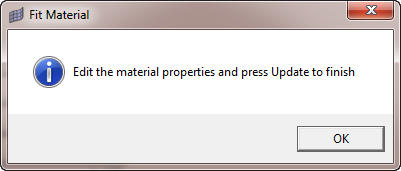
| 3. | A message pops up showing the status while a new material is added to the branch. Another message is posted signaling the completion of the process. Click OK. |

| 4. | Click Update, and the material will be updated. Click OK in the next message. The material is added to the material database. |
| 5. | Select this newly added SampleWorkpieceMat1 material and click on Add to assign this material to components. |
|
Return to Metal Extrusion Tutorials


