RD-T: 3540 Front Impact Bumper Model
This tutorial demonstrates how to find deformation, stress and energy absorbing capacity of various structural components of a vehicle hitting a stationary or moving object.
- The component is crashworthy (safe) if it meets the plastic strain and energy targets.
- A Bumper beam is one of the components that is used to protect passengers from front and rear collision.
- Bumper beam crash tests are necessary, for instance, to calculate the energy absorption of this component during a crash.
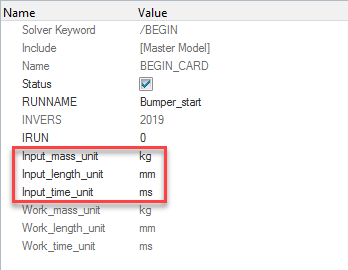
- UNITS: Length (mm), Time (ms), Mass (kg)
- Simulation time: [0 – 100.0]
- Boundary Conditions: Gravity load, initial velocity of -5.0 m/s of the bumper beam on the rigid wall
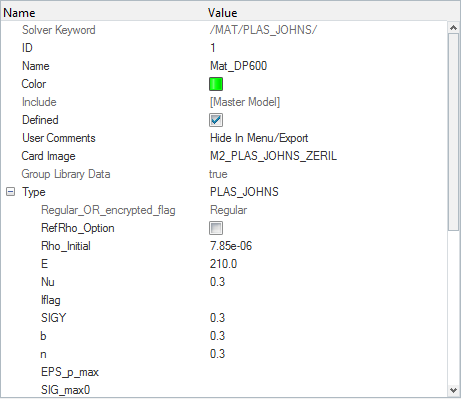
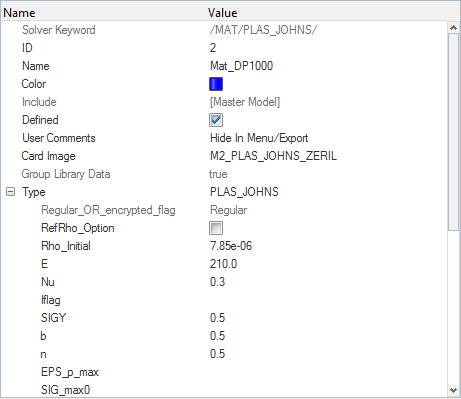
- /MAT/LAW2 (PLAS_JOHNS): for Bumper parts and Crash box parts
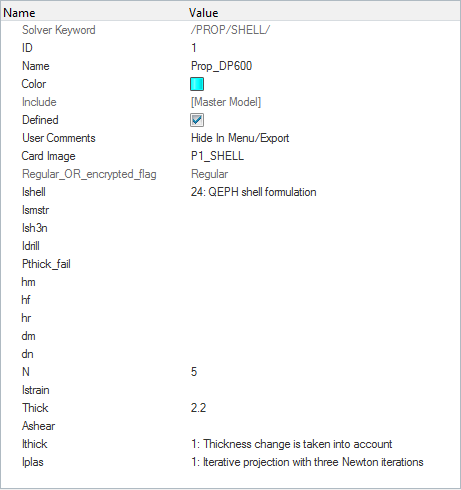
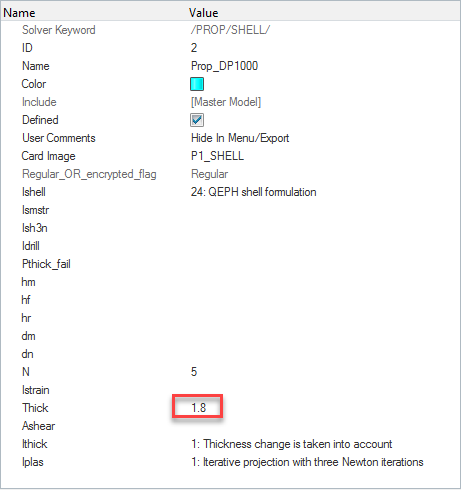
- /PROP/TYPE1 (SHELL): for Bumper beam parts and Crash box parts
- /INTER/TYPE2: for tied interface that connects a set of secondary nodes to a main surface. (connect coarse and fine meshes, model spotwelds, rivets, and so on)
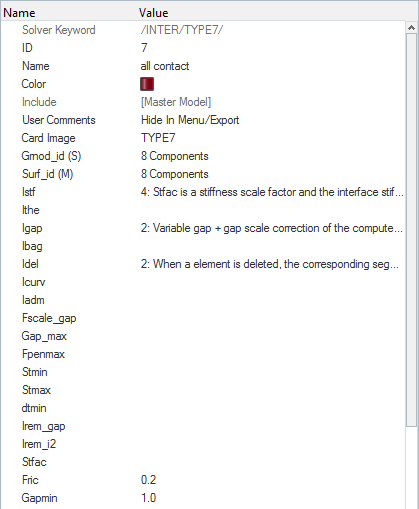
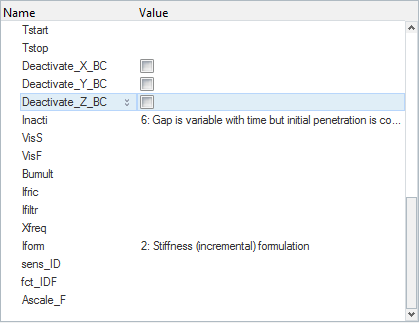
- /INTER/TYPE7: Penalty contact between all versus all
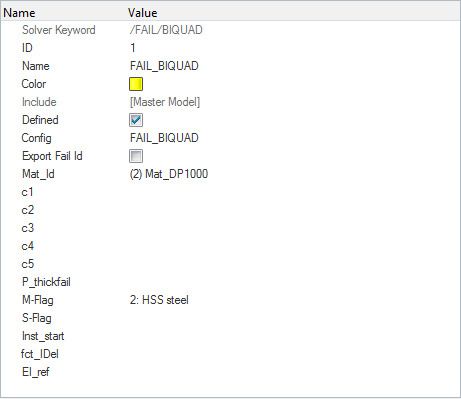
- /FAIL/BIQUAD: to model failure
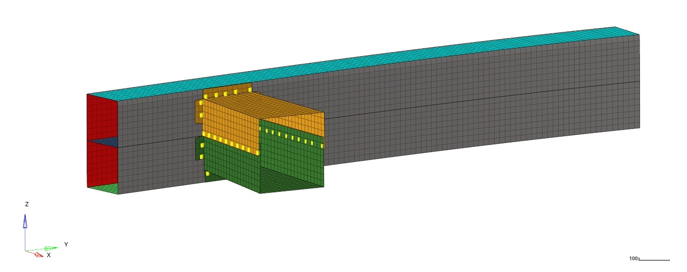
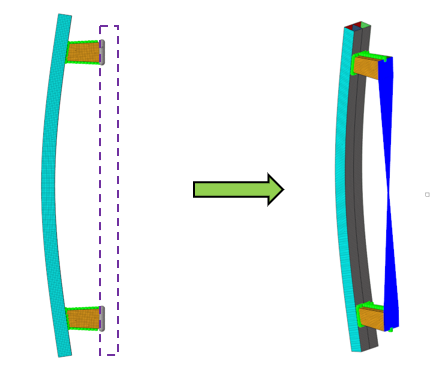
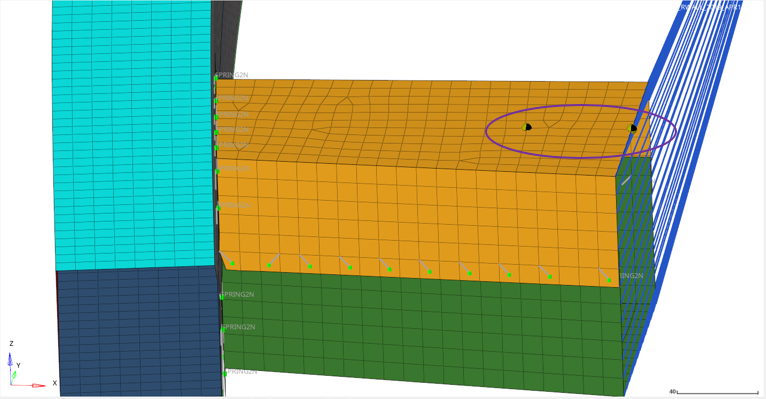
Figure 1. Bumper Model
Model Files
Refer to Access the Model Files to download the required model file(s).
Load the Radioss User Profile
- Launch HyperMesh Desktop.
-
From the Preferences menu, select User Profiles or click
the
 icon in toolbar.
- Select Radioss (Radioss2022) and click OK.
Import the Model
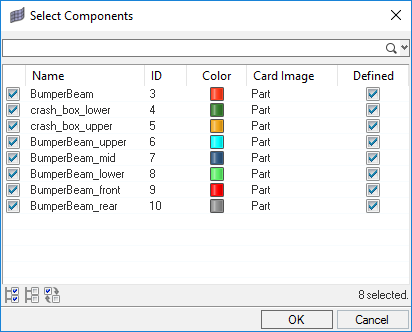
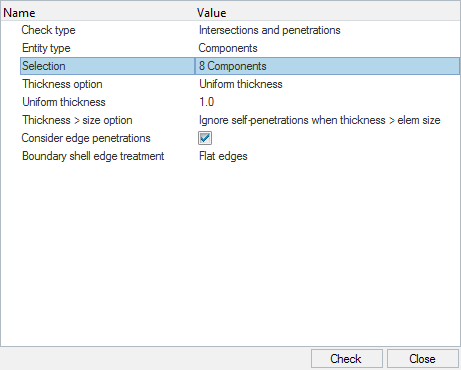
Define Penetration/Intersection Check
Create Materials
Two materials will be created.
Create Failure to Material Card
Create the Properties
Two properties will be created.
Assign Materials and Properties to Components
- In the Model Browser, expand the Components folder and left-click on the crash_box* components.
- In the Entity Editor, for Prop_Id, click the Value field <unspecified> to change to Property and select Prop_DP600 and click OK.
- For Mat_Id, click the Value field <unspecified> to change to Material and select Mat_DP600 and click OK.
- In the Model Browser, left-click on the BumperBeam* components.
- In the Entity Editor, for Prop_Id, click the Value field <unspecified> to change to Property and select Prop_DP1000 and click OK.
- For Mat_Id, click the Value field <unspecified> to change to Material and select Mat_DP1000 and click OK.
Create Spotwelds
The model has unrealized connectors which will be used to create spotwelds.
- From 1D page select and toggle the realize option to connect the bumper parts.
- Click connectors and select all.
- Set type= to type2(spring).
- For tolerance and diameter, insert a value of 8 and click realize.
- Click return.
Reflect the Model
Create the Interface for Penalty Contact
Another useful way to view the model is using the Solver Browser which shows the model using the Solver entities.
Create the Rigid Body
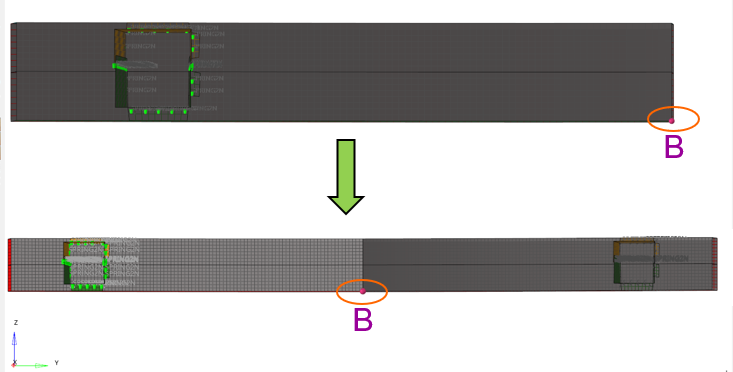
Create the Boundary Condition
Create the Gravity Load
Create the Initial Velocity
- Select , and right-click in the Solver tab area.
- Select .
- For Title, enter INIVEL.
- Click Set beside grnd_ID and pick the all_nodes set that was created in the gravity creation set.
- Click Velocity Components and enter, -5, 0, 0 for Vx, Vy and Vz fields, respectively.
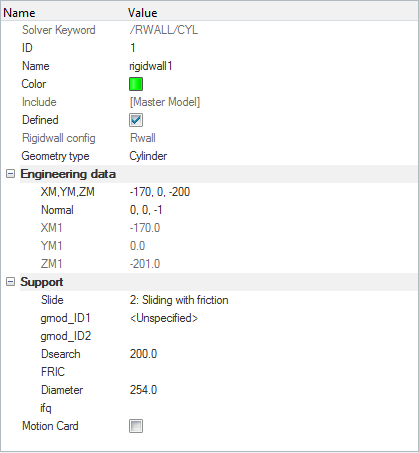
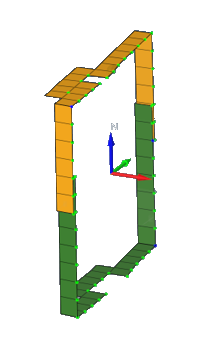
Define the Rigid Wall
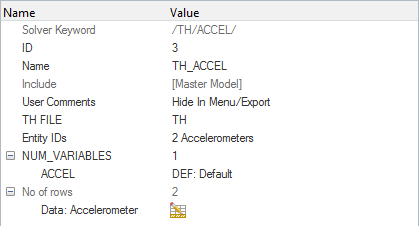
Create Accelerometer for Post-Processing
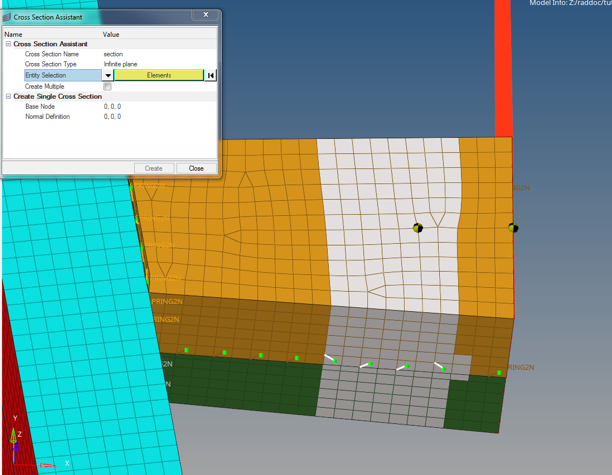
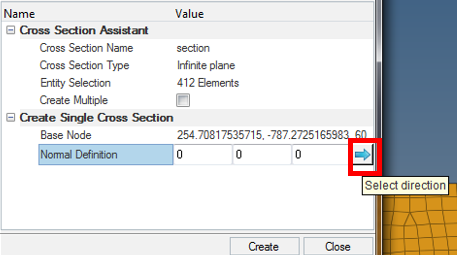
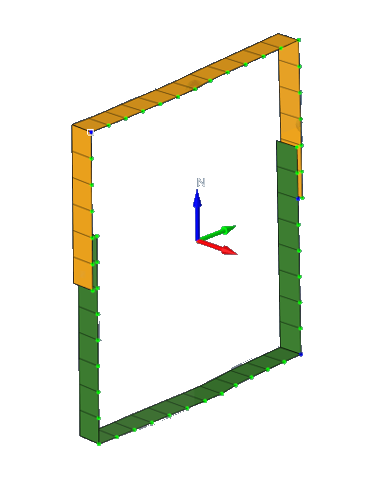
Create a Cross Section
Review the Cross Section
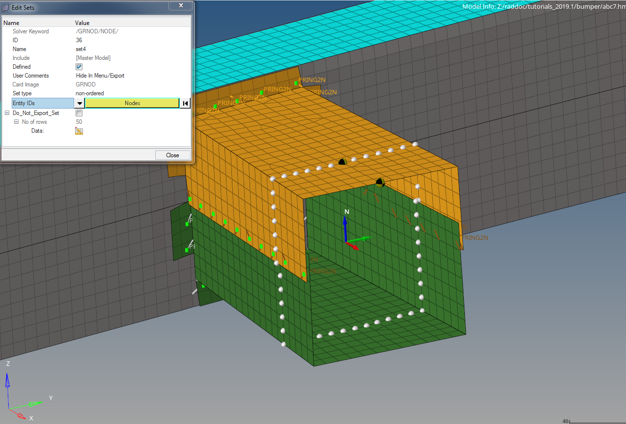
Edit the Cross Section Sets
Define 2nd Penetration Check
- From the Tools menu, select Penetration Check.
-
Click Invoke Penetration check setup Widget icon
 .
.
- For Entity type, select Groups and select all_vers_all contact group.
- Click Check.
-
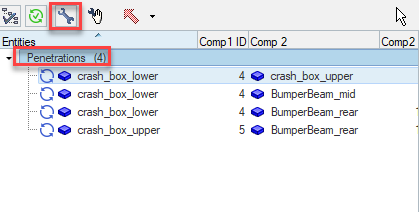
In the Penetrations Browser, click the Review Failed
Elements icon
 .
.
- Expand the Penetrations folder in the browser and select all_contact to see the elements with the penetrations.
-
Click Automatic Penetration/Intersection Fix icon
 to remove penetrations.
-
Click Recheck icon
 , if there are any penetrations or intersections.
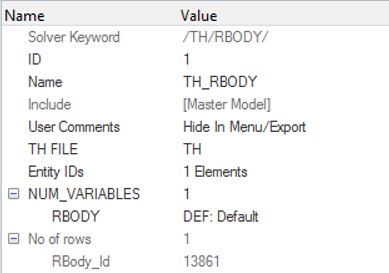
Create Time History Outputs
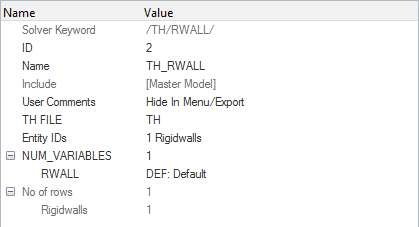
Three separate time history outputs will be created in this step.
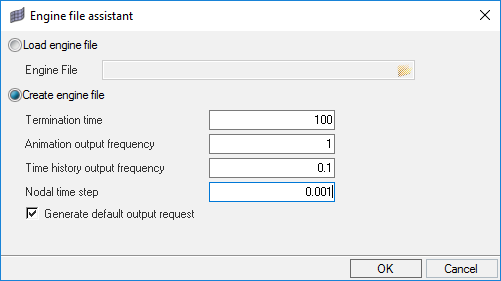
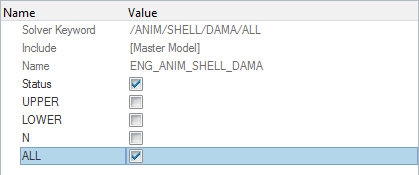
Create Control Cards
Edit Control Cards
To edit an existing control card.
Export the Model
-
Click or click the Export icon
 .
.
-
Click the folder icon
 and navigate to the
destination directory where you want to export to.
- For Name, enter bumper_impact and click Save.
- Click the downward-pointing arrows next to Export options to expand the panel.
- Click Export to export the file.
Run the Model in the Solver
- Go to .
- For Input file, browse to the exercise folder and select the file bumper_impact_0000.rad.
- For Options, select -np 4 (Radioss Version, Starter and/or Engine, Number of CPUs).
- Click Run.
Post-process with HyperView and HyperGraph
When the simulation is done running, use the following steps.
- Open HyperView and click .
- Under Load Model, select the bumper.h3d file.
- Global energies and forces can be plotted in HyperGraph by using the Build plots panel and loading the bumperT01 file.
 .
. to open the