Tutorial: Basic Drawing
Learn how to add a drawing sheet, create a table, create a view set, create section and detail views, add dimensions and annotations, and export the drawing.
In this lesson you will learn how to:
- Add and customize a drawing sheet
- Create and edit a table
- Create and edit a view set with child views
- Create section and detail views
- Add dimensions and annotations
- Export the drawing as a .pdf, .dxf, or .dwg file
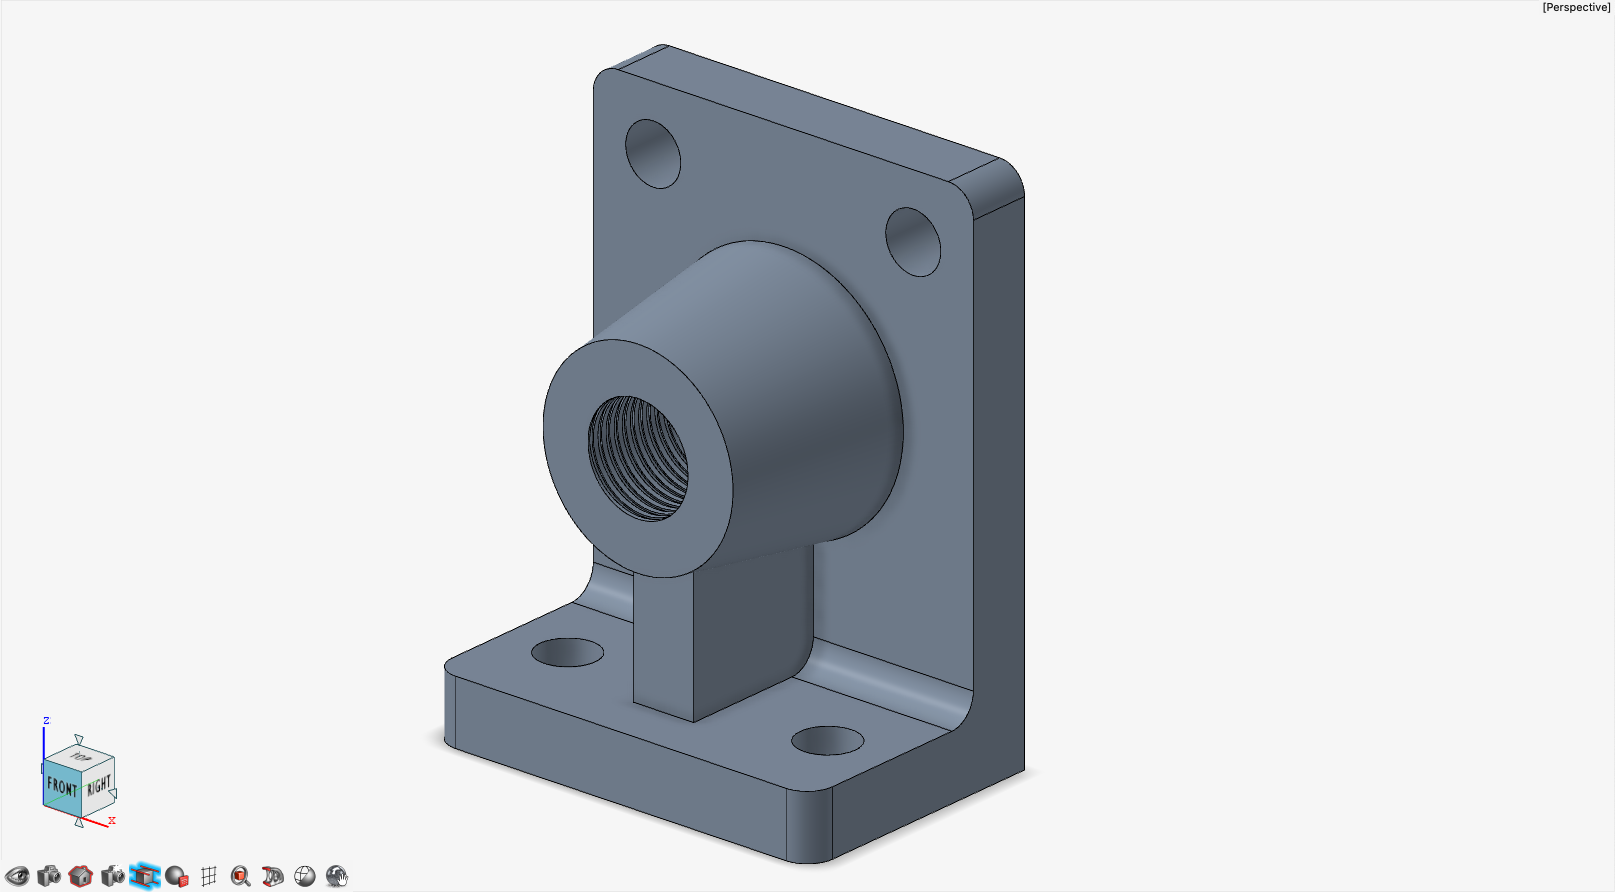
Open the File
-
Open the drawing_part.iStudio file. This file has no
history.
Enter the Drawing Environment
To enter the drawing environment, on the ribbon, click the
Drawing tab.

Note: In the drawing environment, the user interface looks slightly different
than in other environments and the following features are disabled:
- View Cube
- View controls (except Fit Selected)
In the Browser, the default tab is now set to
Drawing. Clicking any other tabs such as
World, Material, or
Lights will take you out of the drawing
environment and into the modeling environment.

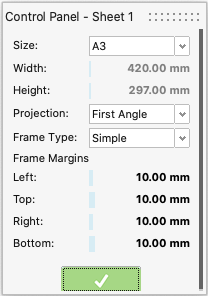
Set the Drawing Sheet Preferences
In the drawing environment, a new sheet is created automatically and the Control
Panel is displayed.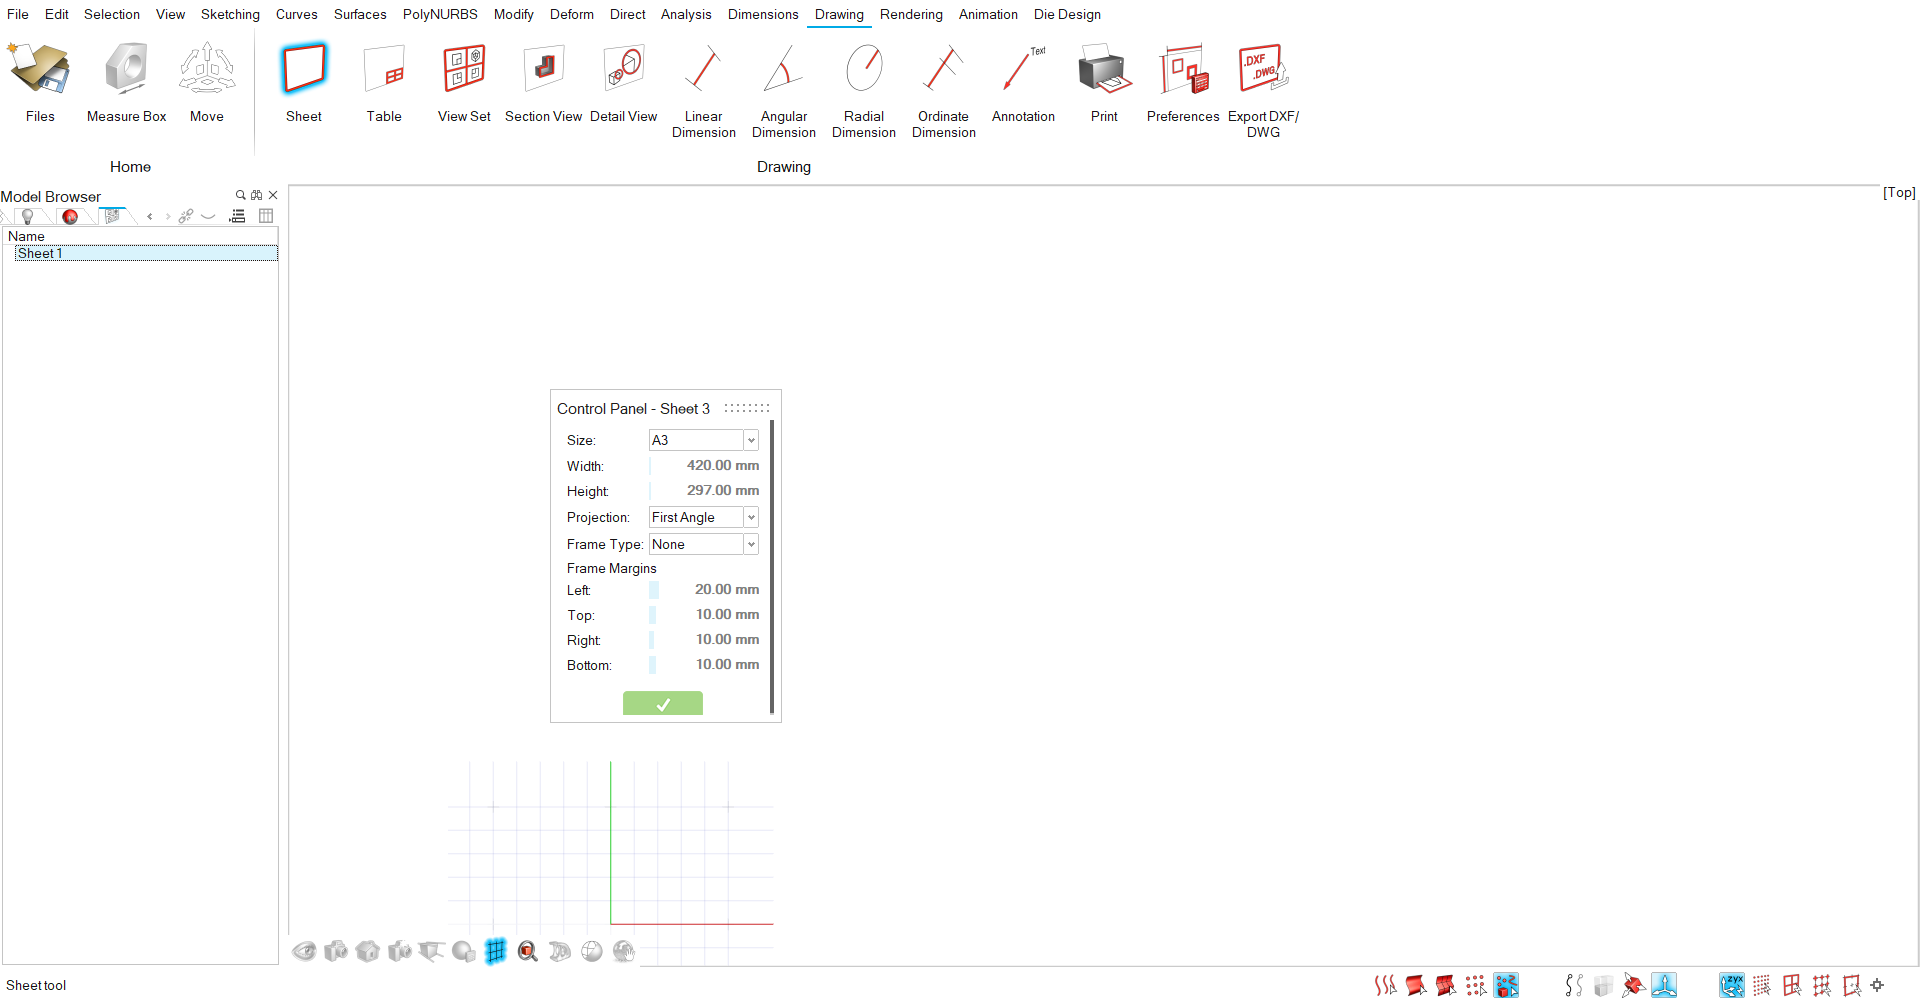
-
Change the Left margin to 10.00
mm.
Add and Edit a Table
-
Click the Table icon.
By default, a single cell table is created. -
Create a table as shown in this video.
To Do this Split a cell horizontally Drag the horizontal edge of a Split Cell graphic manipulator (the blue box at the top right of the cell). Split a cell vertically Drag the vertical edge of a Split Cell graphic manipulator (the blue box at the top right of the cell). Merge cells - Hover to the left or right of an interior border until a plus sign appears with the tooltip Merge cell.
- Click the plus sign.
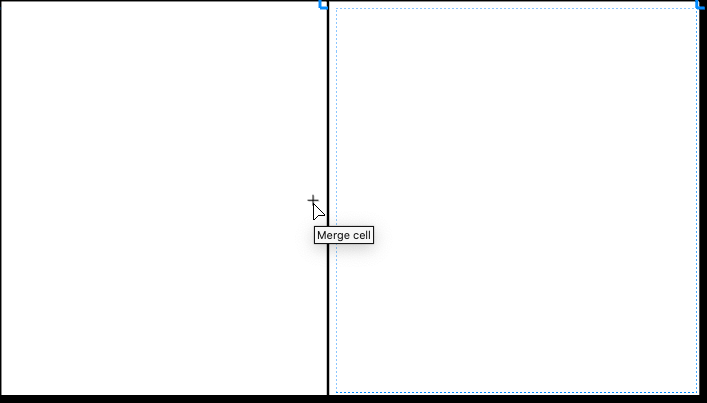
Resize a cell Drag the Edge. -
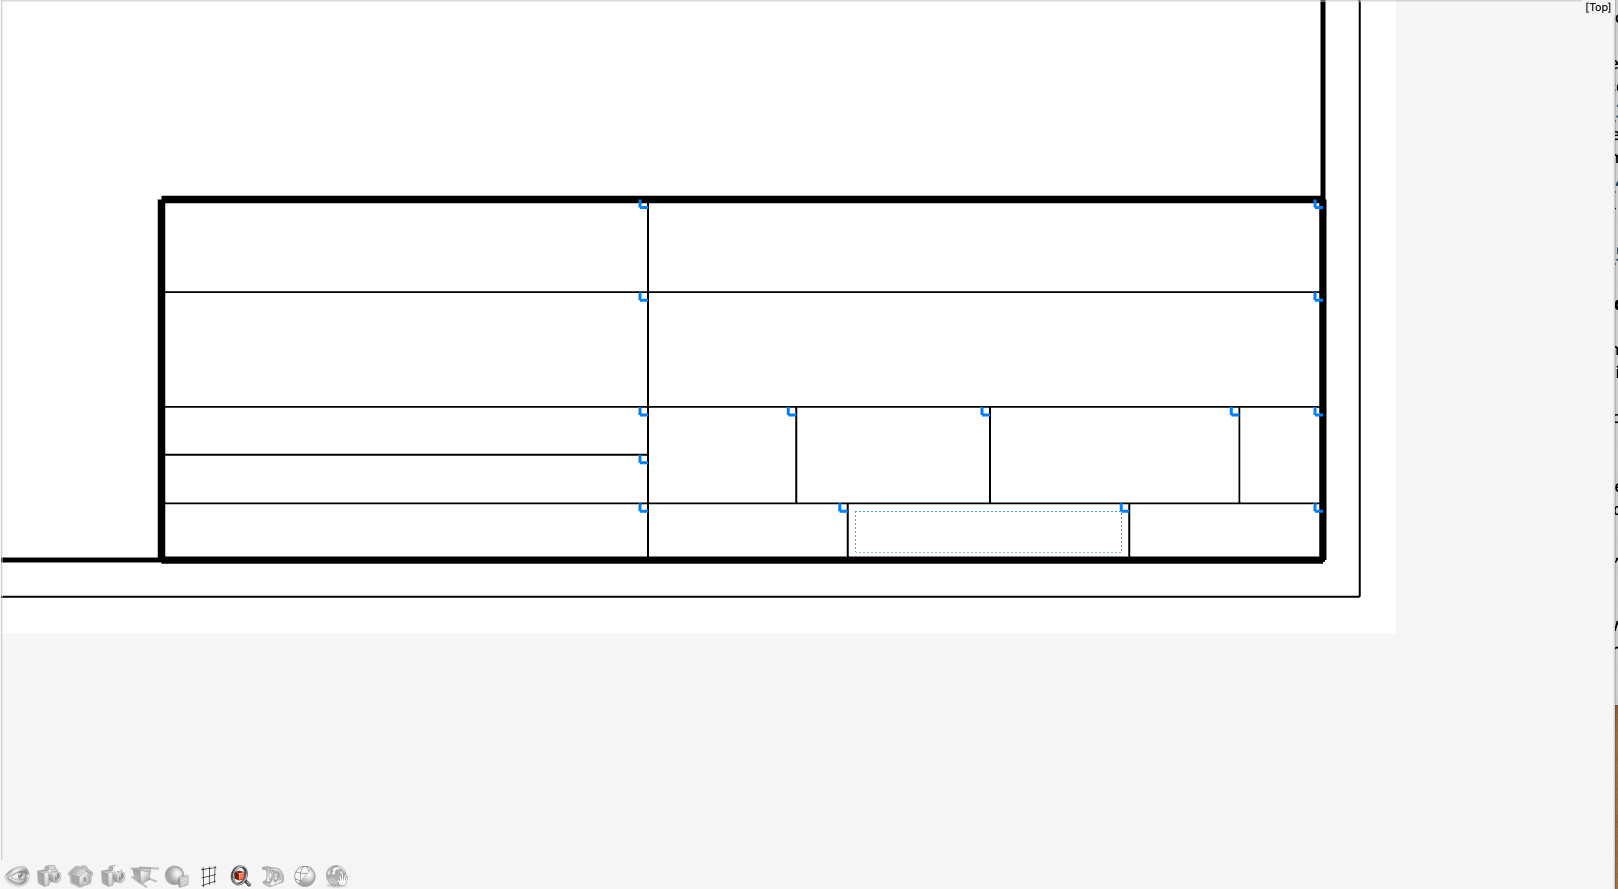
Add additional cells as shown below.
Format the Table Cells
-
Select Background to turn on the cell background. Some
cells will need a black Cell Color and a yellow
Text Color.
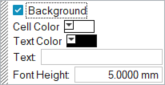
-
Use the Text and Font Height to
enter the following data.
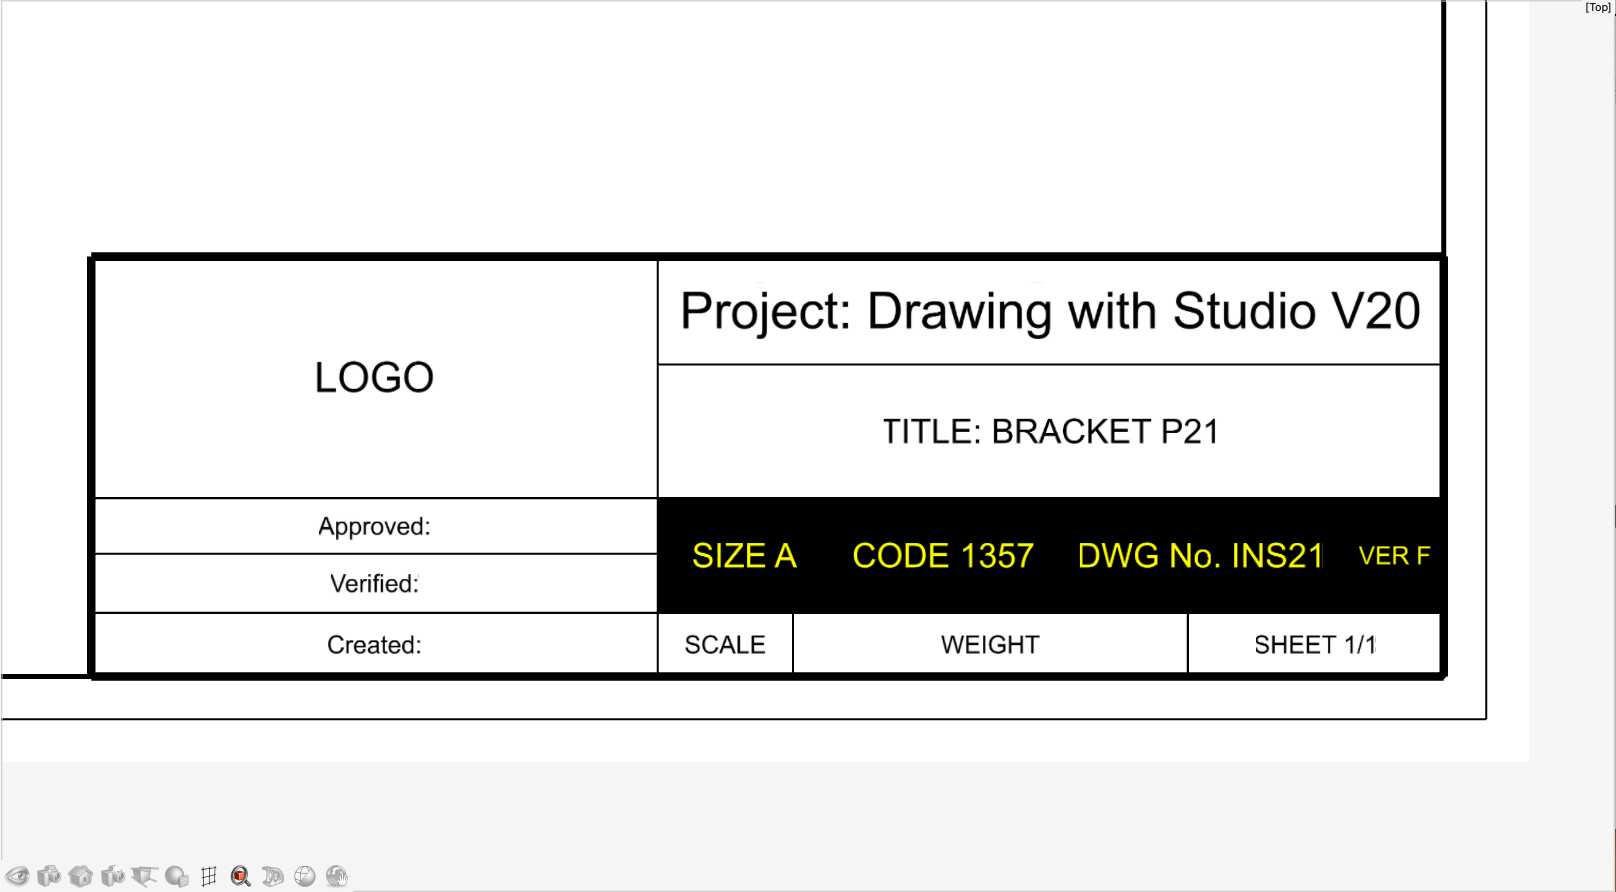
Note: You can copy and paste text between cells, but not the full formatting. Currently you cannot indent text or add a new line. Logos can be added during post-processing.
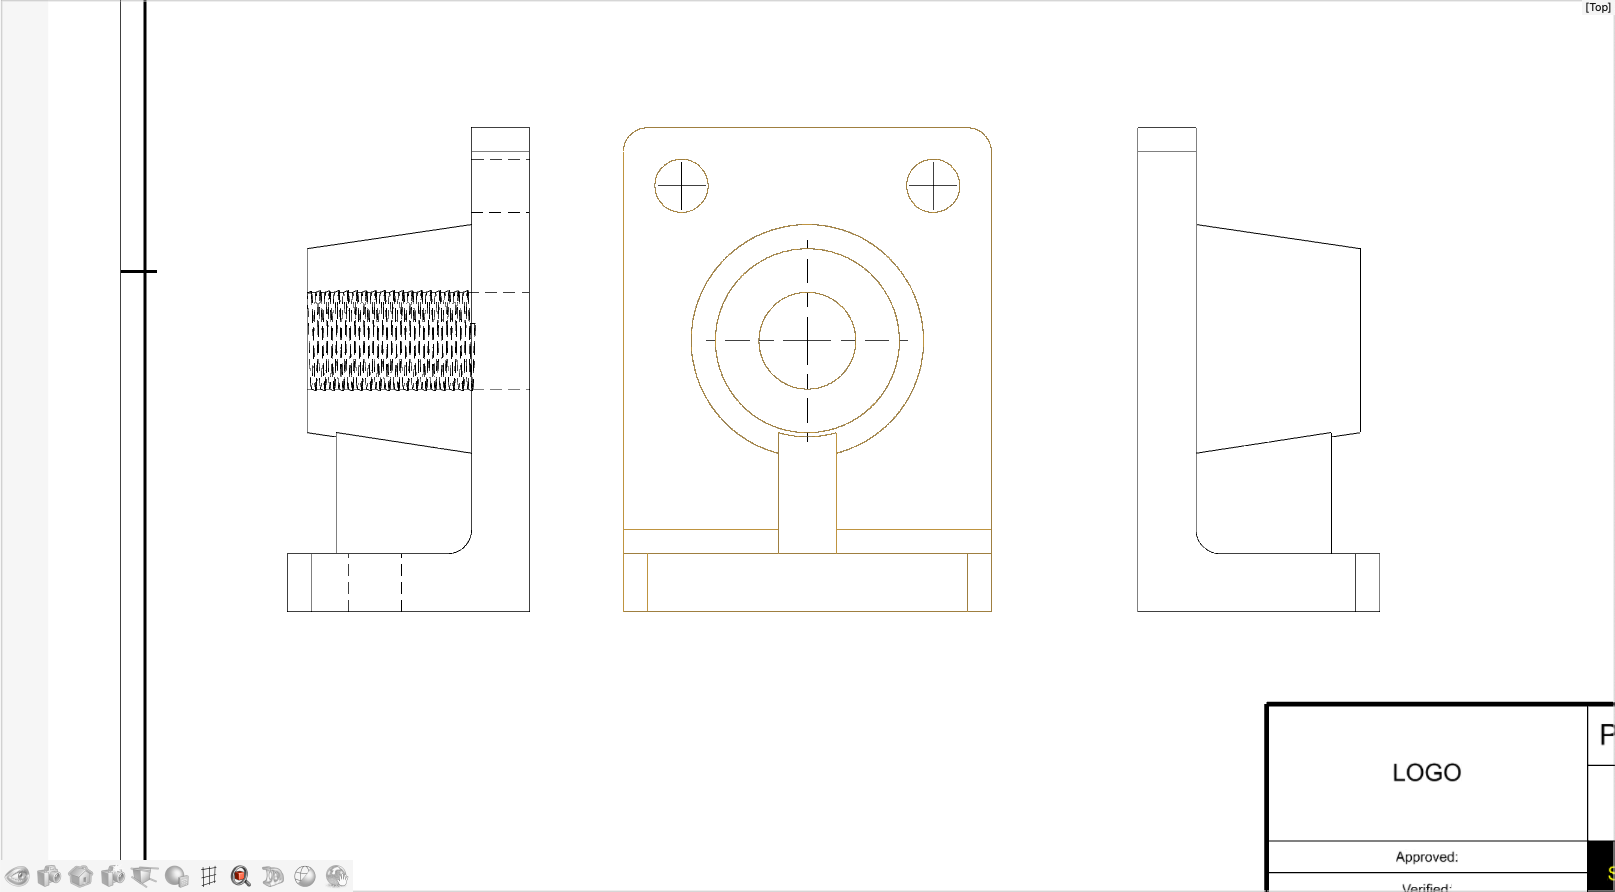
Add a View Set With Child Views
-
Click the View Set icon.
The modeling environment is displayed so you can select objects for the view set. Each view set displays a parent view of the selected part in the orthographic view and child views in the orthographic or isometric view.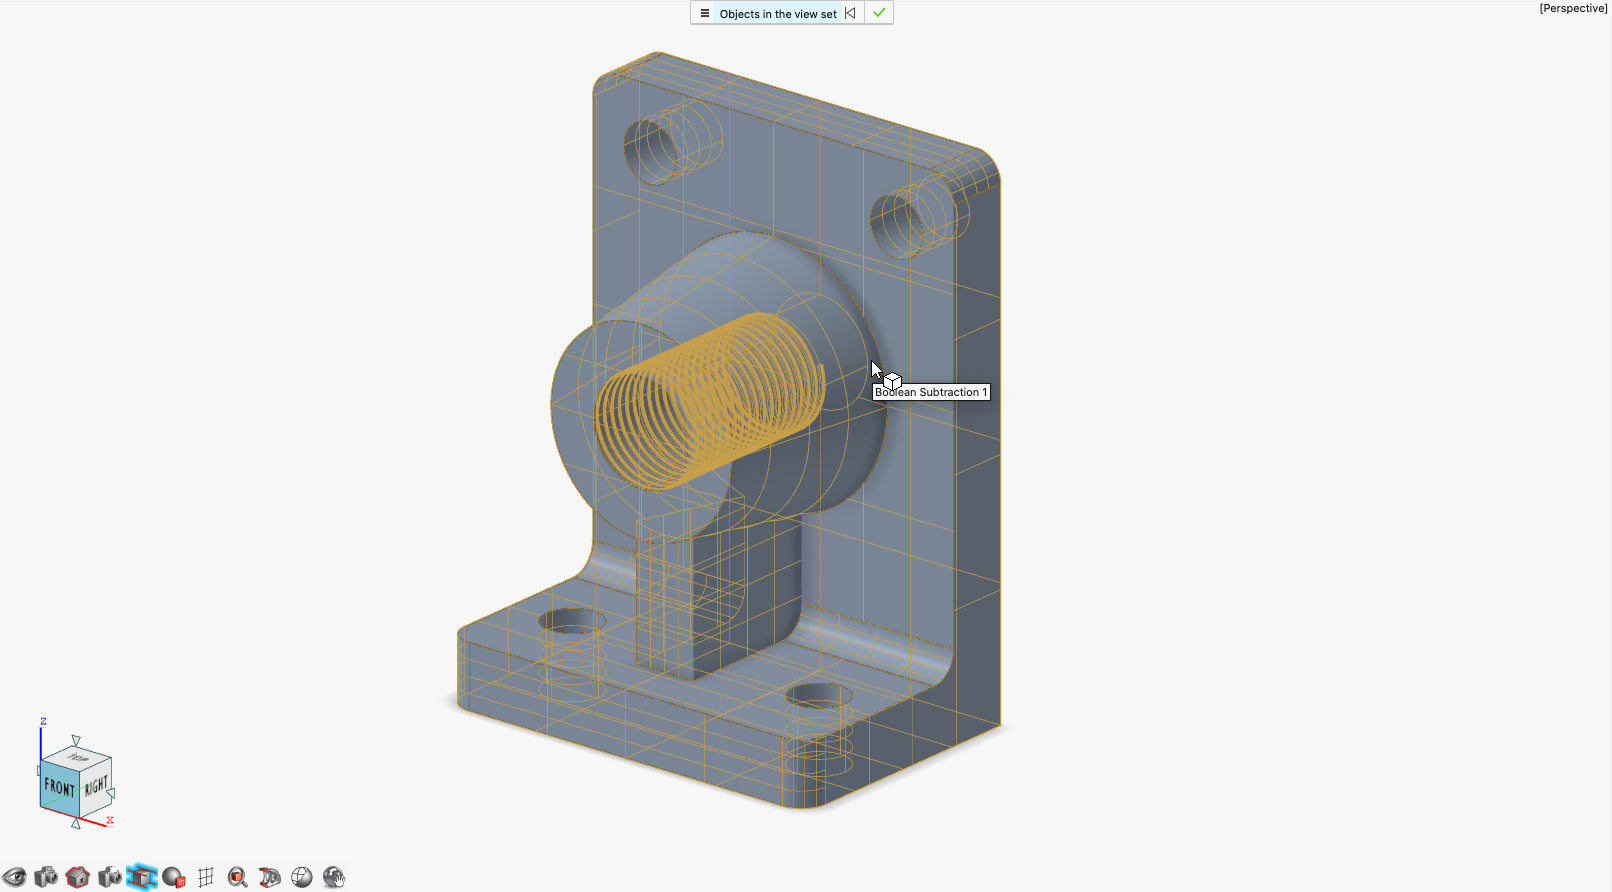
-
To modify the view set, click Properties
 , which appears when you hover over the bottom right
of the view.
, which appears when you hover over the bottom right
of the view.
-
For the left child view, turn on Hidden lines
 to draw light, thin lines delineating the
geometry underneath the viewing surfaces.
to draw light, thin lines delineating the
geometry underneath the viewing surfaces.
-
For the right child view, turn on External frame
 to draw a thin black frame around the
selected drawing.
to draw a thin black frame around the
selected drawing.
 Note: To remove a child view, click the corresponding arrow.
 -
For the left child view, turn on Hidden lines
Add an Isometric View
- Double-click the parent view and add an isometric view using the arrow at the bottom left corner.
- Drag the isometric view to a new location.
- Add a custom scale of 1:2.
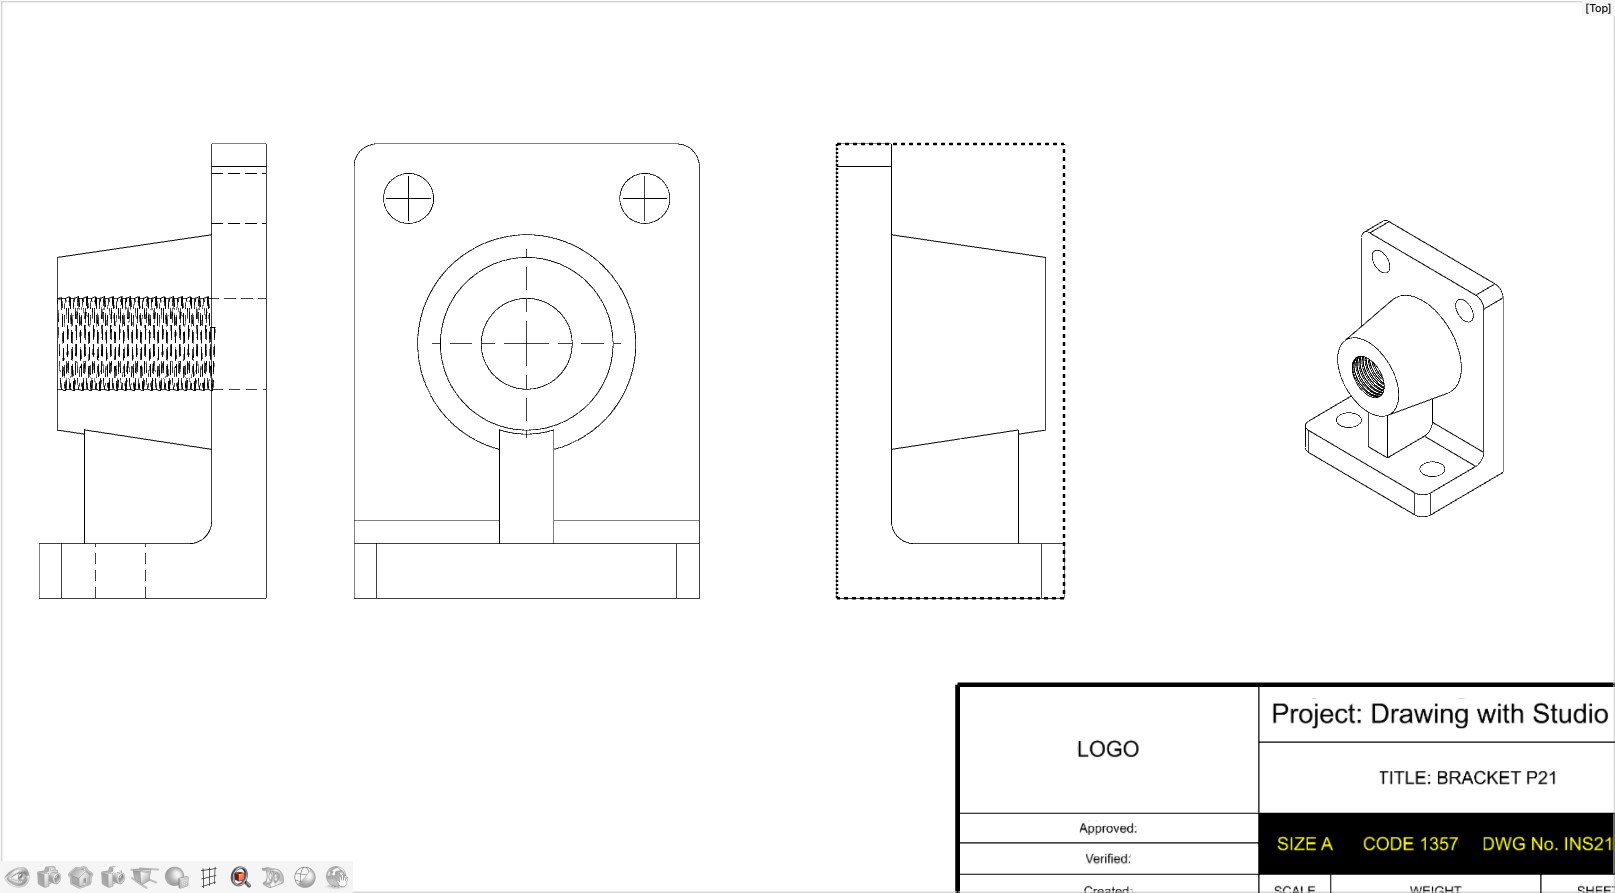
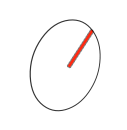
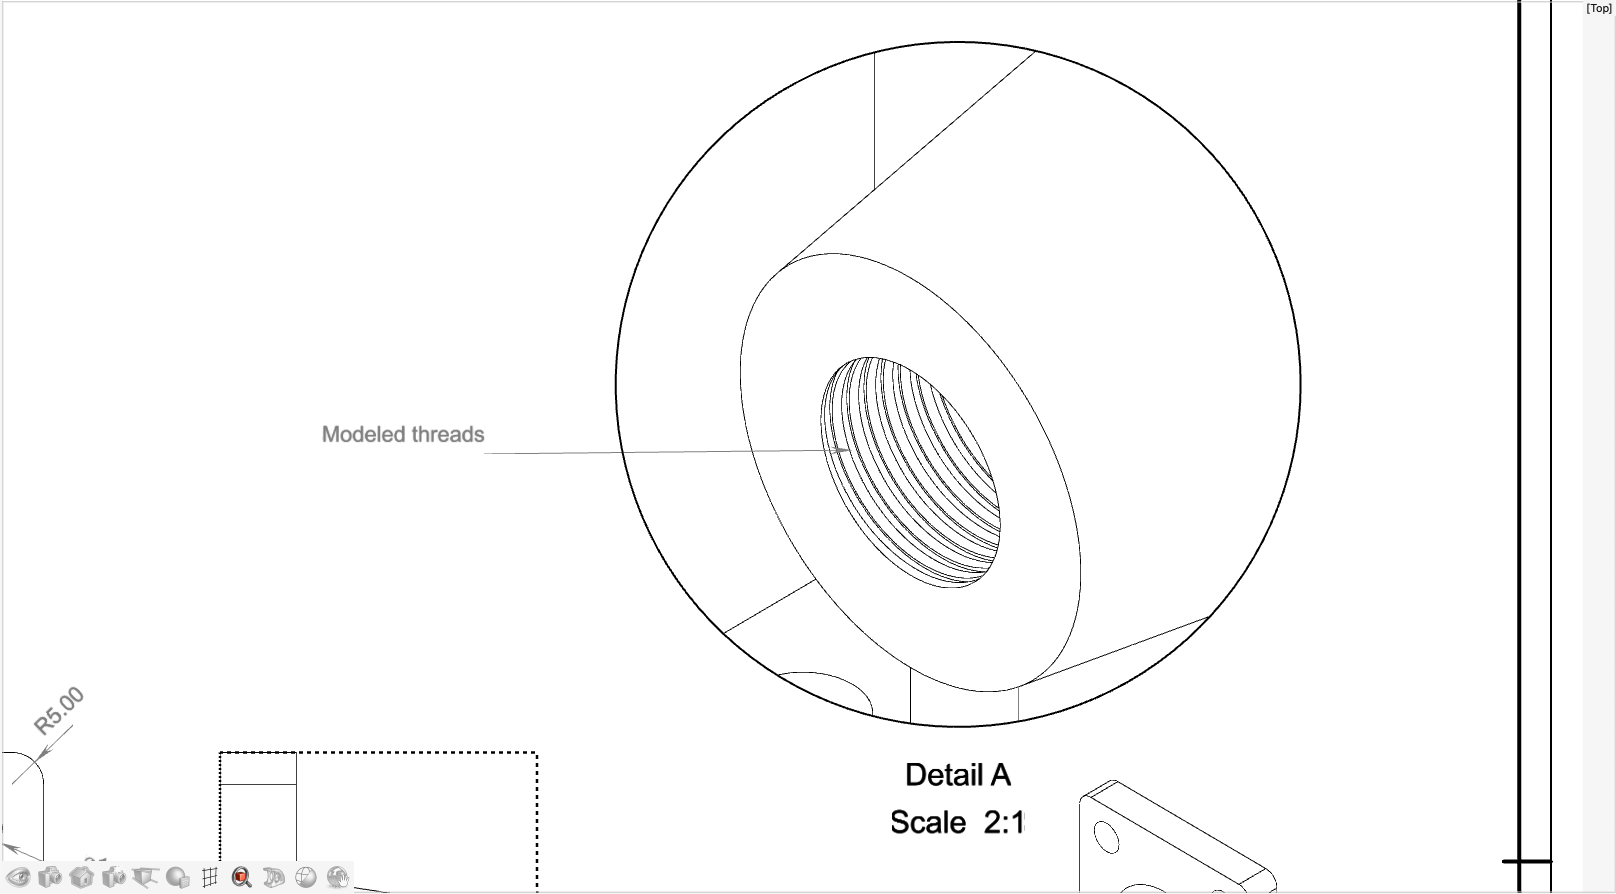
Add a Detail View
-
Click the Detail View icon.
- Select the source view.
- Select the center of the detail view.
- Select the boundary of the detail view.
- Place the detail view.
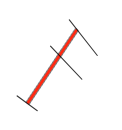
Add Section Views
-
Click the Section View icon.
-
Double-click the second section view. For Section type,
select Horizontal
 . Place this section plane as shown in
the video. This is Section B-B.
Note: To edit a section view, double-click the newly created view (not the view where the section is draw). To delete a view, select it and press Delete.
. Place this section plane as shown in
the video. This is Section B-B.
Note: To edit a section view, double-click the newly created view (not the view where the section is draw). To delete a view, select it and press Delete.
Add Dimensions and an Annotation
-
Click the Linear Dimension icon.

-
Click the Angular Dimension icon.
-
Click the Radial Dimension icon.
-
Click the Ordinate Dimension icon.
-
Click the Annotation icon.
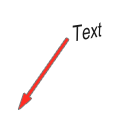
-
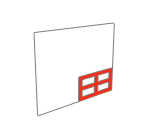
Add an annotation to the detail view as shown below.
Export the Drawing
You have the following options:
- To export the drawing sheet as a PDF, use the
Print tool.
- To export the drawing sheet as a .dwg or .dxf, use the Export
DXF/DWG tool.