ACU-T: 3201 Solar Radiation and Thermal Shell Tutorial
Prerequisites
This tutorial introduces you to setting up a CFD simulation involving solar radiation and thermal shells using AcuSolve and HyperMesh. Prior to starting this tutorial, you should have already run through the introductory HyperWorks tutorial, ACU-T: 1000 HyperWorks UI Introduction, and have a basic understanding of HyperMesh, AcuSolve, and HyperView. To run this simulation, you will need access to a licensed version of HyperMesh and AcuSolve.
Since the HyperMesh database (.hm file) contains meshed geometry, this tutorial does not include steps related to geometry import and mesh generation.
Problem Description

Figure 1.
Solar Radiation Parameters
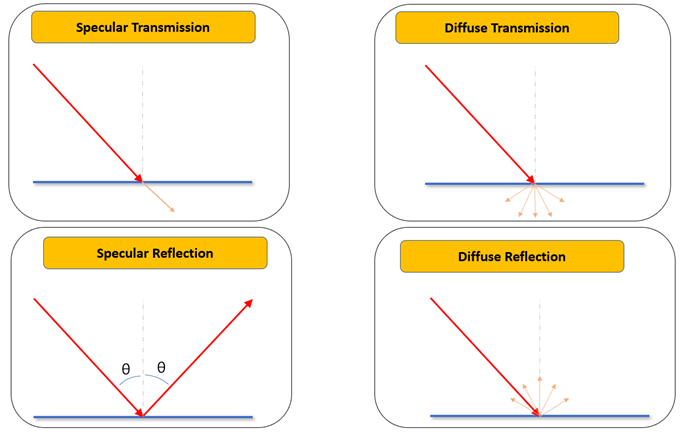
Figure 2.
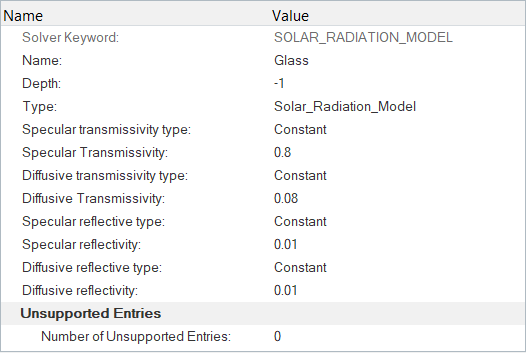
- Specular transmissivity
- Diffuse transmissivity
- Specular reflectivity
- Diffuse reflectivity
- Absorptivity
- Angle of incidence
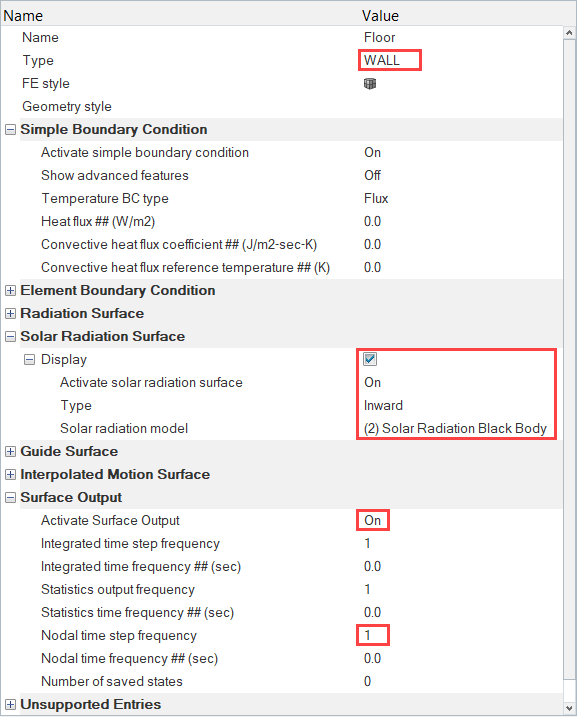
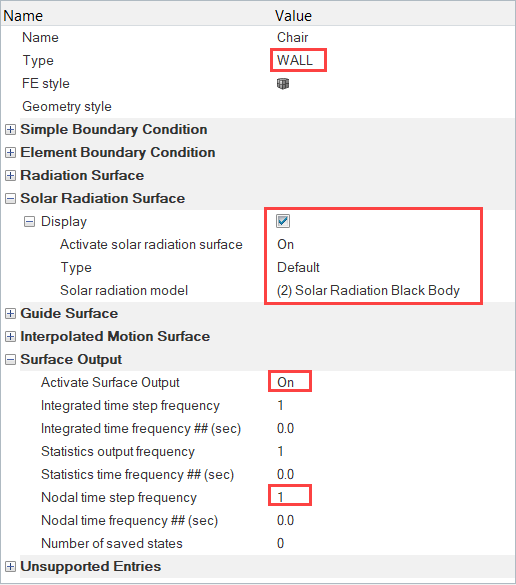
For the solar radiative heat fluxes to be computed, a solar radiation surface needs to be defined on that given surface.
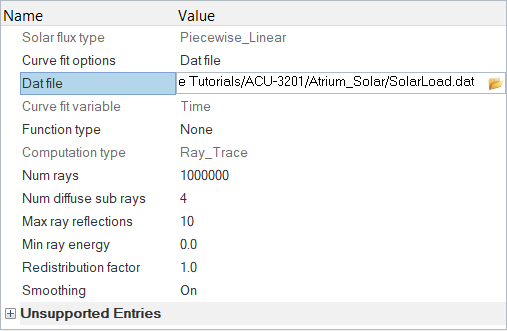
In this tutorial, the solar flux loading is given in the form of a data file which was generated using the acuSflux script available in AcuSolve. The script can be used to generate a data file with a four-column array of solar flux vector data values. The piecewise linear type is used in this tutorial to emulate the pattern of sunrise to sunset over the atrium.
For example, to generate the solar load data file for a location with known geological coordinates, enter the following command in the AcuSolve Command Prompt: acuSflux -time "dec-3-2019 11:00:00" -tinc 1800 -nts 25 -lat 42.6064 -lon -83.1498 -ndir "1,0,0" -udir "0,0,1"
- time
- The start time in GMT (ex: “dec-3-2019 21:00:00”)
- tinc
- The time increment in seconds
- nts
- Number of discrete time steps
- lat
- Latitude coordinates of the location in degrees North (ex: 45.112 or -37.56 (equal to 37.56 S))
- lon
- Longitude coordinates of the location in degrees East (ex: 86.26 or -54.84 (equal to 54.84 W))
- ndir
- The north direction unit vector in model coordinates (should be enclosed in double quotes) (ex: “0,1,0”)
- udir
- The upward direction unit vector in model coordinates (should be enclosed in double quotes) (ex: “0,1,0”)
Thermal Shell Modeling
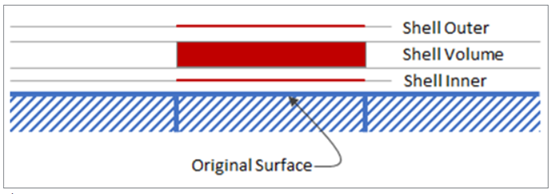
Figure 3.
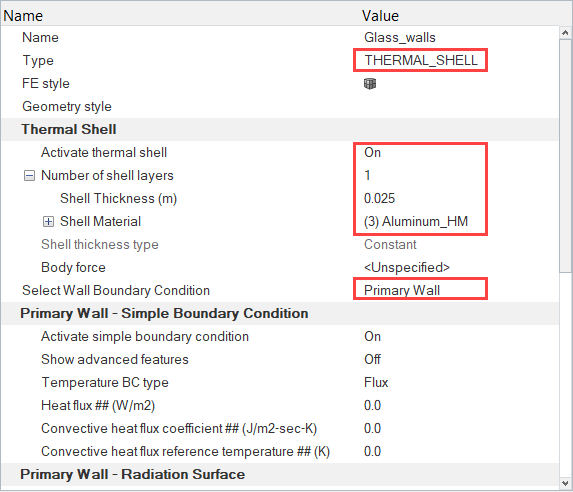
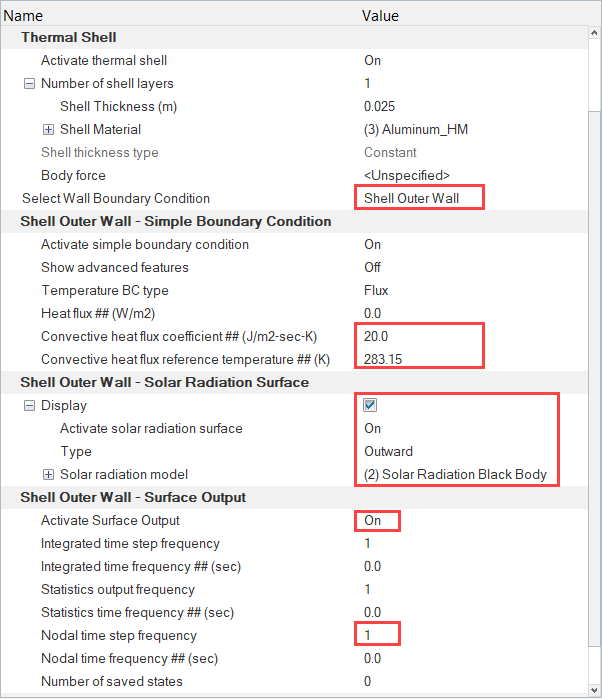
When defining a thermal shell on a surface, two sets of boundary conditions are needed. One for the Primary Wall surface i.e. Shell Inner and one for the Shell Outer Wall surface. In this tutorial, a solar radiation surface will be defined on the outer shell surface so that it receives solar heat flux, whereas the inner shell surface will be modeled as a default wall.
Open the HyperMesh Model Database
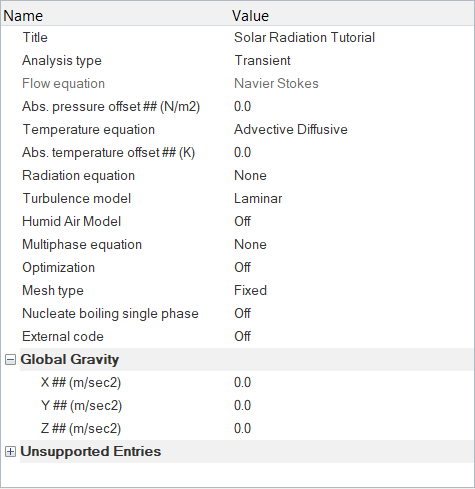
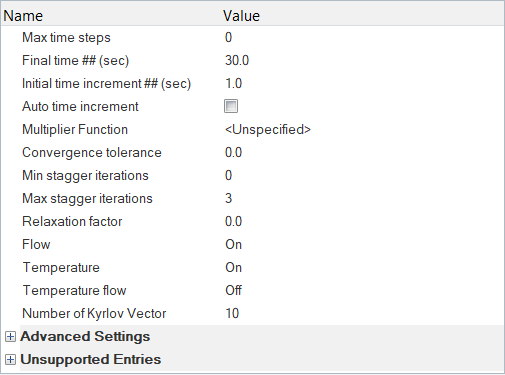
Set Up the Simulation Parameters
Set the General Simulation Parameters
Specify the Solver Settings
Set the Solar Radiation Parameters
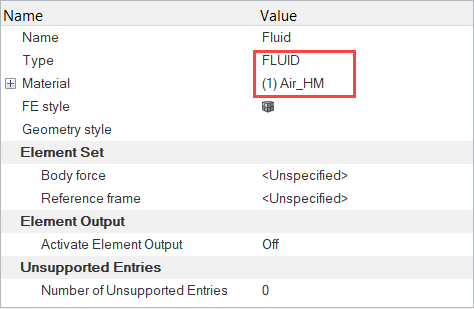
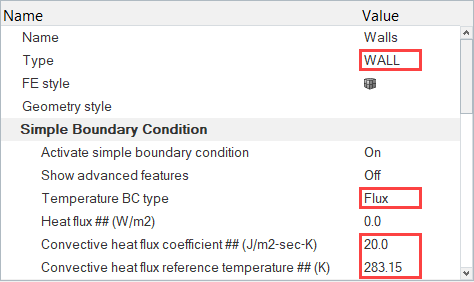
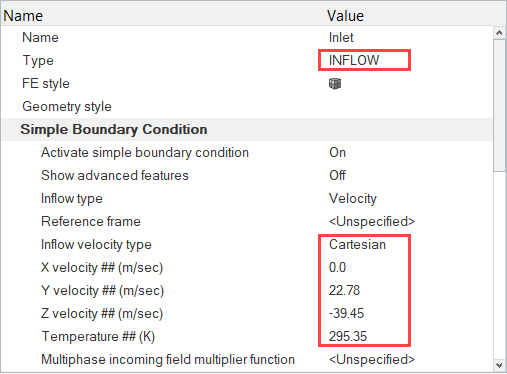
Assign Material Properties and Boundary Conditions
Create the Solar Radiation Model
Assign Material Properties and Boundary Conditions
Set Nodal Initial Conditions
- In the Solver Browser, click 03.NODAL_INITIAL_CONDITION under 01.Global.
- In the Entity Editor, change the Default value of Temperature to 288.15 K.
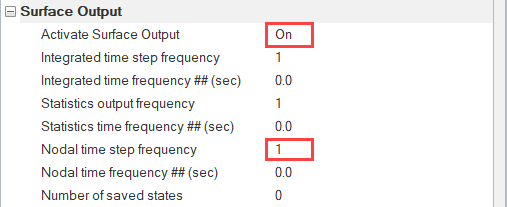
Define Nodal Output Frequency
- In the Solver Browser, expand 17.Output then click NODAL_OUTPUT.
- In the Entity Editor, set the Time step frequency to 1.
- Activate the Output initial condition checkbox.
- Save the model.
Compute the Solution
Post-Process the Results using HyperView
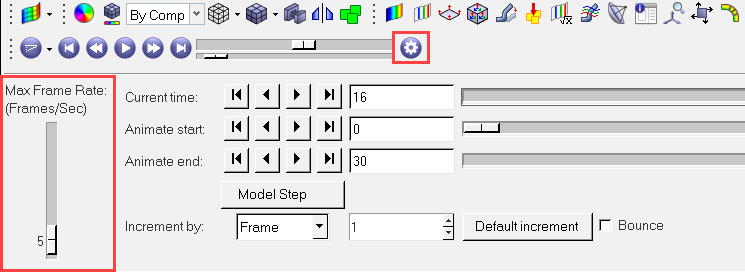
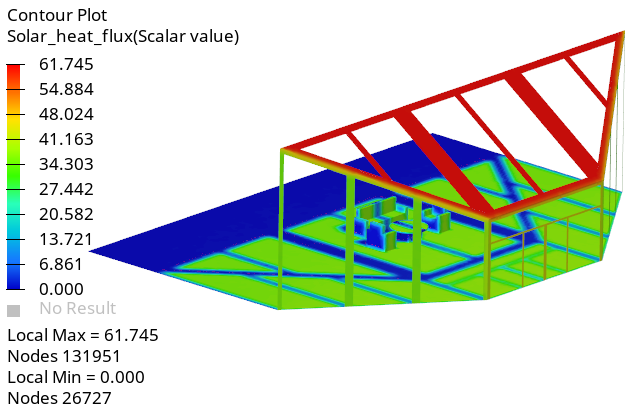
In this step, you will create an animation of solar heat flux and temperature over run time. Once the solver run is complete, close the AcuProbe and AcuTail windows. In the HyperMesh Desktop window, close the AcuSolve Control tab and save the model.
Switch to the HyperView Interface and Load the AcuSolve Model and Results
Create an Animation of Temperature Contour
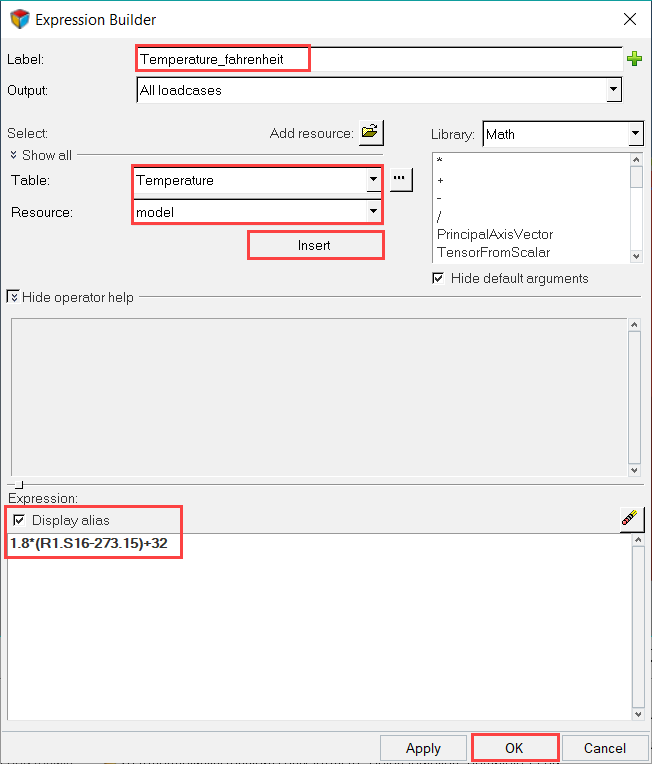
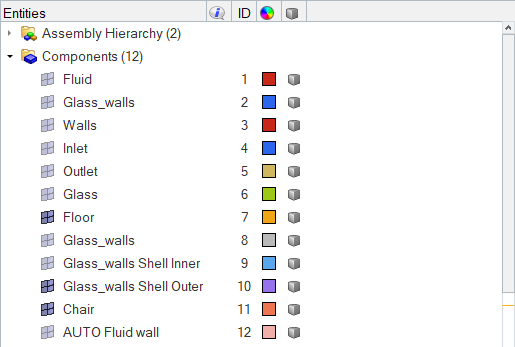
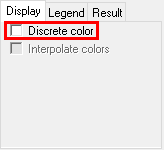
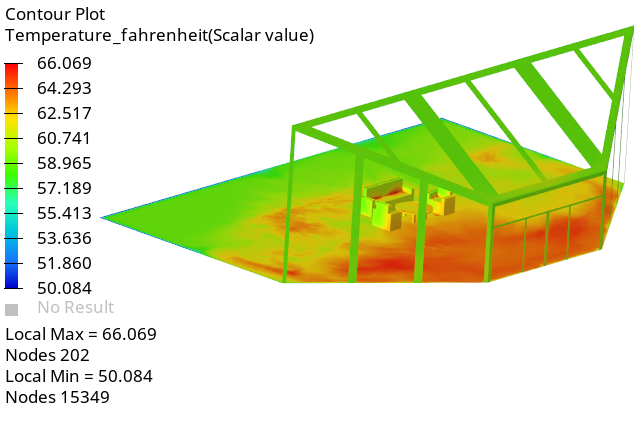
In this step, you will start by creating an expression for plotting the temperature values in Fahrenheit units. Then, you will create an animation of the magnitude of temperature on the floor, glass_walls and the man surface.
Create an Animation of Solar Heat Flux
Summary
In this tutorial, you learned how to set up and solve a CFD analysis involving solar radiation and thermal shells. You started by importing a HyperMesh model database and set up the simulation parameters and boundary conditions. Once you computed the solution, you post-processed the results using HyperView. Also, you learned how to create expressions in HyperView and build plots using derived results.
