Replicate Mesh
Use the Replicate tool to replicate a mesh from one location to another, with options to keep the original mesh, as well as to replicate into multiple copies. The replicated elements replace the original elements, maintaining relevant information like properties, thicknesses, and other solver attributes.
This is useful when there are multiple instances of the same feature in a model. You may clean and prepare the mesh for just one of the instances, and then replicate those changes to the other locations. This is also useful for making design changes, such as moving a feature from one location to another or creating multiple instances of a feature.
Mapping Methods
Choose a mapping method by clicking ![]() on the
Replicate tool guide bar.
on the
Replicate tool guide bar.
- Auto
- Smarty decide what to do based on the selected feature. This method utilizes imprint, morph, and rebuild functionalities internally.
- Extend
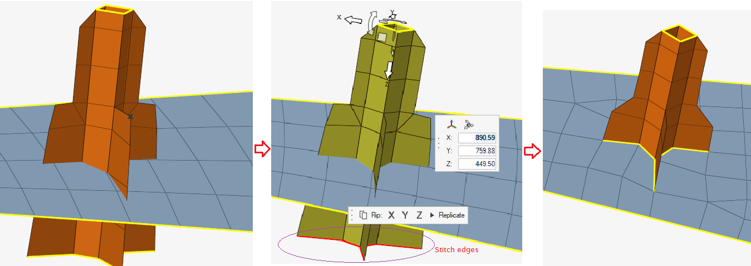
- This function comes in handy when extending or trimming the feature to
the base mesh. Refer to the example images below from left to right for
an illustration of the usage.Note: In this case, the copy option is turned off in order to trim the base mesh with the feature and create conformal feature edges on the base (as shown in the right most image).
- Morph
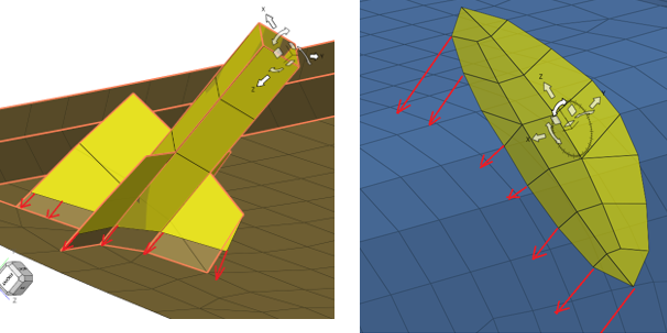
- This option is best suited when there is a slight mismatch in the size and shape of the source and base feature; both features are morphed in order to create conformality.
- None
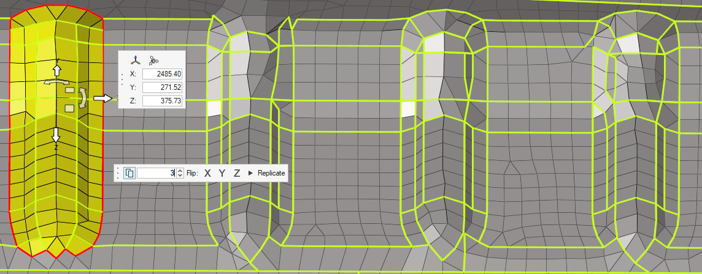
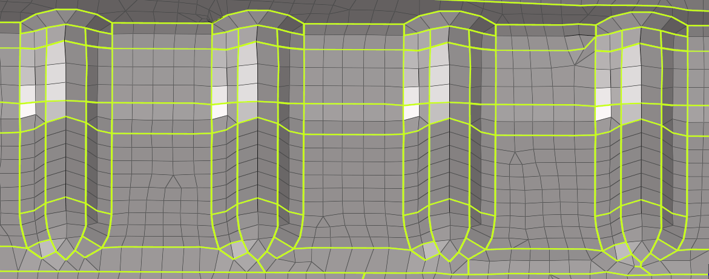
- If you would like to maintain the source topology unchanged, it is recommended to use this mapping method. In the following example, the left bead has been used as a source topology.

 to change mapping and
rebuilding options.


