Installation
CDE installation and activation
The CDE folder is installed automatically during the installation of Flux, in the Flux installation folder.
- Run the Flux Supervisor as administrator
- There are two cases:
- If no previous Flux version has been installed previously on the
computer, the buttons look like
 and
and
- Click either on the button Distribution Manager or Server Manager
- If a previous Flux version has already been installed on the
computer, the buttons look like
 and
and 
- Make sure that both services Computing
Distribution Server and Computing
Soft Server are stopped:
- From the Windows Start menu, go to: and run: Services
- In the Services window:
- Select Computing Distribution Server then right click and select the Stop contextual menu
- Select Computing Soft Server then right click and select the Stop contextual menu
- Click either on the button Distribution Manager or Server Manager
- Make sure that both services Computing
Distribution Server and Computing
Soft Server are stopped:
- If no previous Flux version has been installed previously on the
computer, the buttons look like
- After a few seconds, the installation is done.
In the Flux Supervisor, you can see each button Distribution Manager and Server Manager with a green light:
 and
and 
Single local node configuration
Multiple nodes configuration
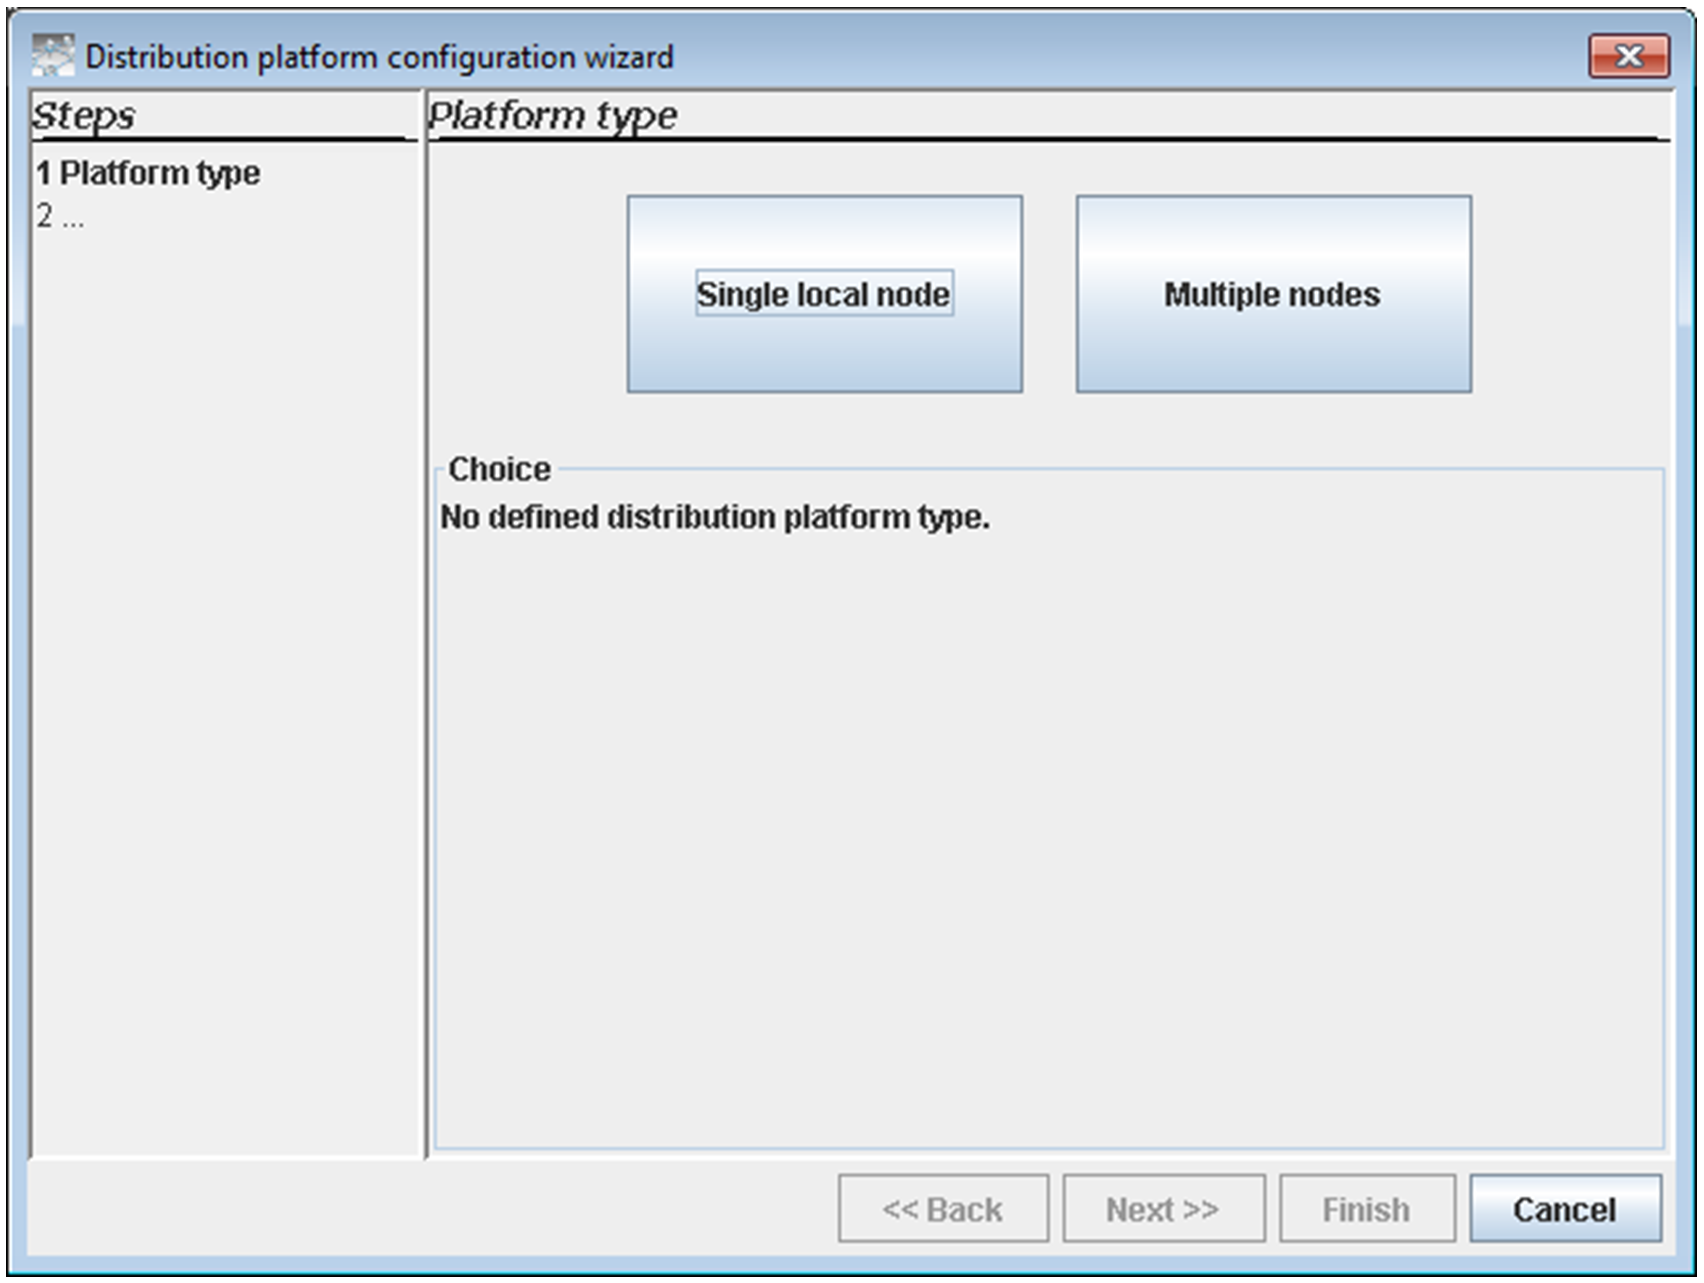
- In Computing Distribution Manager click on Configure
and select the Multiple nodes button. Then click on
Next.
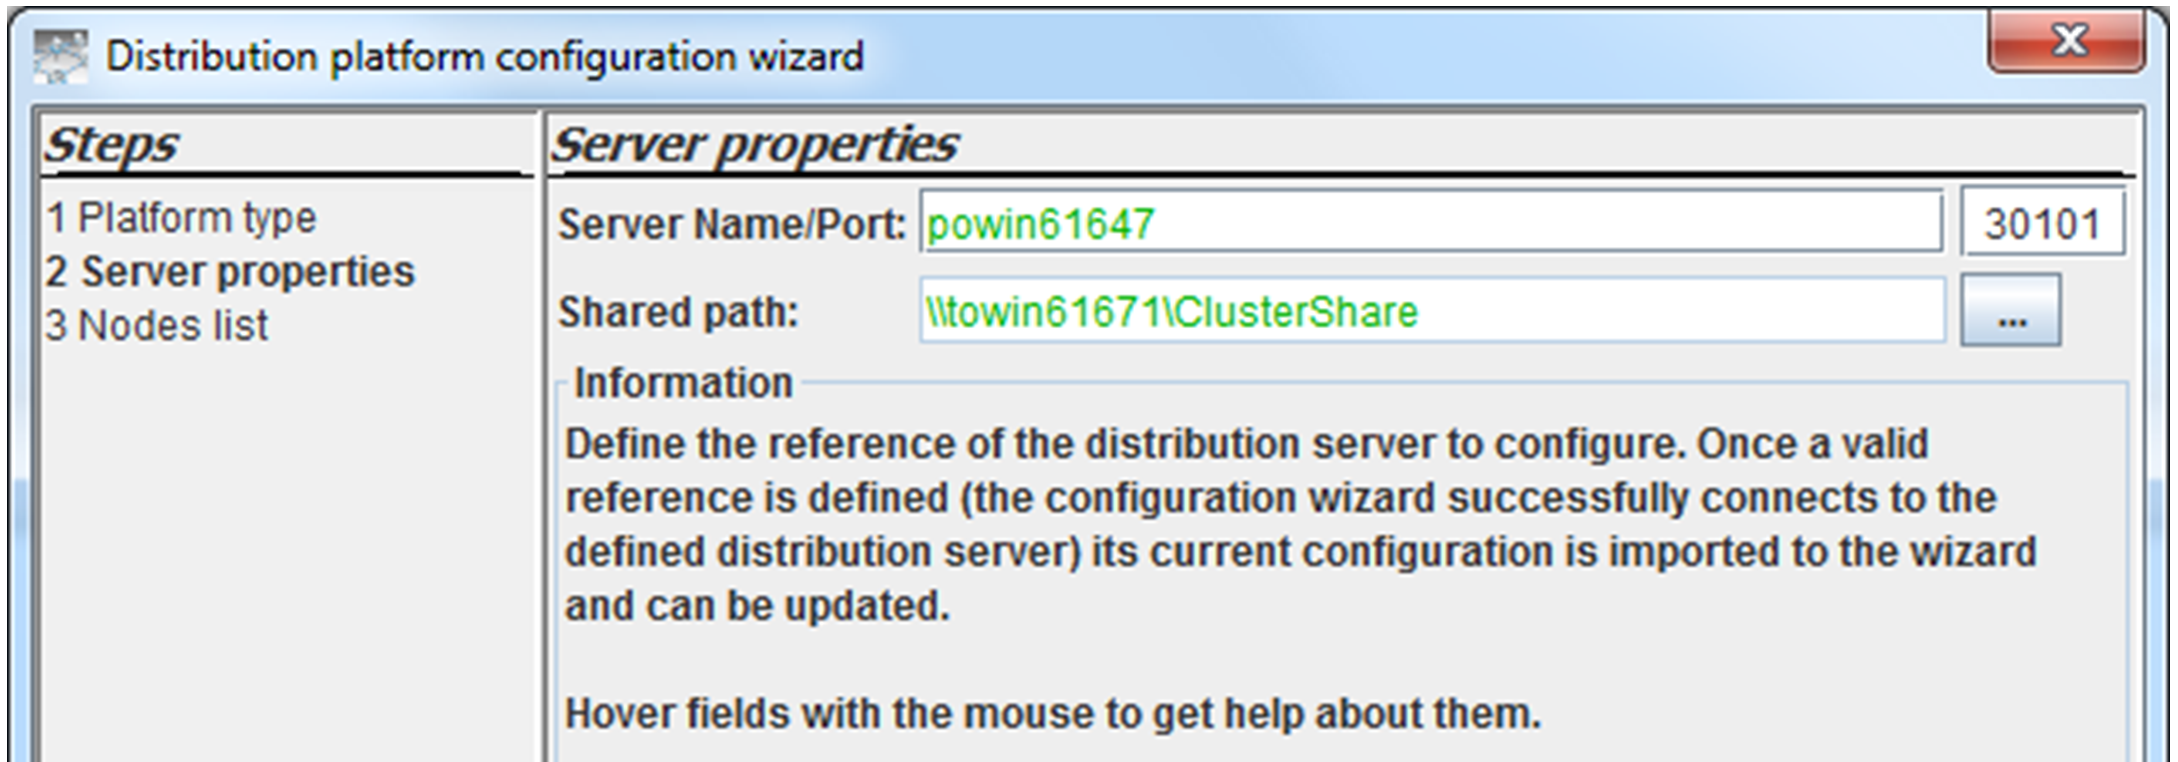
- Enter the name of the master node (the machine on which the distribution
server is running) as well as the network path to the shared folder. Click
on Next.
- Define the number of cluster nodes by using the arrows ↑↓.Then enter the names of the cluster nodes and click on Enter after each action. If the node is accessible on the network and has compatible software versions, it will be configured automatically, it means that the fields Processors* and Memory** will be filled in automatically.Note:
- *Processors: Initialized by default with the number of physical processors.
- **Memory: Initialized by default with the physical RAM.
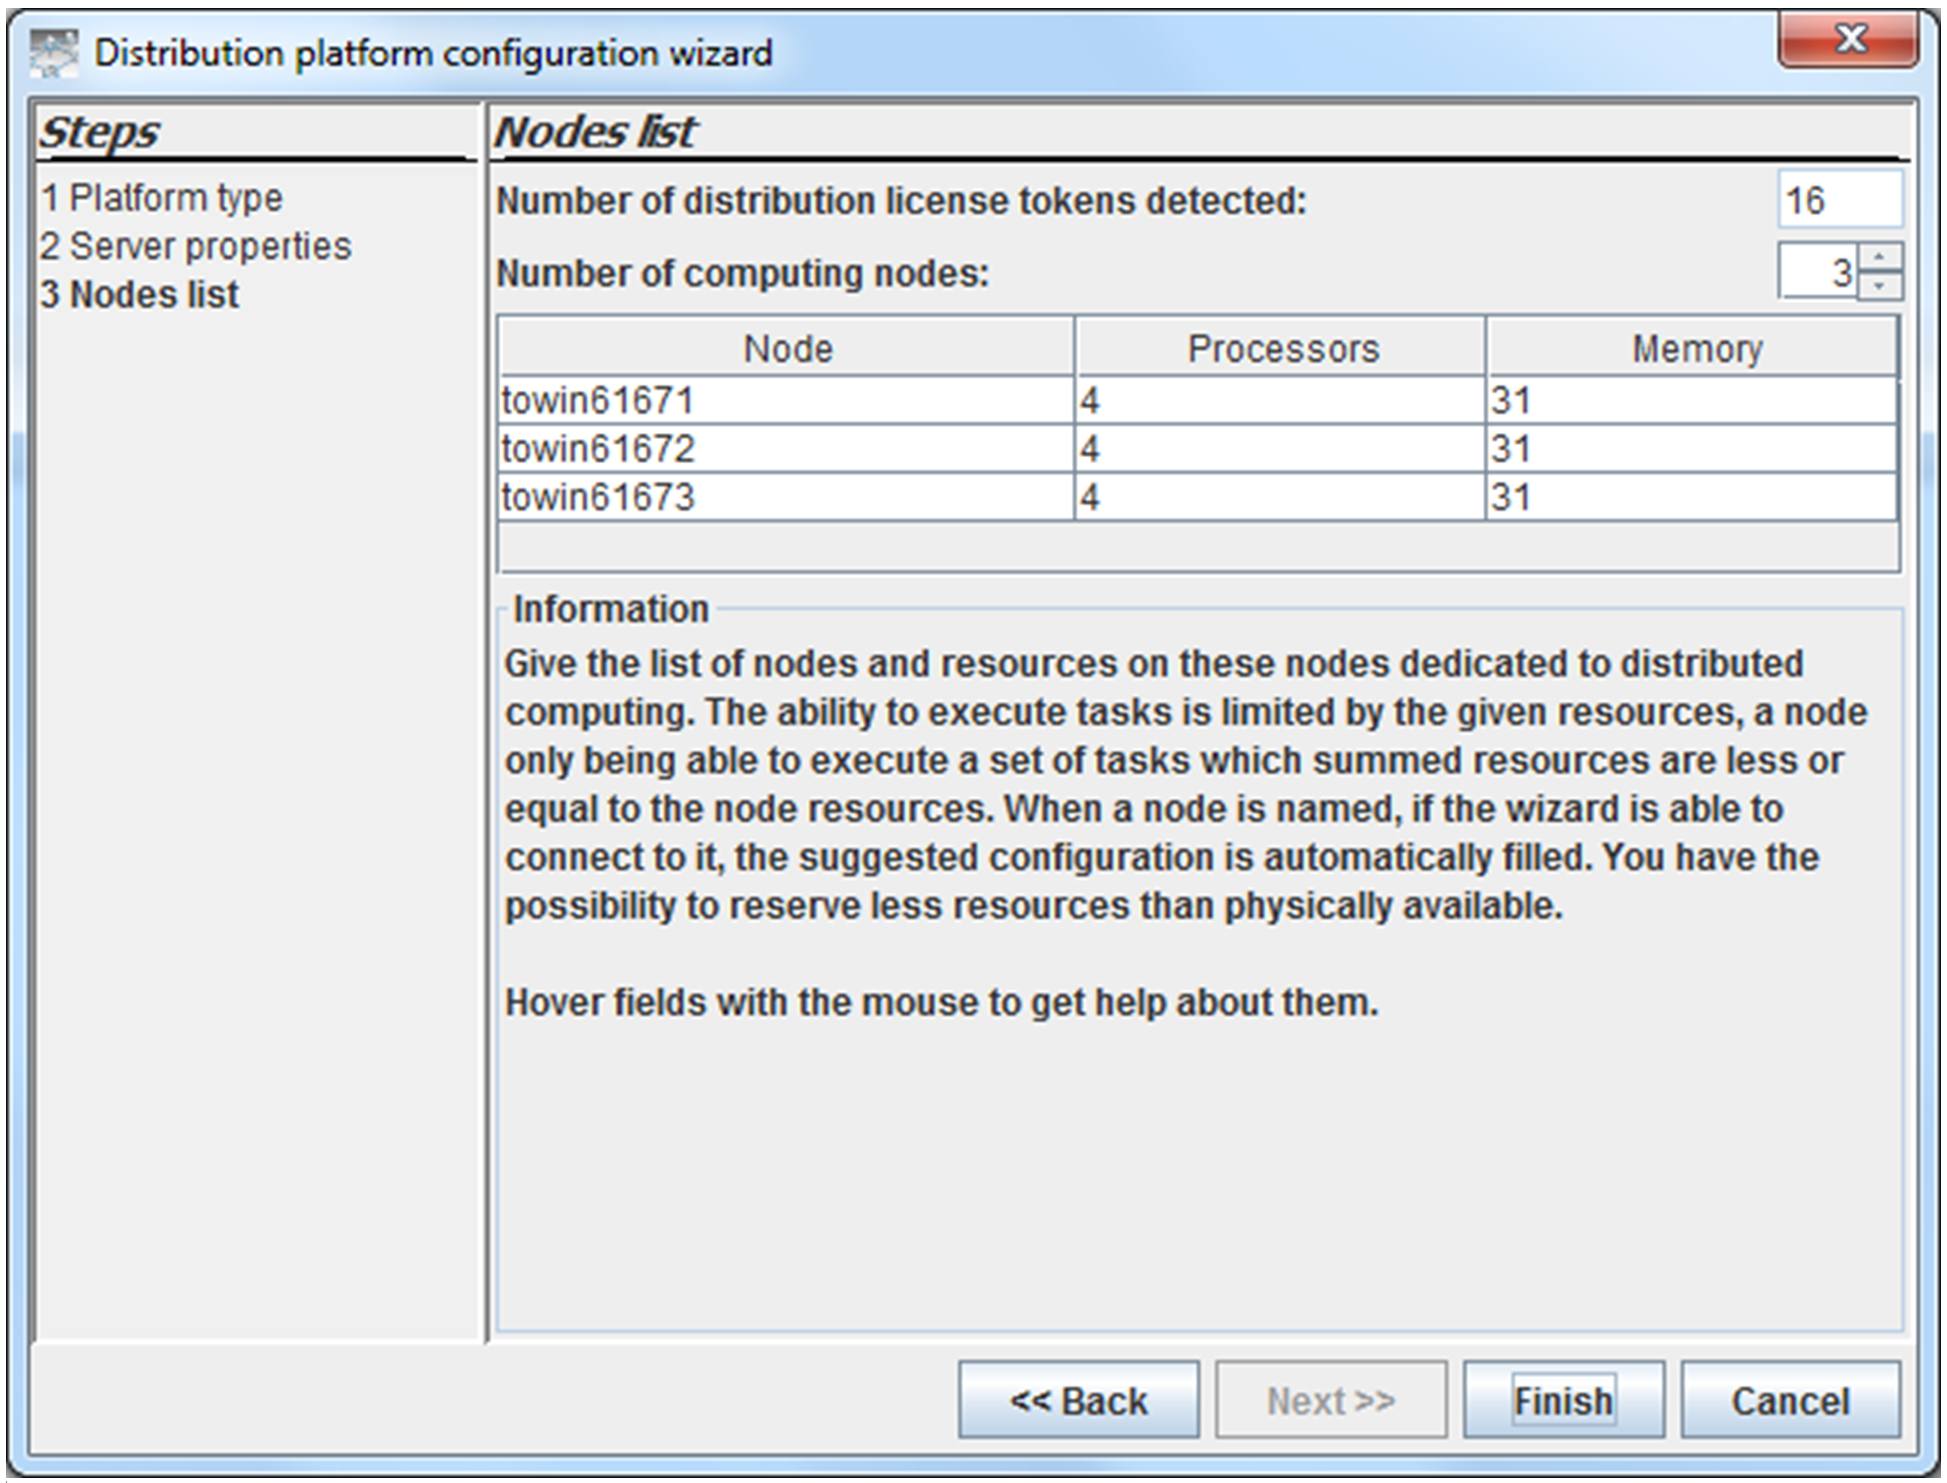
Click on Finish. The platform is configured.
Flux software installation
Concerning the Flux installation you can refer to the Flux installation guide.
Information related to the shared folder
The use of the distribution platform requires the definition of a shared working folder. It means that it is needed to create a new folder that will be used as working folder by the distribution infrastructure. This folder is typically created on the machine called "master node". There should be a network sharing of this folder.
- Defined with its network path (for instance \\Master\ComputingDistribution\Temp)
- Accessible with complete rights (reading and writing)* towards all the users and programs participating in the distribution infrastructure (user account and system account).
There should be no files saved by the user in this folder (for instance Flux projects, Python command files,…). This shared folder is managed and handled by the software participating to the distribution. Consequently, no warranty is ensured in the case of manual usage.
After the configuration, it is possible to make a test of the rights (reading and writing) on the shared folder. For that, you can use the commands Diagnose nodes or Platform report.