Create, Edit, Remove Parameters
Create, edit, and remove parameters using the HyperStudy Editor.
Before creating and editing parameters, the
HyperStudy Editor requires a format to be set. For more
information, see Parameter Format Specifiers.
Create Parameters
-
Create a parameter.
- Click Create.
- Right-click on the highlighted fields and select Create
Parameter from the context menu.
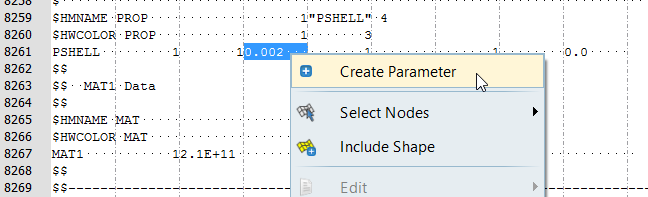
Figure 1.
-
In the Parameter - varname dialog, define the new
parameter.
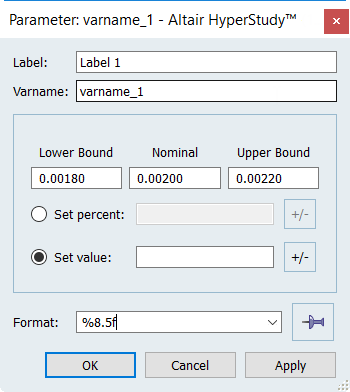
Figure 2.
Edit Parameters
-
Select the parameter to edit.
- Highlight the parameter to edit in text area, then right-click and
select Edit from the context menu.
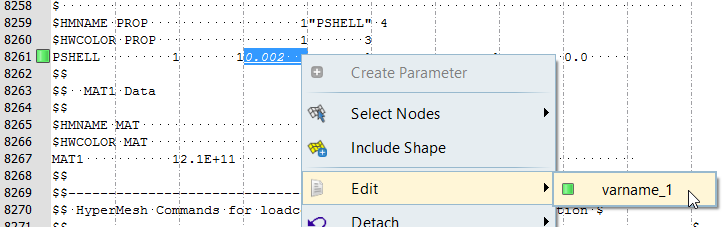
Figure 3. - In the row that contains the parameter to edit, click
 and select from the context menu.
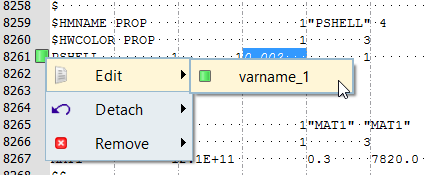
Figure 4.
- Highlight the parameter to edit in text area, then right-click and
select Edit from the context menu.
Remove Parameters
-
Remove parameter.
- Highlight the parameter to remove in text area, then right-click and
select Remove from the context menu.
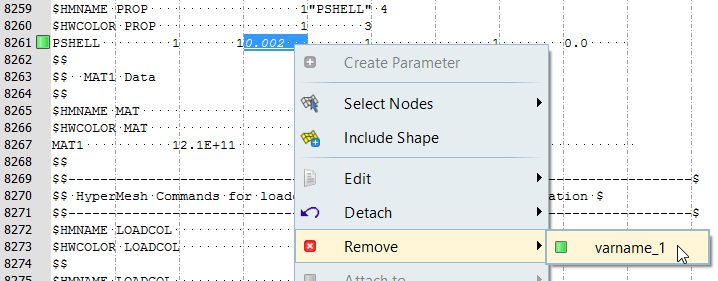
Figure 5. - In the row that contains the parameter to remove, click and select from the context menu.
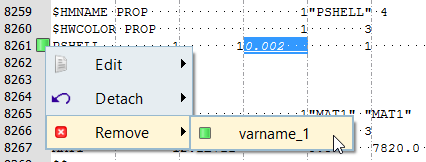
Figure 6.
- Highlight the parameter to remove in text area, then right-click and
select Remove from the context menu.