


|
OneTick Cloud
The OneTick Cloud connector allows access to historic market data with no software dependencies by using the OneTick Cloud and their web API.
Steps:
1. Select OneTick Cloud from the Data Sources pane. The OneTick Cloud Settings pane and the retrieved OneTick Cloud source are displayed.
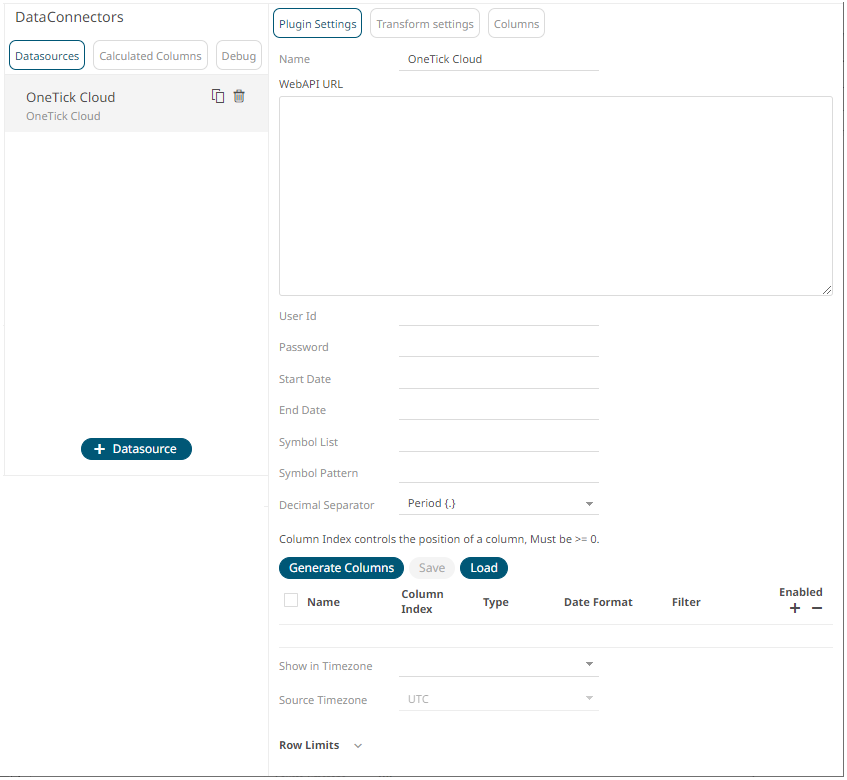
2. Enter the Name of the OneTick
Cloud data source, then click  .
.
3. Enter the OneTick Cloud WebAPI URL into the WebAPI URL box with the following form:

Where:
· s, e, timezone – the start and end time of the query YYYYMMDDhhmmss form. The timezone used to interpret this value is taken from the timezone parameter.
· response – the supported response format is csv.
· compression – if available, this option enables gzip compression of the results stream. Large data should always be pulled with compression on.
4. Enter the User Id (email) and Password to execute the query and retrieve the data. Note that the User Id is case sensitive.
5. Enter the time window Start Date and End Date.
6. Enter the Symbol List. This value filters the query output with matching symbols.
To make it work, ensure to include Symbol in the Query URL. Consequently, the data will be filtered out for the input (Symbols) provided in the Symbol List field.
7. Enter the Symbol Pattern. This value filters the query output with the data for all the symbols with matching pattern.
To make it work, ensure to include Symbol_Pattern in the Query URL. Consequently, the data will be filtered (for all the Symbols) with matching pattern provided in the Symbol Pattern field.
8. Select either the dot (.) or comma (,) as the Decimal Separator.
9. Click 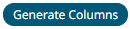 to the fetch the schema based
on the connection details. Consequently, the list of columns with
the data type found from inspecting the first ‘n’ rows of the input
data source is populated and the Save button is enabled.
to the fetch the schema based
on the connection details. Consequently, the list of columns with
the data type found from inspecting the first ‘n’ rows of the input
data source is populated and the Save button is enabled.
10. You can also opt to load or save a copy of the column definition.
11. Click  . A new
column entry displays. Enter or select the following properties:
. A new
column entry displays. Enter or select the following properties:
|
Property |
Description |
|
Name |
The column name of the source schema. |
|
Column Index |
The column index controls the position of a column. Must be >= 0. |
|
Type |
The data type of the column. Can be a Text, Numeric, or Time |
|
Date Format |
The format when the data type is Time. |
|
Filter |
Defined parameters that can be used as filter. |
|
Enabled |
Determines whether the message should be processed. |
To
delete a column, check its  or all the column entries, check
the topmost ,
then click
or all the column entries, check
the topmost ,
then click  .
.
12. Date/Time values of output data and Date/Time inputs, where supported, is by default unchanged.
You can opt to define the Show in Timezone and Source Timezone settings.
13. Set the row limit of the data set.
14. Tap the Preview Selected Data Source slider to turn it on.
15. Click  to display the data preview.