Add a new workplane to the model to aid with geometry creation.
On the Construct tab, in the Define group, click the Add Workplane icon.
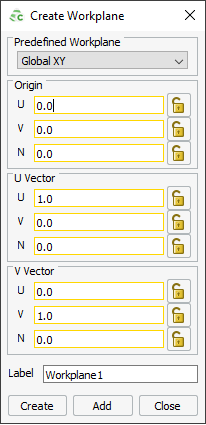
Figure 1. The Create Workplane dialog.
Under Predefined Workplane in the drop-down list, select a reference workplane.
Under Origin, enter the position of the workplane using
one of the following methods:
Enter the coordinates for the origin manually.
Use point entry to enter the coordinates for the origin from the 3D view.
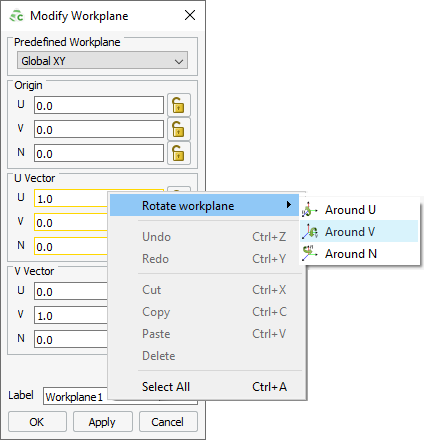
Specify the rotation of the workplane by using one of the following
methods:
Enter values for the U-Vector and V-Vector.
Click on any field and from the right-click context menu, click
one of the following:
Around U
Around V
Around N
and specify the angle of rotation.
Figure 2. Rotate the workplane using the Rotate
workplaneright-click context menu.
In the Label field, add a unique label for the
workplane.
Click OK to create the workplane and to close the
dialog.
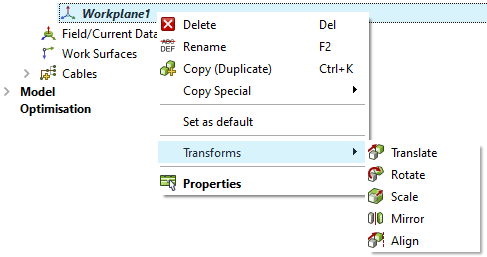
Note: Apply transforms on the workplane by selecting the workplane in the model tree. From the right-click context menu, click
Transforms and select the transform.
Figure 3. Transforms can be applied to any defined workplanes.
 Add Workplane icon.