Edit and Create a Job Profile
Edit a profile and create a profile by editing an existing profile.
-
Click the Jobs tab located in the upper left-hand of the
page.
A list of applications are displayed at the top of the Job Monitoring page.

Figure 1. List of Applications/Solvers -
Double-click an application.
A job submission form is displayed.
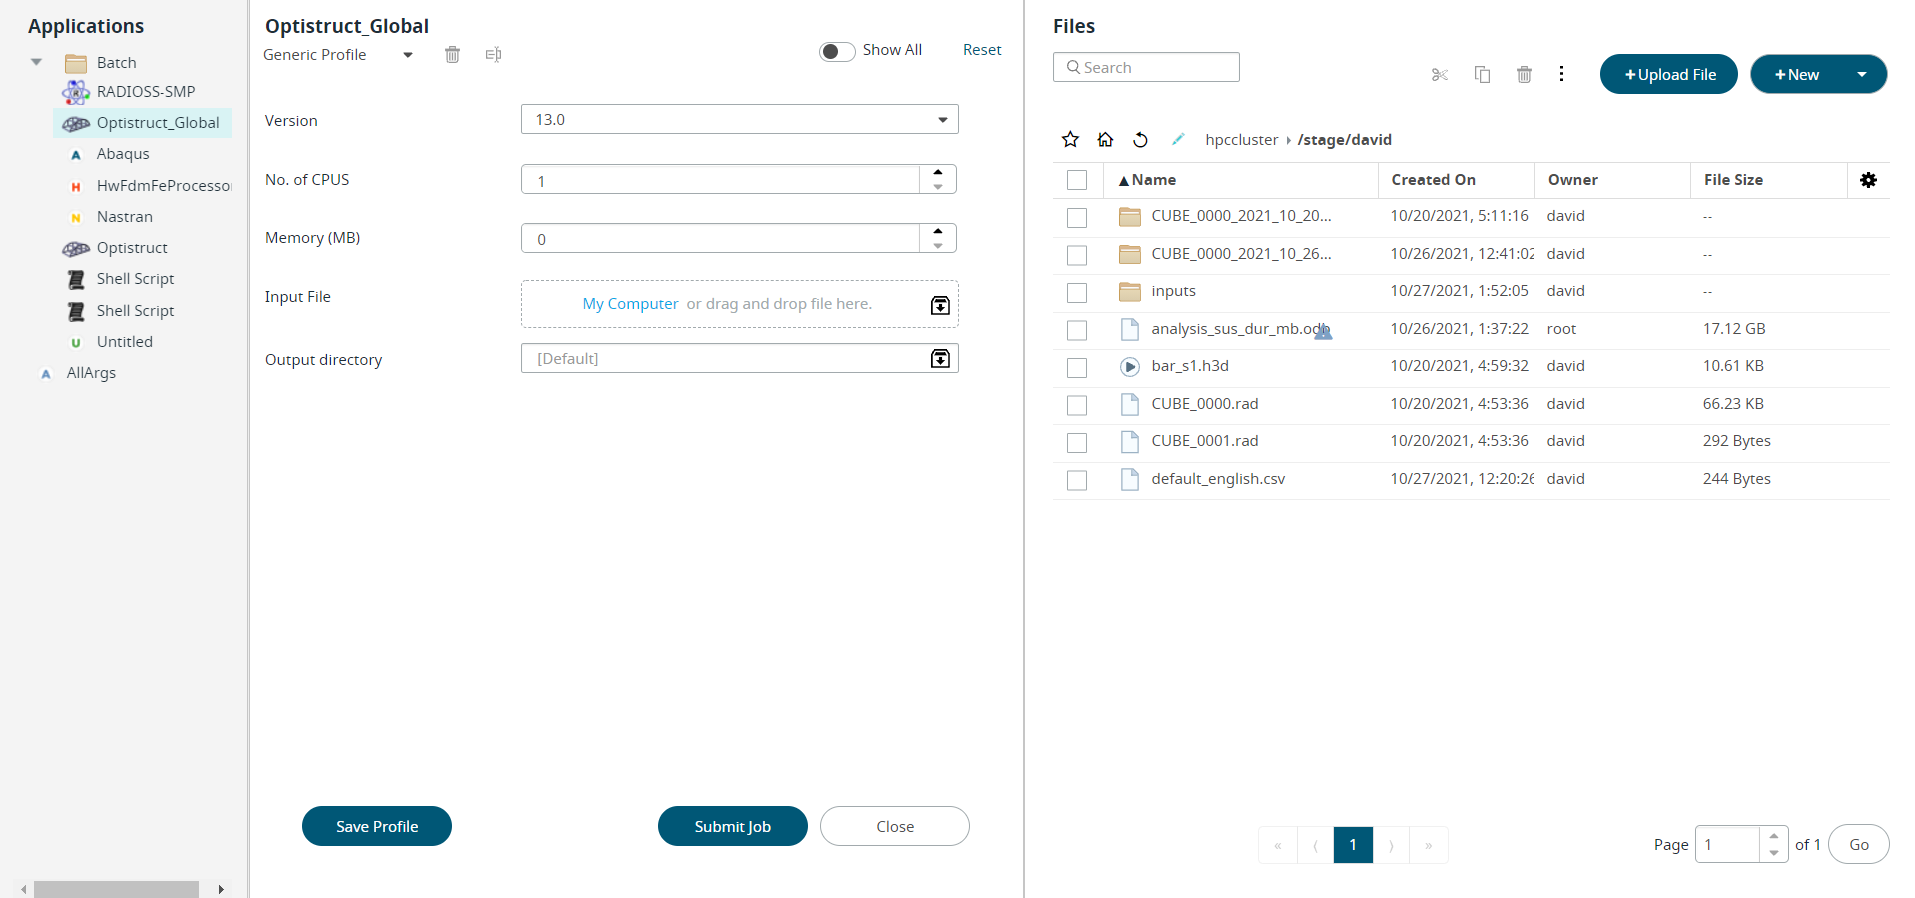
Figure 2. Saved Job ProfileThe following panes are displayed in the Job Submission form:- Left pane - Applications (solvers) are displayed on the left pane of the
Job Submission Form and are the applications that are installed on the
HPC complex (server) selected in the Job Submission Form. Applications
are categorized per your site's administrator.
The user defined application definition will also listed in the applications list.
- Center pane - Displays the Job Submission Form.
Tooltip displays the description of the application arguments when you mouseover the argument field.
Click Reset at the top right-hand corner of the Job Submission Form to reset the values of application arguments.
Profiles are displayed in a drop-down list just below the application. First time when you select an application, Generic Profile is selected and subsequent time Last Submitted profile is selected.
- Right pane - Displays the File Management section. You can perform all the file related activities in this section. For example, selecting a file as an input file or include files, selecting a directory as an output directory, editing a file, uploading a files, searching a file from the list.
- Left pane - Applications (solvers) are displayed on the left pane of the
Job Submission Form and are the applications that are installed on the
HPC complex (server) selected in the Job Submission Form. Applications
are categorized per your site's administrator.
-
Click
 next to Generic
Profile to view the list of saved Profiles.
next to Generic
Profile to view the list of saved Profiles.
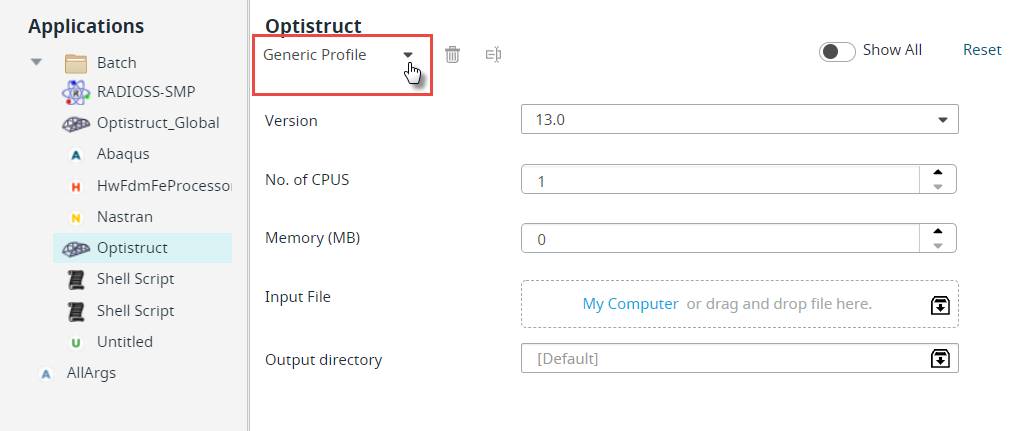
Figure 3. Generic ProfileNote: By default, only Generic Profile and Last Submitted profile will be listed if there are no saved profiles.The list of profiles is displayed.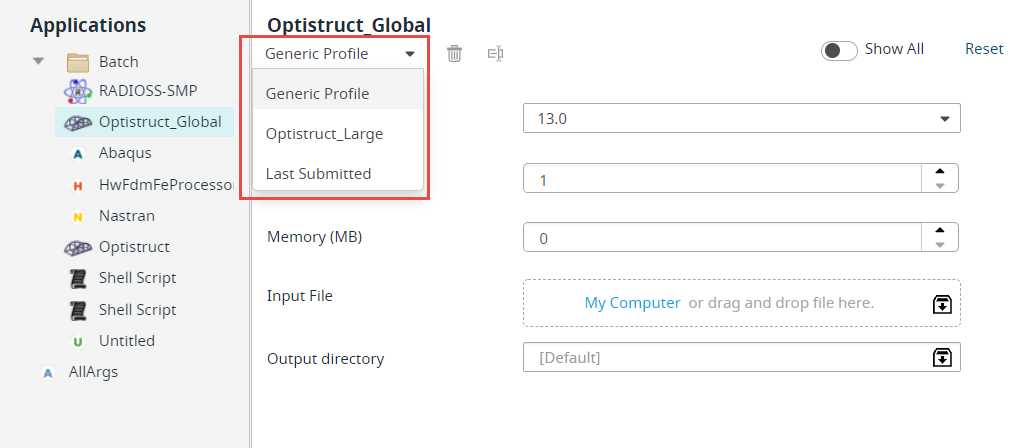
Figure 4. Saved Profiles List -
Select the Profile from the drop-down list.
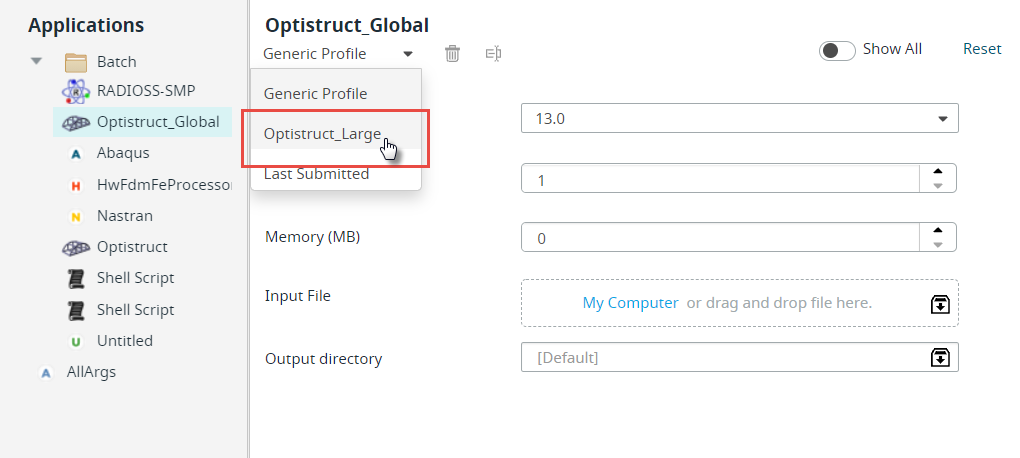
Figure 5. Select Saved ProfileThe selected profile job submission form with the pre-populated argument is displayed.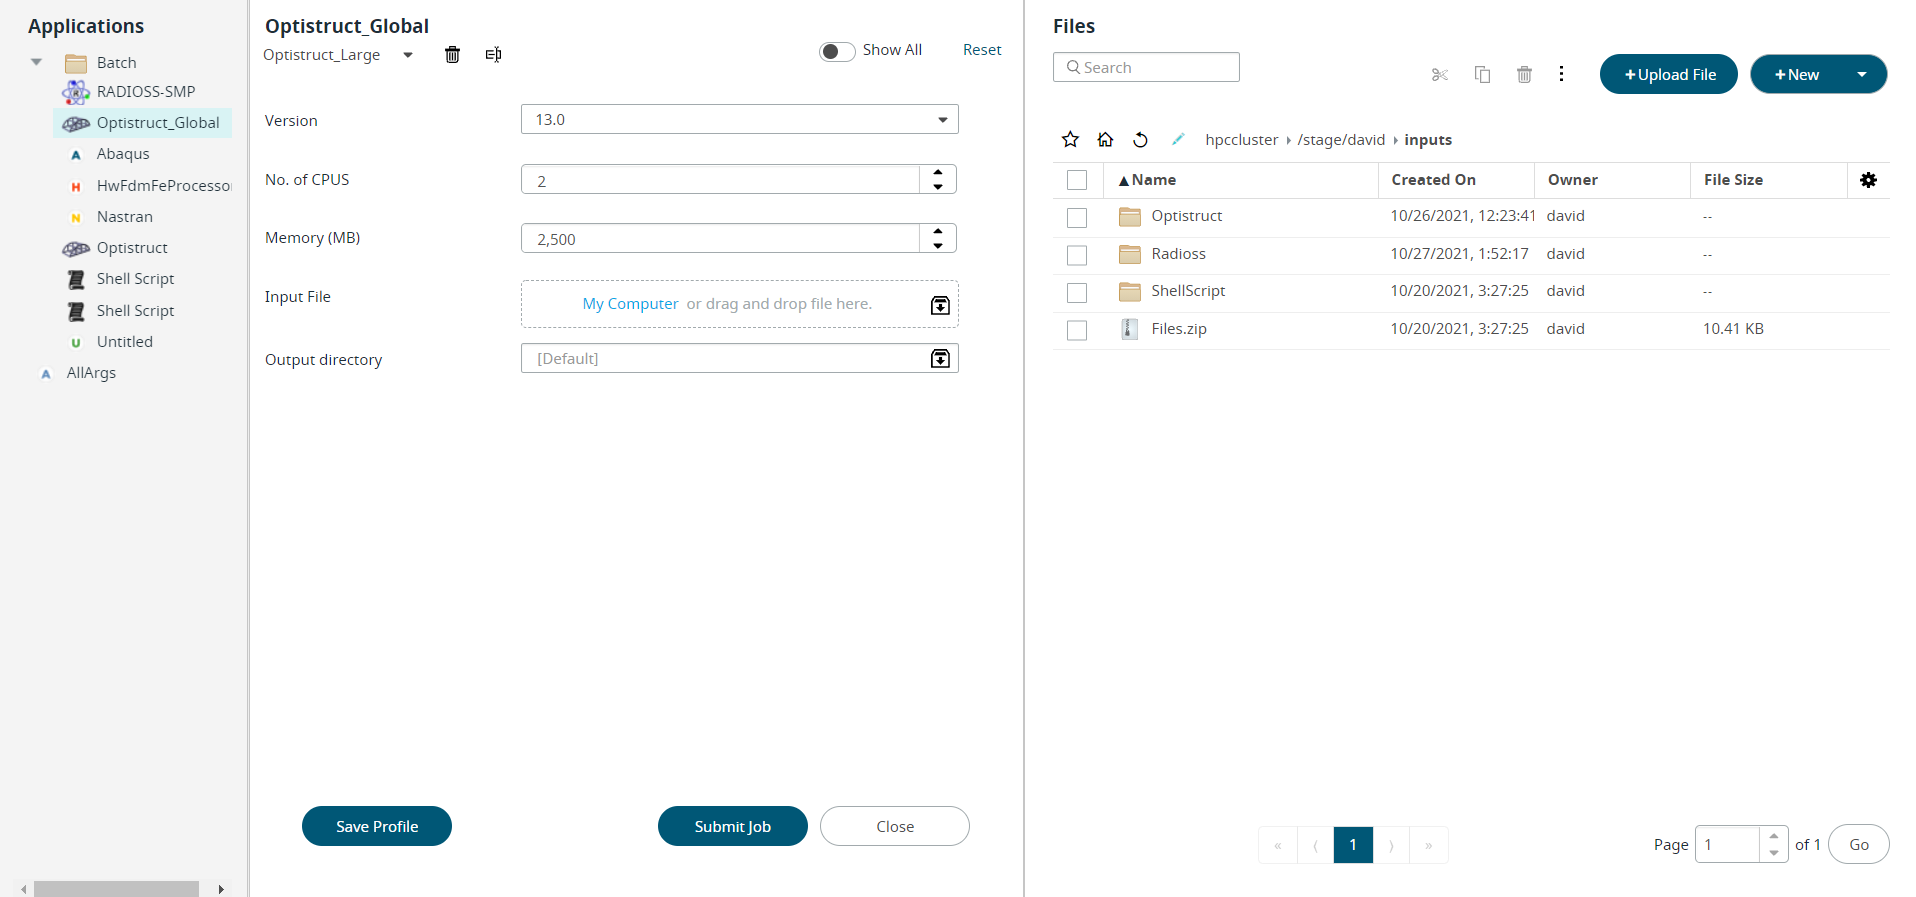
Figure 6. Saved Profile Job Submission FormNote: The profile delete icon ( ) and rename icon (
 ) will be enabled once you select
a saved profile from the list.
) will be enabled once you select
a saved profile from the list. -
Click Save Profile.
Tip: Solver arguments that are left blank when creating a profile can later be populated when submitting a job by displaying the job submission form.The Save Profile dialog box is displayed.
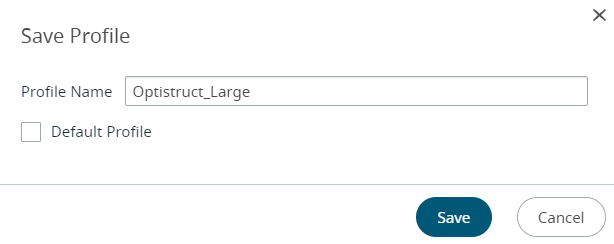
Note: When you are saving the profile if the solver arguments are left blank in Job Submission form, then the Saved Profile name is suffixed with GUI while displaying the Profile name in the context menu.Figure 7. Update Saved Profile