Cap Openings
Use the Wrap: Cap tool to close the openings of the wrap input and avoid leaks in the wrap result.
The
Wrap tools work for tessellated geometry. If the input
is b-spline geometry, first convert to discrete geometry using the Convert tool.
To prepare for wrap and get a manifold model, it is good practice to close openings like pipe ends and cover unnecessary features like slots so that they are not captured in wrap results, as they are not useful for analysis. The Wrap: Cap tool provides the capability to automatically or interactively create caps or patches.
-
From the Geometry ribbon, click the tool.

Figure 1. -
Perform automatic capping.
- Optional:
On the guide bar, click
 to define cap
options.
to define cap
options.
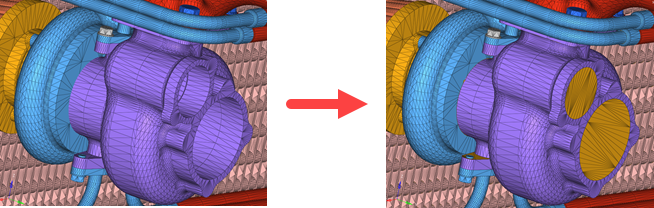
Figure 2. - Optional:
On the guide bar, click
-
Perform interactive capping.
- Optional:
On the guide bar, click to define cap
options.
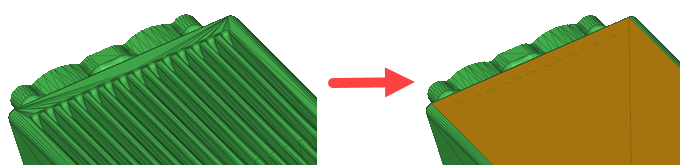
Figure 3. - Optional:
On the guide bar, click