Tutorial: Deformation
Inspire Studio has some powerful deformation tools that allow you to tweak the shape of a simple primitive object or a complex surface with a few clicks. In this tutorial, we'll start with a simple cube and turn it into the temple of an eyeglass frame.
In this lesson, you will learn about:
- Linear Stretch
- Taper
- Twist
- Bend
- Stretch
- SurfDrape
Create the Basic Shape
-
Start Inspire Studio. Or if it is already open, click the
New model tool on the File
icon.

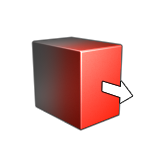
Linear Stretch
-
On the Deform tab, select Linear
Stretch.
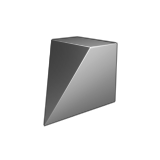
Taper
-
On the Deform tab, select
Taper.
Add a Round
-
On the Modify tab, in the Modify
tool group, select the Round tool.
Twist
-
On the Deform tab, select
Twist.

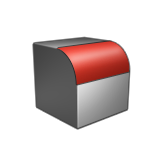
Bend
-
On the Deform tab, select
Bend.
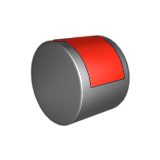
Stretch
-
On the Deform tab, select
Stretch.

SurfDrape
-
On the Surfaces tab, select
Text.

-
On the Deform tab, select
SurfDrape.