Use this process to replace the upper body of the model with a modified design for
repeated design iterations. This process uses Inspire Studio to generate/modify the upper body design and
HyperMesh to switch/replace the designs as
needed.
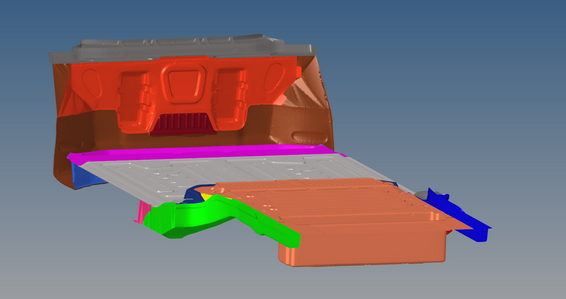
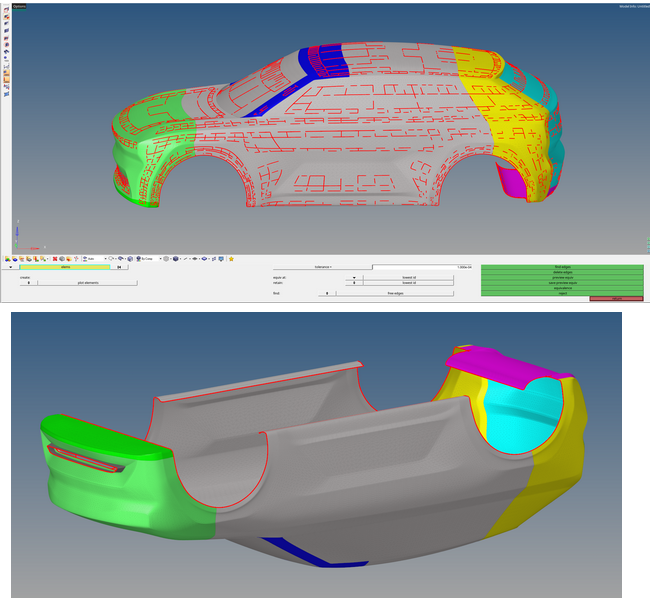
To comple this process, you must have a closed cabin floor and an apron for the
specific model. The cabin floor must be free from holes and gaps. Use the HyperMesh Hole/Gap fill functionality to do this. The cabin
floor should have only free edges around the sides. Figure 1.
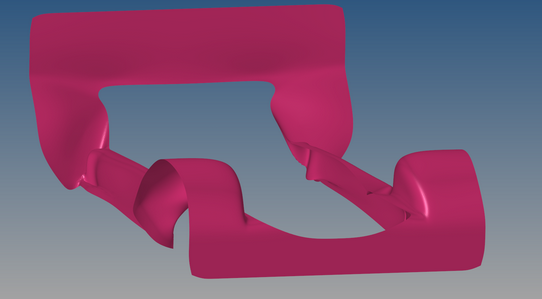
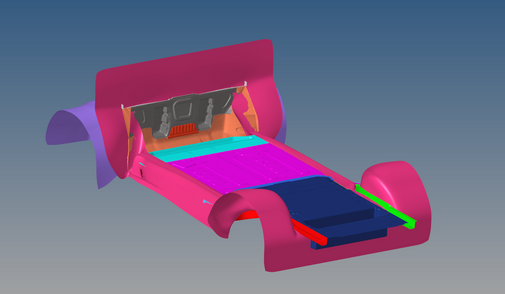
An apron is a surface that connects the upper body to the cabin floor. This surface
is created in Inspire Studio and exported as an STL. The
apron should continuously intersect the upper body, separating the space available
for design changes. Figure 2.
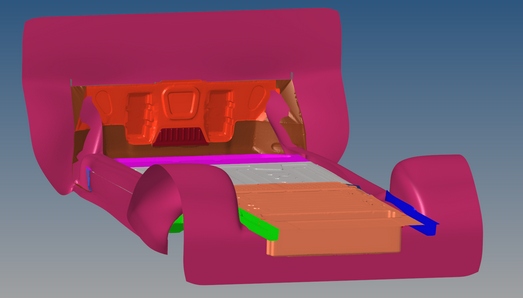
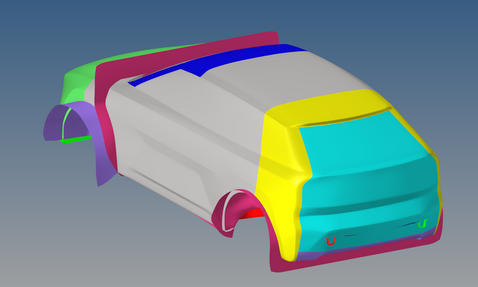
Use the Mesh > Fuse option in HyperMesh to fuse
together the closed cabin floor and the apron. Figure 3.
With the lower surface closed and completely intersecting the upper body, you
can now import the new upper body and start setup.
Process
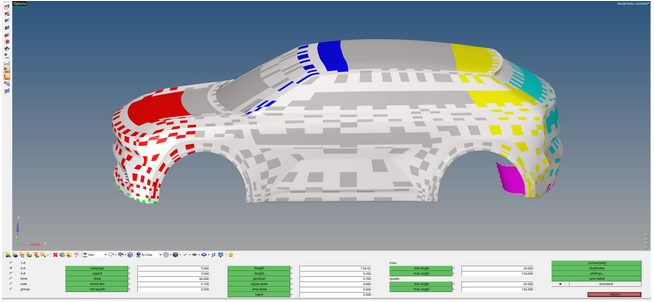
Import the upper body as an STL from Inspire Studio. Check for and delete any duplicate
elements. Figure 4.
Equivalence
non-conforming elements so there is only one edge along the outer boundary
of a surface. Figure 5.
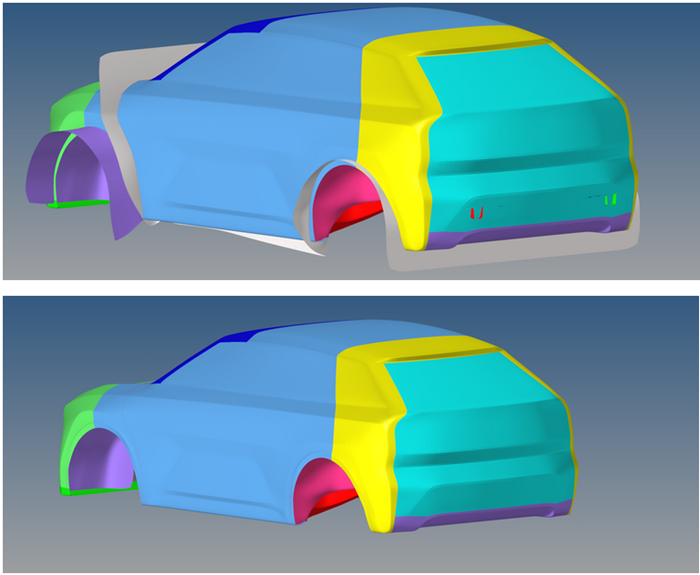
Import the cabin floor and apron. Figure 6.
Ensure both the upper body and the cabin floor/apron are the same
scale and intersect them as desired.
Scale both models to 1000*m Figure 7.
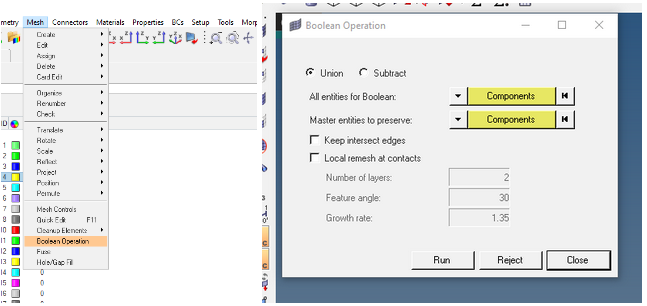
Boolean the surfaces together. Figure 8.
Trim unnecessary surfaces from the model. Figure 9.
Scale to meters.
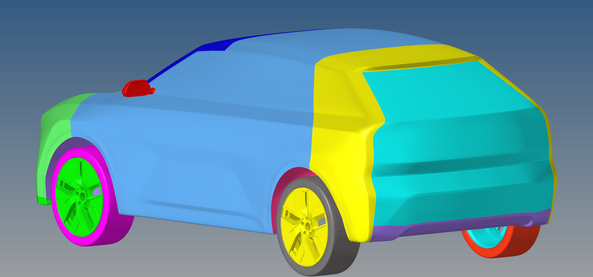
Import the powertrain, wheels, mirrors, and so on. Figure 10.