Add/Edit Cooler
If you haven't designed any coolers in a CAD tool, you can create and edit virtual coolers in Inspire Cast.
You need to create a mold before you can create
coolers.
-
Click the Components icon.

-
On the Cooler icon, click Add/Edit
Cooler.

-
Sketch the cooling lines.
- Click to create each point of the cooling lines. The points must be positioned on a single surface.
- You can resize a line by entering a length.
Tip: To create a perpendicular line, hold down Shift while clicking.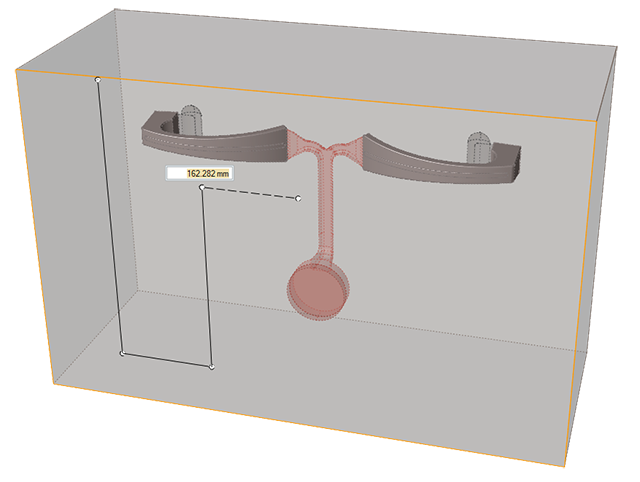
-
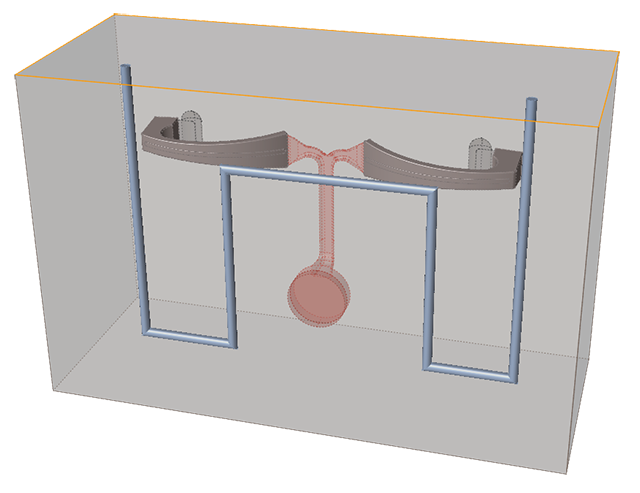
Right-click to create the cooler.
The cooler channels are created and moved close to the casting model. The total number of coolers is displayed above the Cooler icon.
-
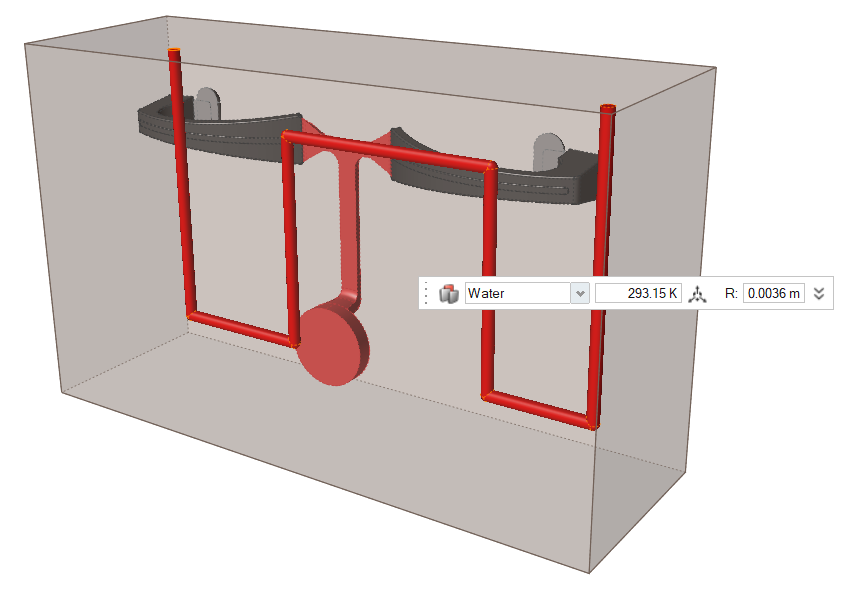
To edit the cooler, click it and use the microdialog options to define the
position, material, temperature, diameter. Click
 to define flow rate and start
and end times.
to define flow rate and start
and end times.
Microdialog Options
Define the position, material, temperature, and diameter of the cooler.
| Option | Description | |
|---|---|---|
| Move |
 |
Click to move the
cooler. |
| Material |
 |
Select the material. |
| Temperature |
 |
Enter the temperature. |
| Diameter |  |
Enter the diameter. |
| Flow rate |  |
Enter the flow rate provided by the machine. |
| Cooling start time |  |
Enter time to delay start after filling starts. |
| Cooling end time |  |
Enable to enter time to deactivate cooling line. Note: Cooling will
continue until end of the simulation if no end time is
specified.
|