Add/Edit Mold
Create and edit a mold that contains the cast part and all components.
-
Click the Components icon.

-
Click the Mold icon.

A mold that contains the cast part and all components is created.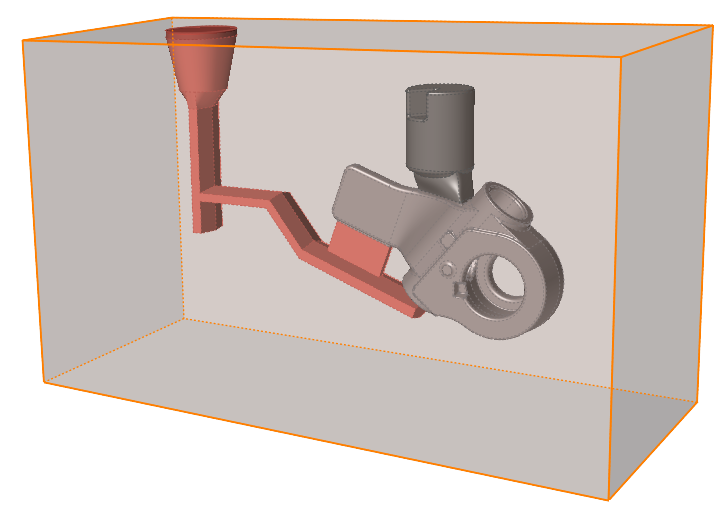
-
Use the microdialog options to adjust the margins and define the position,
material, temperature, dimensions, roughness, and thickness of the foundry
coating.

Microdialog Options
Adjust the margins of the mold and define the position, material, temperature, and dimensions.
| Option | Description | |
|---|---|---|
| Move |
 |
Click to move the mold. |
| Resize |
 |
Click to reset the dimensions. |
| Trim |
 |
Click , and then click
a surface of the mold. This removes the gap between the selected surface
and the model. By default, the inlet to the filling system will be
normal to the surface of the mold. |
| Material |
 |
Select the material. |
| Material Viewer |
|
Click |
| Temperature |
 |
Enter the temperature. |
| X |
 |
Enter the dimension along the x-axis. |
| Y |
 |
Enter the dimension along the y-axis. |
| Z |
 |
Enter the dimension along the z-axis. |
| Roughness |
 |
Select the roughness of the mold surface finish.
Specular provides a polished mold surface with low friction between liquid and mold. Normal is the regular mold finish and the default.High provides a poor surface finish with high friction between liquid and mold. |
| Coating |
 |
Select the thickness of the foundry coating. A thin layer changes the HTC value of the mold to 880 (W/(m2*K)). A medium layer changes the HTC value of the mold to 630 (W/(m2*K)).A thick layer changes the HTC value of the mold to 500 (W/(m2*K)). |