HWCFD-T: 1020 Wrapping Using the Template Manager
Before you begin, click here to download the tutorial models. Extract Wrapping_Example_Engine.hm from the zip file.
Create Groups
-
Select the three bolts parts highlighted in the figure below.
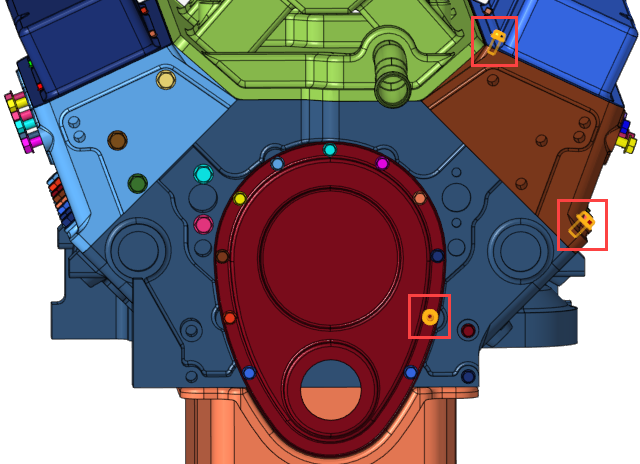
Figure 1. -
Right-click and select .
The tool searches for all bolts matching the features of the highlighted parts and isolates them on the screen.
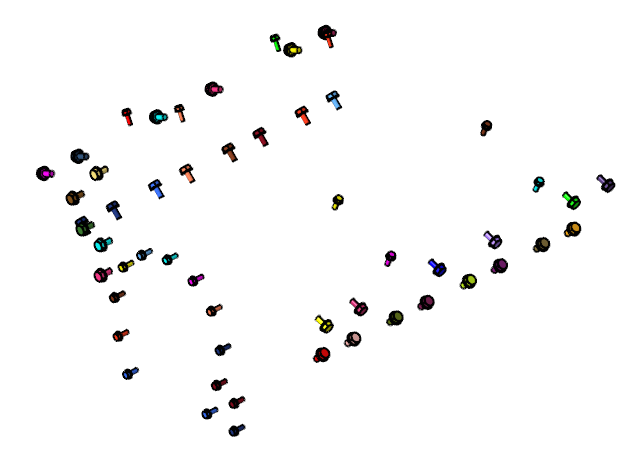
Figure 2. -
Right-click and select Reverse (R) to display all the
parts besides the bolts.
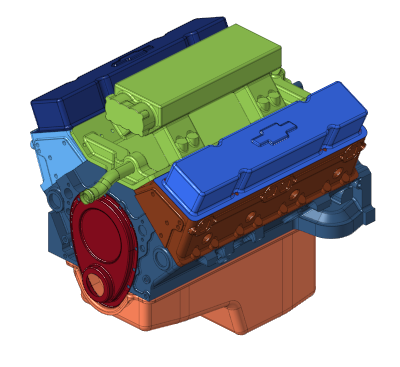
Figure 3.
Create the Template
-
Click the arrow next to the Home tool set, then
select Template Manager.
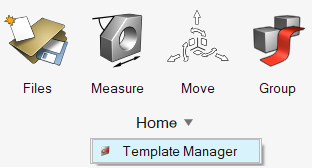
Figure 4. -
Click
 to add an operation.
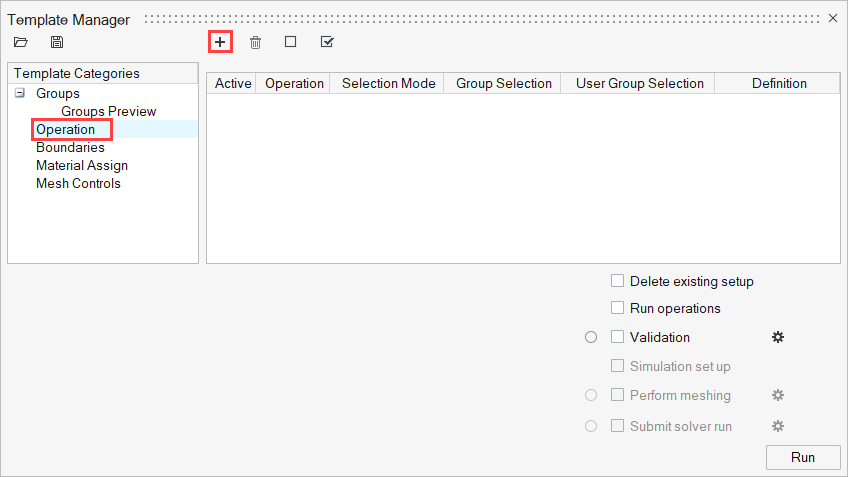
Figure 5. -
Double-click in the Operation column and select
Tessellation.

Figure 6. -
Click
 in the Definition column. Ensure that the Unmeshed
surface meshing method is set to Faceting with a size
definition set to Normal.
in the Definition column. Ensure that the Unmeshed
surface meshing method is set to Faceting with a size
definition set to Normal.
-
Click to add another operation.
-
Under the User Group Selection column, select
ToWrap.

Figure 7. -
Click and enter a maximum width of
100.
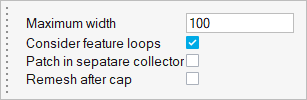
Figure 8. -
Click to add another operation.
-
Under the User Group Selection column, select
ToWrap.

Figure 9. -
Click and enter a value of 20 for
the Average element size.
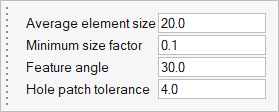
Figure 10. -
Click to add another operation.
-
Under the User Group Selection column, select
ToWrap.

Figure 11. -
Click and enter a value of 20 for
the Average size.
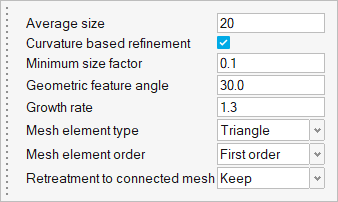
Figure 12. -
Click to add another operation.
-
Under the User Group Selection column, select
ToWrap.
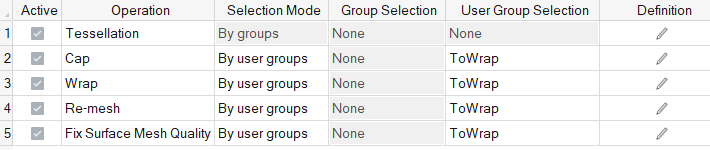
Figure 13. -
Click and enable Degenerated element
cleanup, Duplicate element cleanup,
Aspect ratio cleanup, and Intersection
cleanup.
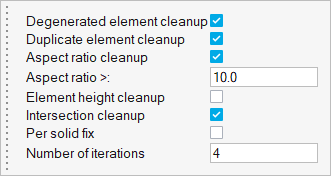
Figure 14. -
Click to add another operation.
-
Under the User Group Selection column, select
Misc.
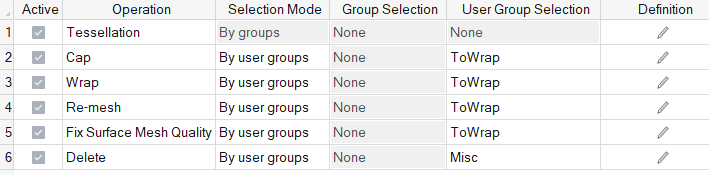
Figure 15. -
Click
 next to Validation and set the Sliver Surface Threshold to
0.0001.
next to Validation and set the Sliver Surface Threshold to
0.0001.
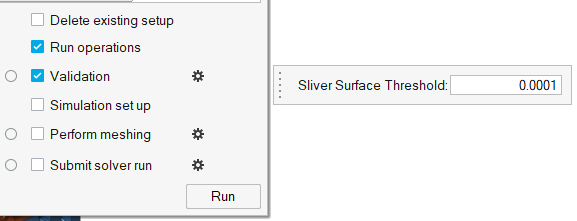
Figure 16.
Save the Template
-
Click
 in the Template Manager dialog.
-
Observe that the Validate tool on the Geometry ribbon has a blue check mark,
which indicates that the validation was successful.

Figure 17.