HWCFD-T: 1030 Defeaturing

In this tutorial, you will look at some of the defeaturing tools available in HyperWorks CFD. You will use a transmission model to help explore the various options while cleaning up the geometry.

Before you begin, click here to download the tutorial models. Extract Defeaturing_Model.hm from the zip file.

Defeature Small Bolts

  1. From the Geometry ribbon, click the Defeature tool.


    Figure 1.
  2. From the secondary ribbon, select the Small Features tool.


    Figure 2.
  3. On the guide bar, click and set the size to 20.
    This value describes the size limit up to which the software should detect a part.
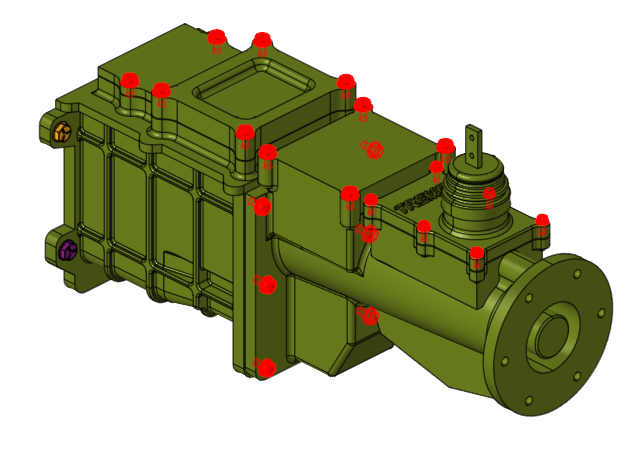
  4. Click Find.
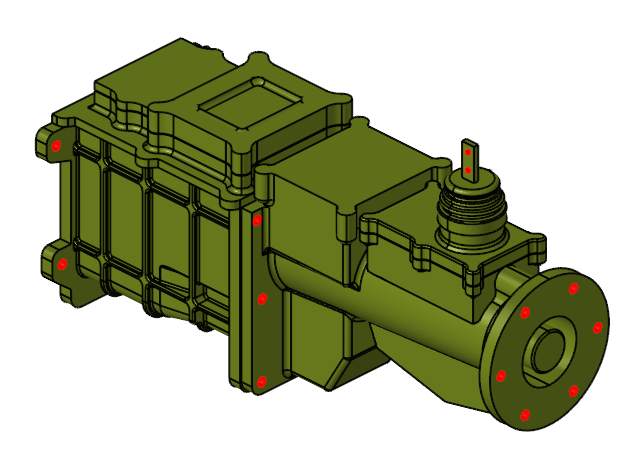
    The bolts less than 20mm are highlighted in red.


    Figure 3.
  5. Click Remove All.
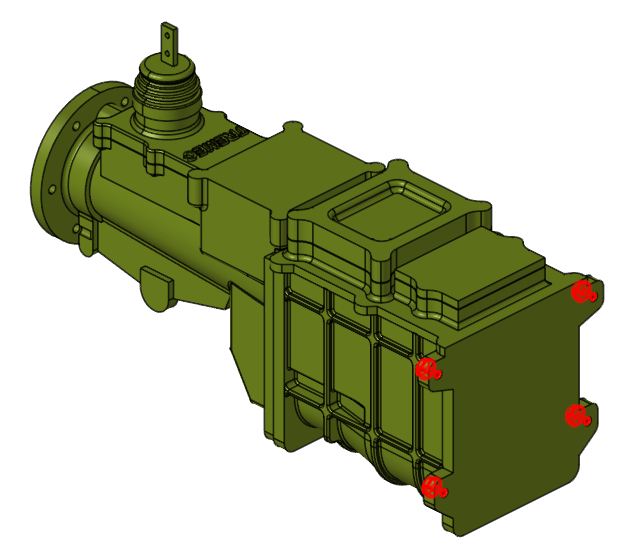
    Some bolts that weren’t detected during the Find operation can be manually removed.
  6. Select the four bolts shown below then click Remove All again.


    Figure 4.
  7. Press Esc to exit the tool.
  8. Save the model.

Remove Logos from the Geometry

  1. Select the Logos tool from the Defeature secondary ribbon.


    Figure 5.
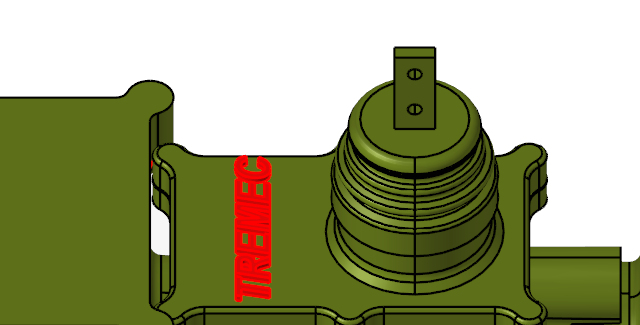
  2. On the guide bar, click Find.
    The tool searches for any logos in the model.


    Figure 6.
  3. Click Remove All.
  4. Press Esc to exit the tool.
  5. Save the model.

Defeature Fillets

  1. Select the Fillets tool from the Defeature secondary ribbon.


    Figure 7.
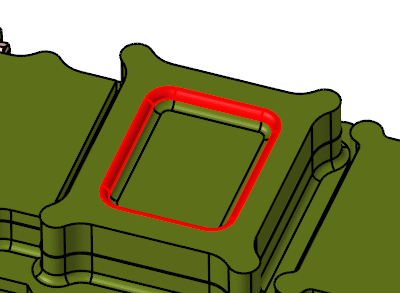
  2. Select a continuous fillet loop, as shown in the figure below.


    Figure 8.
  3. Click Remove All on the guide bar to remove the fillet.
  4. Press Esc to exit the tool.
  5. Save the model.

Fill Out the Bolt Grooves

  1. Select the Holes tool from the Defeature secondary ribbon.


    Figure 9.
  2. On the guide bar, click and enable Find cylindrical holes only.
  3. Click Find.
    All the holes in the geometry are highlighted.


    Figure 10.
  4. Click Remove All.
  5. Press Esc to exit the tool.
  6. Save the model.

Perform a Batch Repair to Suppress Small Edges

  1. Select the Batch tool from the Defeature secondary ribbon.


    Figure 11.
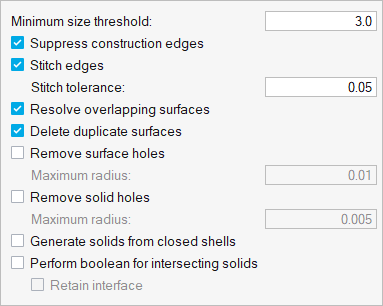
  2. On the guide bar, click and set the minimum size threshold to 3.0.


    Figure 12.
  3. Press Ctrl + A or left-click and drag across the geometry to select all the solid bodies.
  4. Click Batch Repair to execute the batch process.
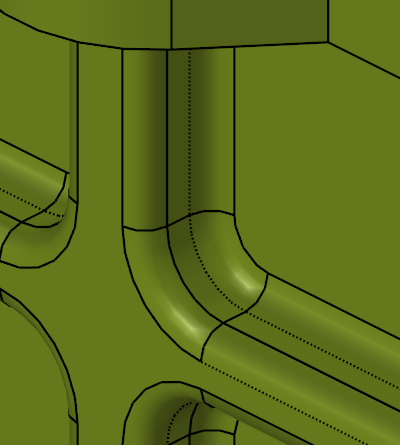
    Observe that the suppressed edges are identified by dashed lines.


    Figure 13.
  5. Press Esc to exit the tool.
  6. Save the model.
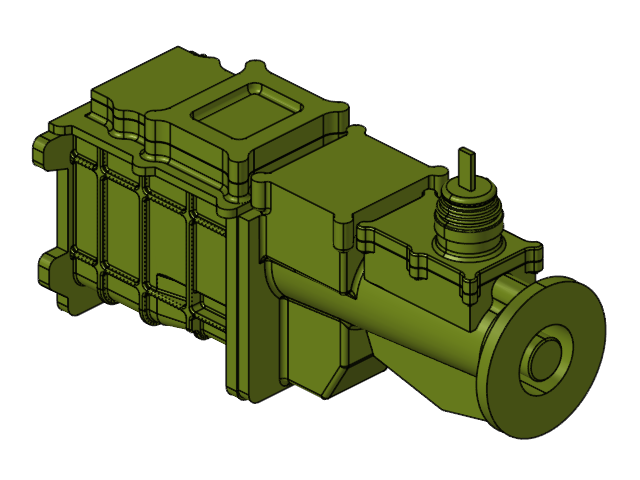
    The geometry should now look that shown in the figure below.


    Figure 14.