Add Washers
Use the Add Washer utility to create one or more layers of washer elements around a circular hole in an existing mesh.
-
Select a single node from the edge of a hole.
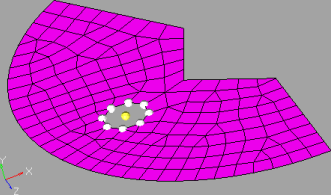
Figure 1. -
Click proceed.
All of the nodes on the hole are selected and the utility opens.
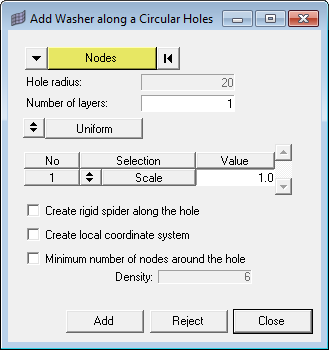
Figure 2. -
Specify a Width (the size of the elements) or a
Scale (a factor of the hole's radius – for example,
using a scale of 1.0 produces washer elements whose size is the same as the
hole's radius) for each layer of elements.
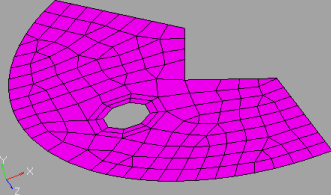
Figure 3. . Mesh size 5, 2 washer layers of width 2.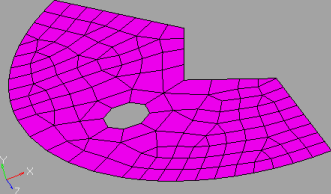
Figure 4. . Mesh size 5, 1 washer layer of scale 1.0. -
Activate the checkboxes of any desired creation options.
Option Description Create rigid spider along hole 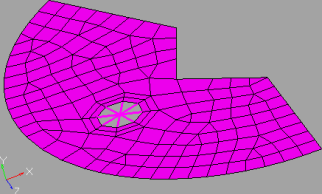
Figure 5.Create local coordinate system 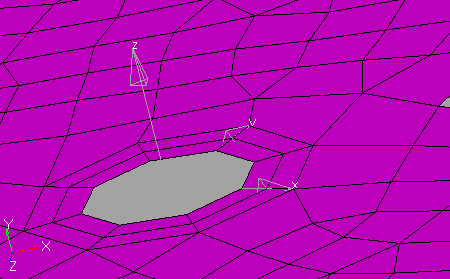
Figure 6.Minimum number of nodes around hole Prevents the washer from using fewer nodes than this around the hole, in order to maintain a desired level of granularity. Note: A larger number than this may be generated in order to generate a uniform mesh of washer elements, particularly when using smaller numbers for the minimum. When active, this also enables the Density numeric box, which lets you specify the exact minimum number.