Create and Edit a File
Create a file for running a job script, job master file, or to provide remarks for a particular folder.
When you create or open a file from Files tab, the text viewer provides an option of submitting a job after you update the file.
The Process with... option is displayed at the top right hand corner. This option is disabled when the file is in editing and in tailing mode.
-
Using the file system tree on the left, navigate to where you want to create
the new file.
Tip: If you are using this folder or file frequently, then click
 to bookmark this folder or file
navigation path.
to bookmark this folder or file
navigation path. -
Perform one of the following options:
- Click New located in the upper right-hand of the page and select File from the menu.
- Right-click in a blank space in the folder list and select New File.
The Create New File dialog box is displayed.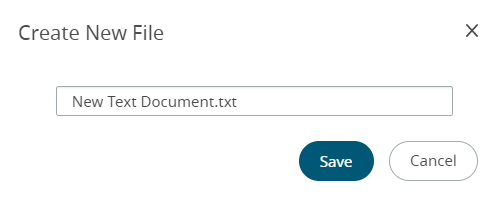
Figure 1. Create New File - Choose one of the following options:
- If you want to open the file in the default application, double-click the file.
- If you want to open the file in the default application, right-click the file and select Open in the context menu.
- If you want to choose an application and to set a default application to open the file, right-click the file and select Open With.
Tip: To set a default application to open a file based on the file extension, then select Always Use this check-box.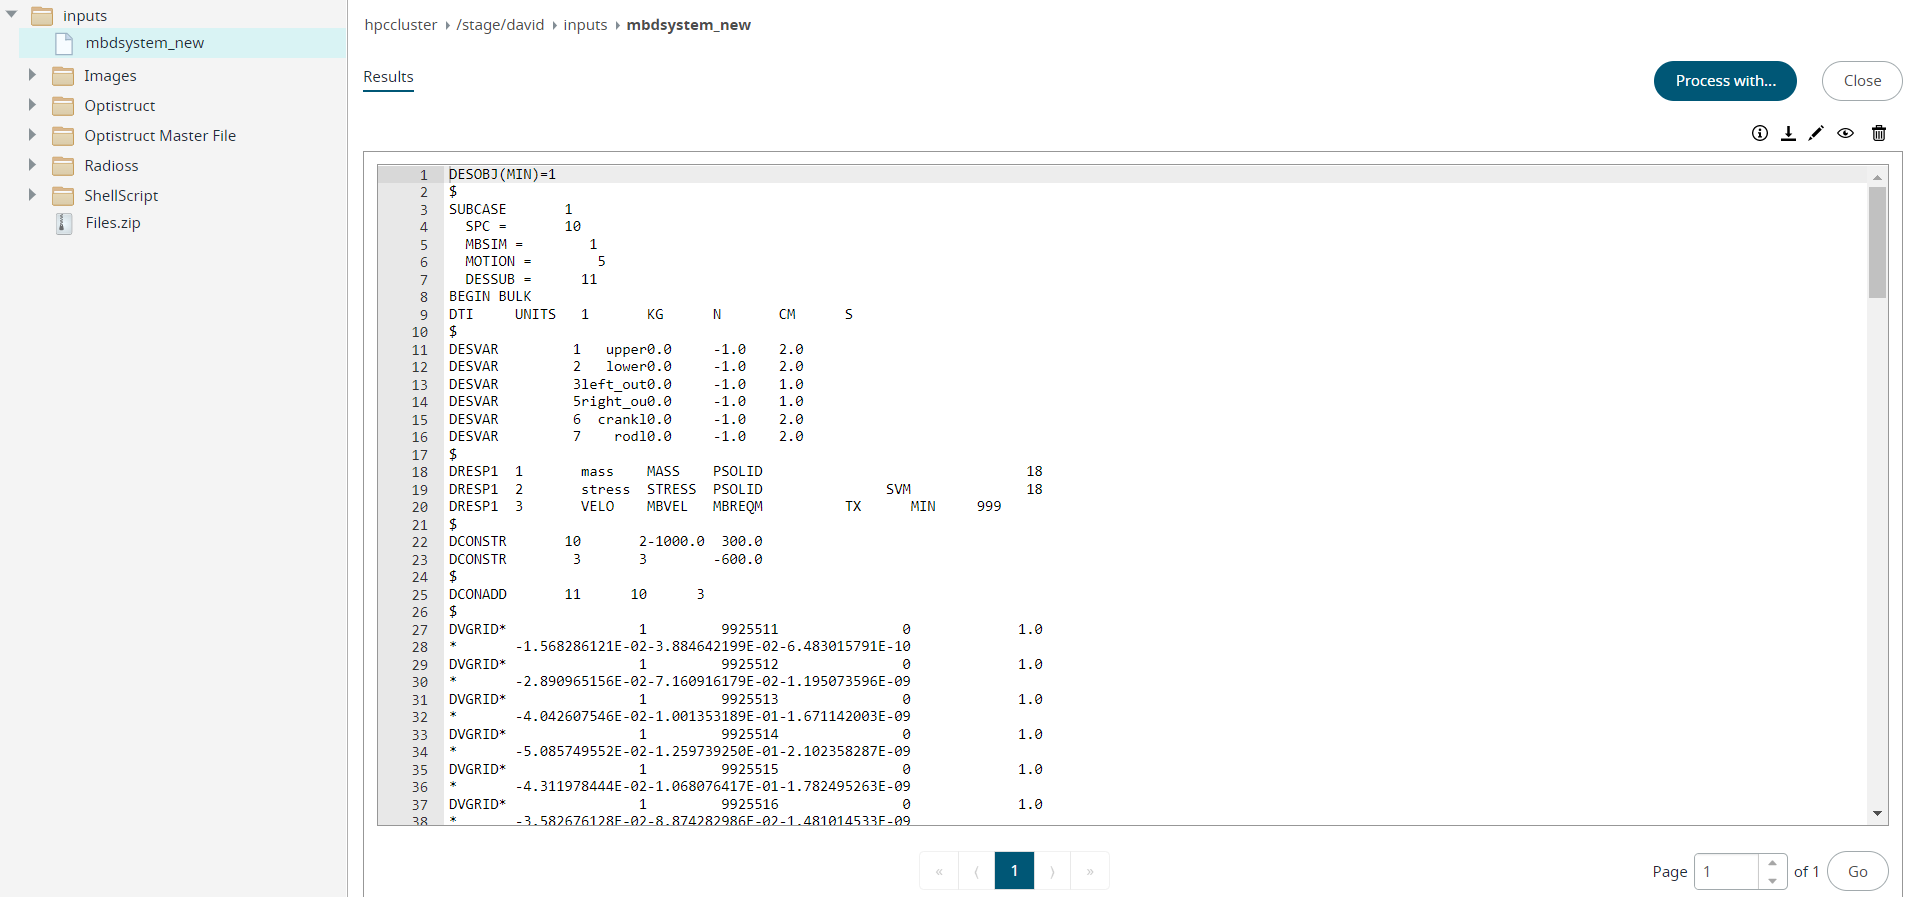
Figure 2. Opened FileTip: Click Process with... and select a solver from the list to submit the job.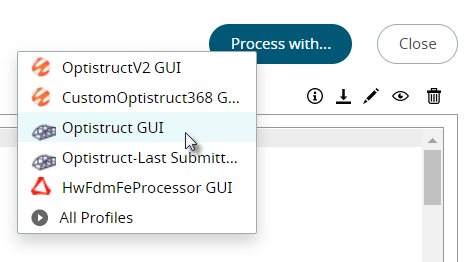
Figure 3. Process With Option -
Click
 to edit the file.
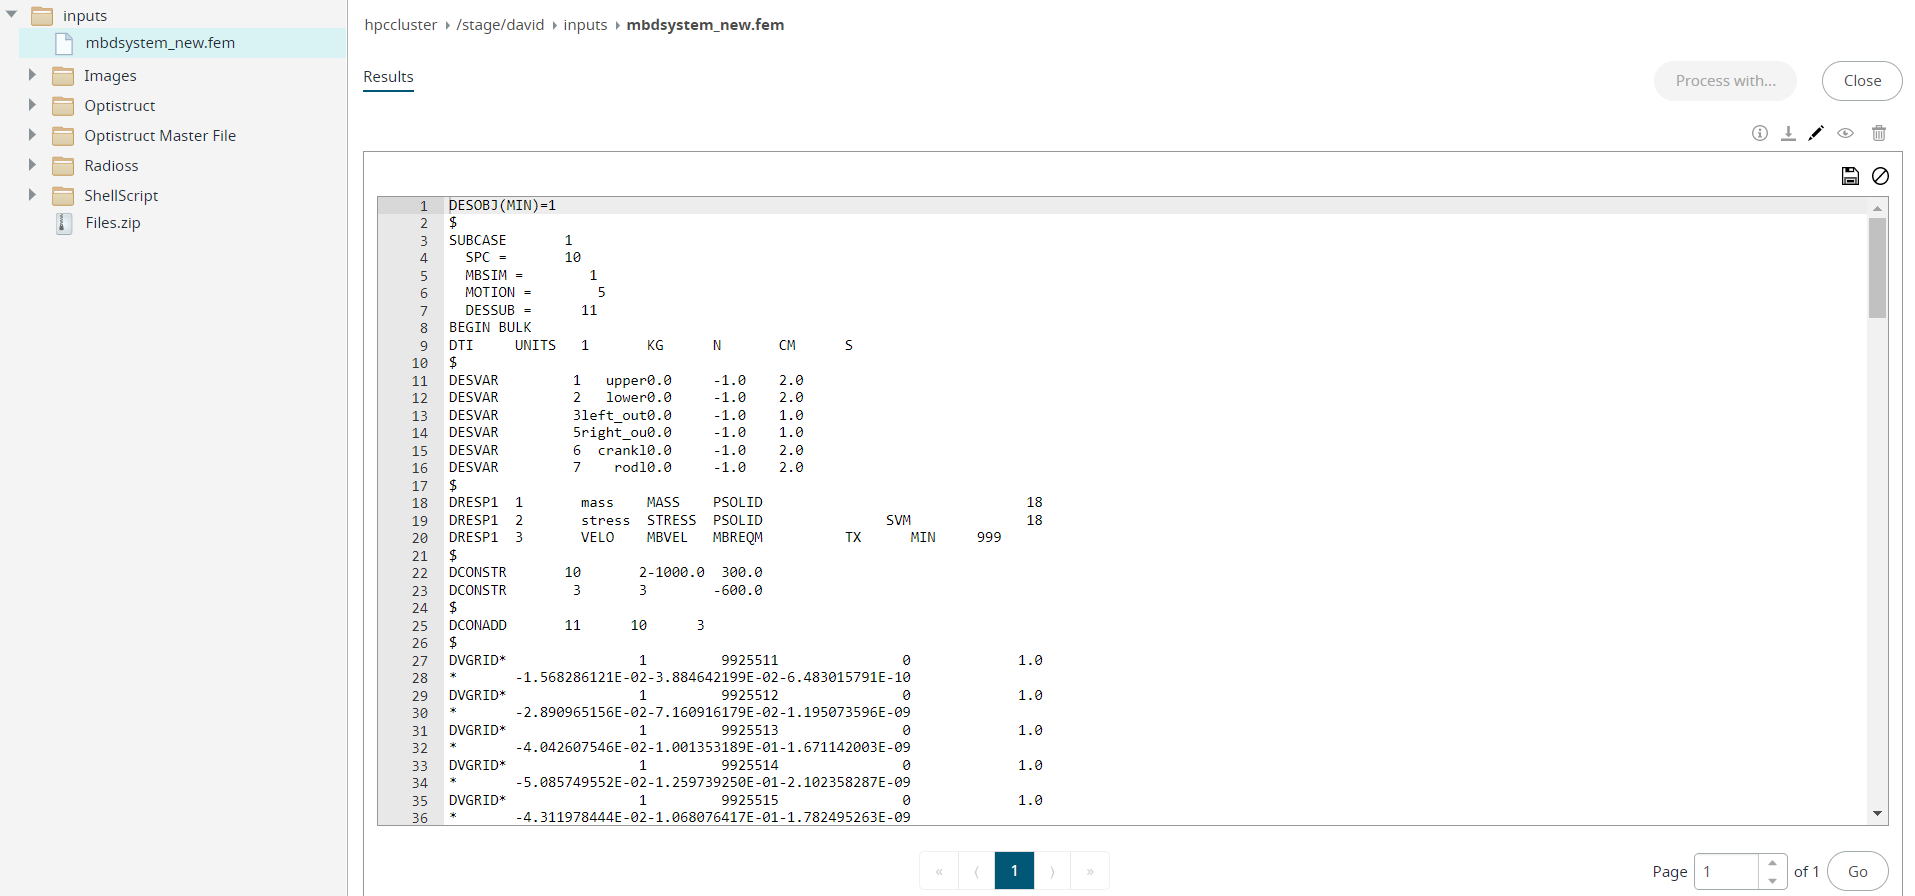
Figure 4. File Editing -
Click
 to save the file.