Create a Remote Desktops
Remote desktops are activated when you submit an interactive job.
-
Click the Desktops tab located in the upper left-hand of
the page.
A list of applications are displayed at the top of the Desktops page.
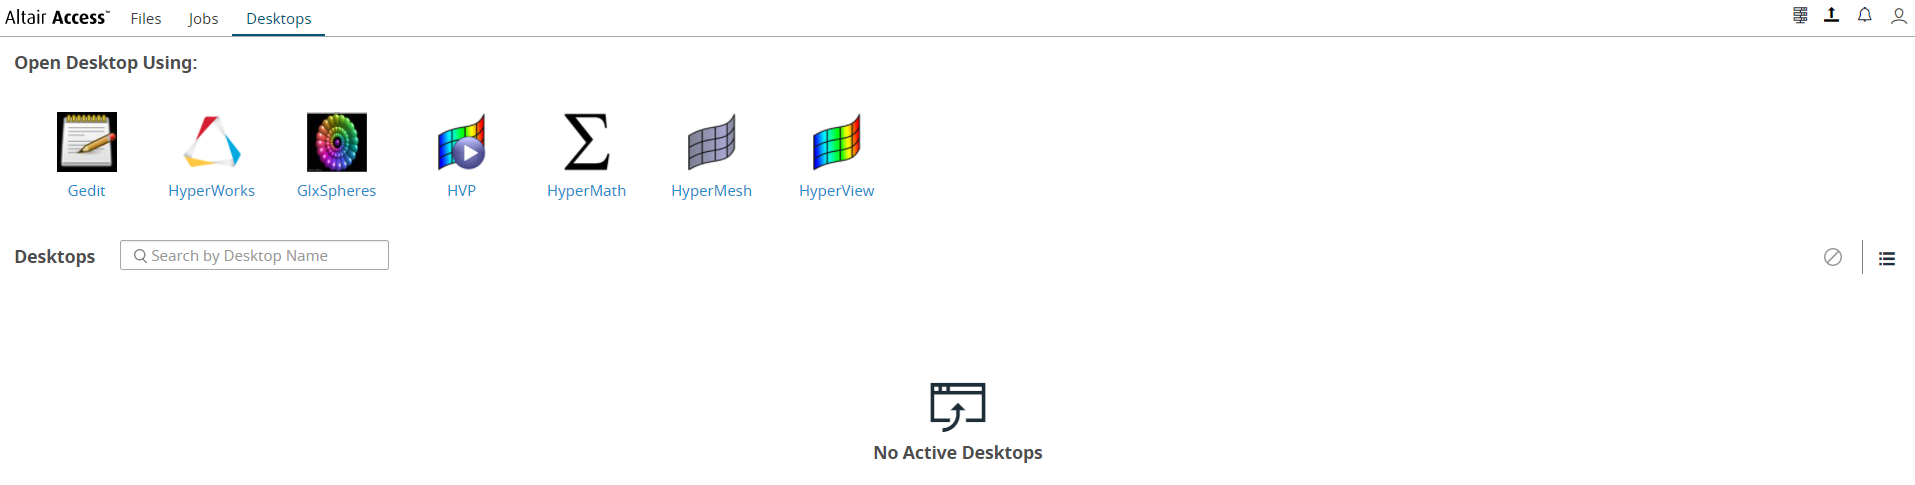 Figure 1. Remote Desktops Applications/Solvers ListTip: Click
 to view the other applications/solvers. By default, the remote desktops list is displayed in the Tile view. Click
 to change the view to List view.
 -
Choose one of the following options:
- Click an application to launch a remote desktops with default options.
- Right-click an application and choose Launch Default or Launch Custom option from the menu to launch a remote desktops.
Note: If Launch Default option is selected and if mandatory fields are empty, then a job submission form is displayed. If Launch Custom option is selected, then a job submission form is displayed.A job submission form is displayed.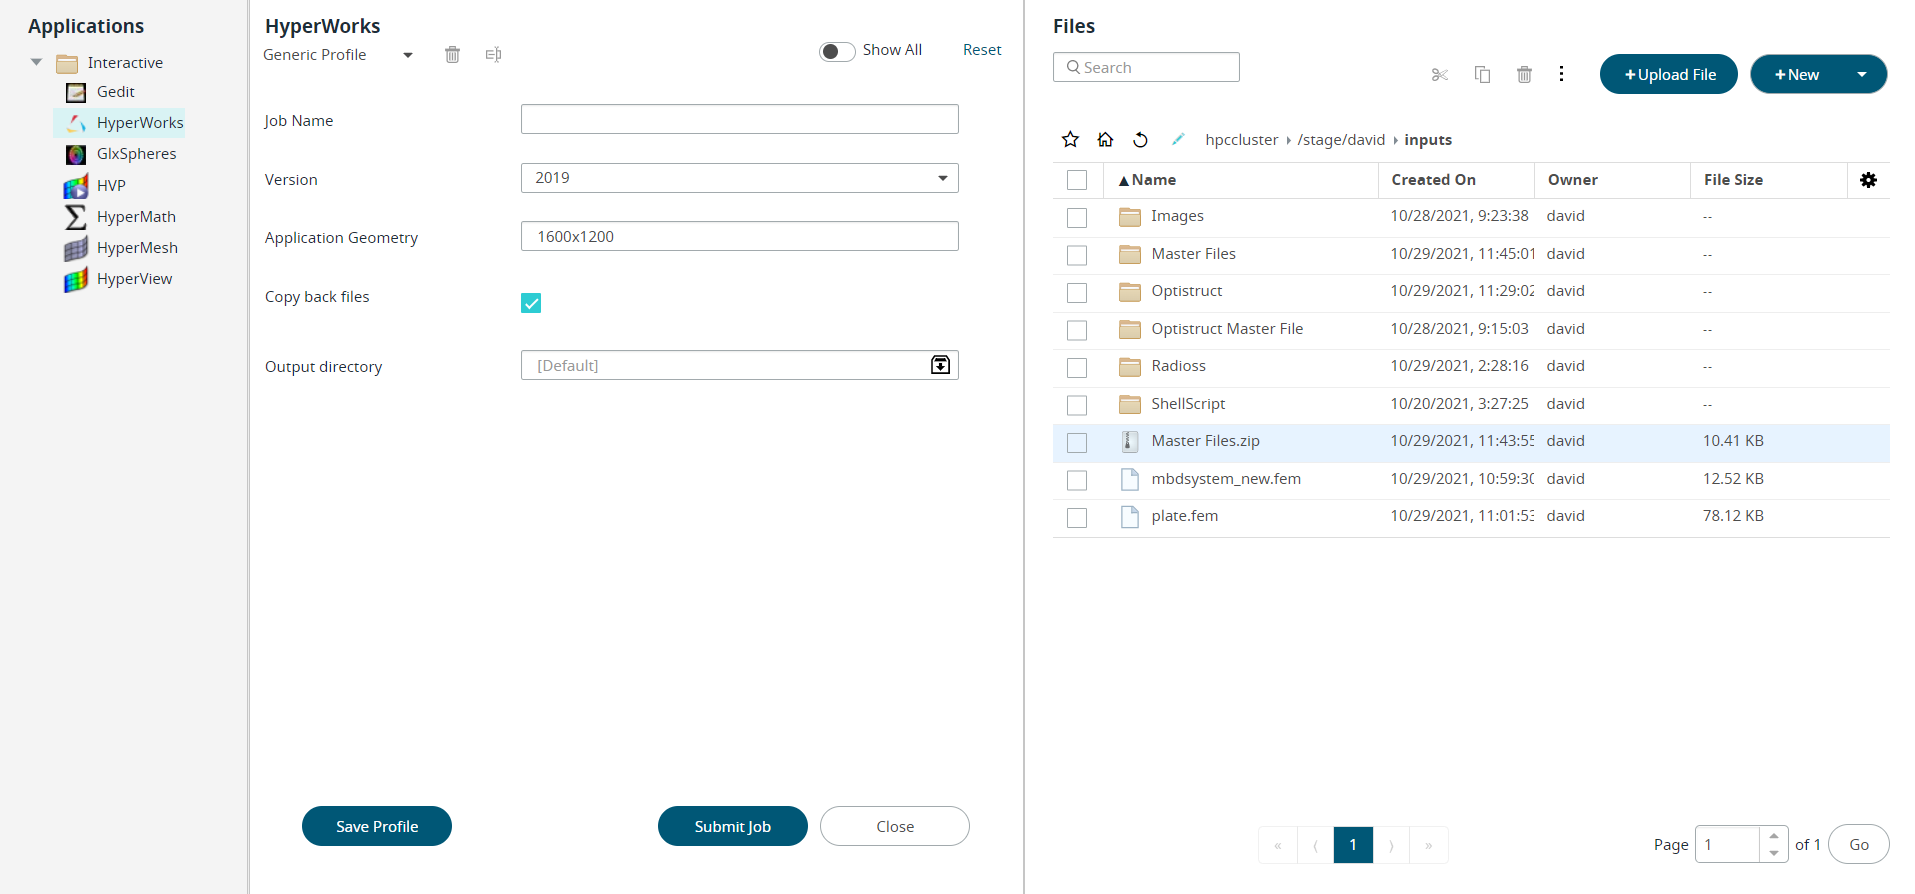 Figure 2. Job Submission FormThe following panes are displayed in the Job Submission Form:
- Left pane - Displays the list of Solvers based on the category.
- Center pane - Displays the Job Submission Form. First time when you select an Application, Generic Profile is selected and subsequent time Last Submitted profile is selected. Profiles are displayed in a drop-down list just below the application.
- Right pane - Displays the File Management section. You can perform all the file related activities in this section. For example, selecting a file as an input file or include files, selecting a directory as an output directory, editing a file, uploading a files, searching a file from the list.
By default, only the required fields are displayed. Move the toggle switch
 to the right to display all
available application arguments.Note: The profile delete icon (
to the right to display all
available application arguments.Note: The profile delete icon ( ) and rename icon (
 ) will be enabled once you select a saved
profile from the list.
) will be enabled once you select a saved
profile from the list.