Notes View
The Notes view, ![]() ,
displays only the notes in the session, grouped within their respective page and
plot folders. Click on a note to display the note's properties in the Entity Editor.
,
displays only the notes in the session, grouped within their respective page and
plot folders. Click on a note to display the note's properties in the Entity Editor.
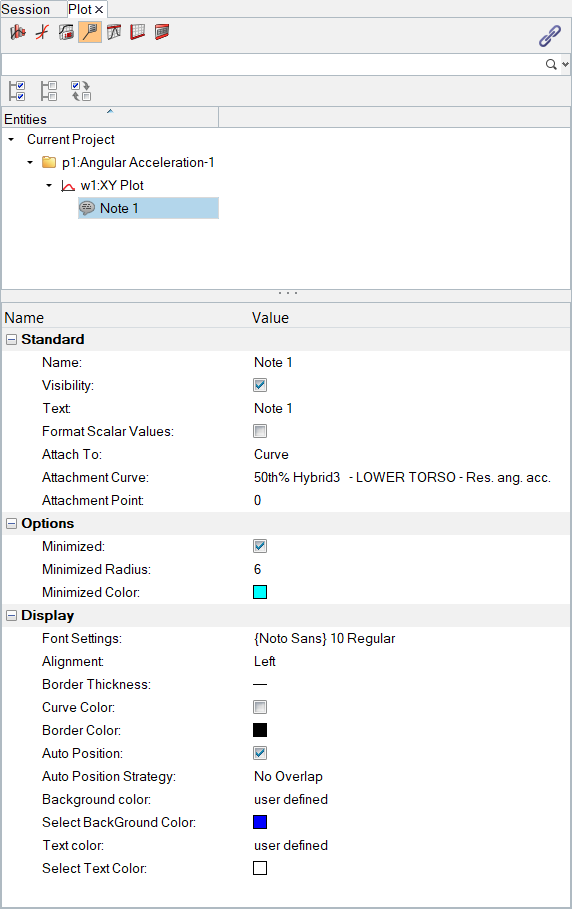
Figure 1.
When a note is selected, the following fields are displayed in the Properties Table:
Standard
- Name
- The name of the note.
- Visibility
- Displays the note in the plot window. Deactivate to hide the note.
- Text
- The note text or Templex expression in the note.
- Format Scalar Values
- Select this option to format scalar values in a note using the Fixed or Scientific format. The format type can be selected from the Format drop-down menu.
-
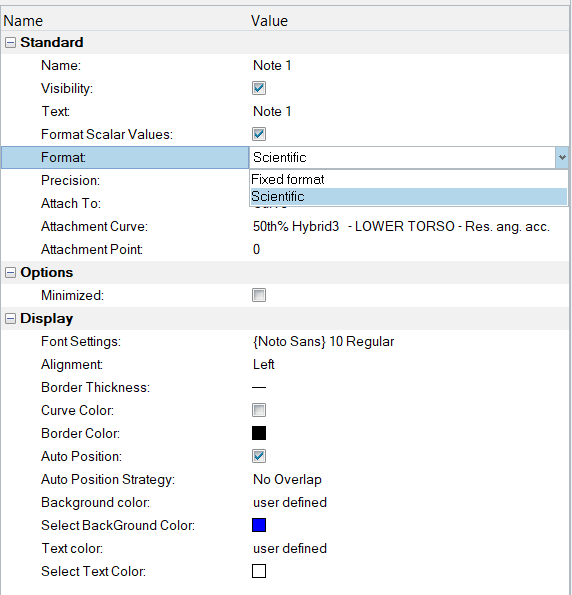
Figure 2. - Format
- Select Scientific or Fixed Format from the drop-down menu.
- Precision
- Both fixed decimal format and scientific notation display numbers to the right of the decimal point. The accuracy of each format can be adjusted by entering a value in the Precision text field.
- Attach To
- Select where the note will be attached. Options include Window, View, Curve, and Coordinates.
- Note Placement
- Select an option to position your note in a specific location within the
modeling window. The note retains its
position when zooming in and out. Options include:
- default
- Left-Top corner
- Left-Bottom corner
- Right-Top corner
- Right-Bottom corner
- User defined. Use the X Coordinate and Y Coordinate fields to enter specific coordinates for the note's placement in the modeling window.
- Options
- See Mouse Over Notes for more information on the features in the Options section.
Display
- Font Settings
- Click in this field to display the Font Selector dialog. From there, you can change the font type, style, and size.
- Alignment
- Text can be left aligned, right aligned, or centered in a note box by selecting the corresponding drop-down menu item. Text alignment is updated automatically.
- Border Thickness
- Determines the line thickness of the note's border. Select one of four line thickness styles from the drop-down menu to change the border.
- Curve Color
- This option is displayed when a note is attached to a curve.
- Border Color
- Click the color palette to edit the note's border color.
- Auto Position
- Auto Position Strategy
- See Note Positioning for more information on this feature.
- Background Color
- Select default or user defined.
- Text Color
- Select default or user defined.