HWD-0040: Presenting Results
- Capture screen contents to files.
- Capture animations to files.
- Export CAE data in Altair’s Hyper3D format and view it with HyperView Player.
- Create HTML and PowerPoint (XML) report files from HyperView Player.
Tools
From the View menu, select .
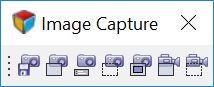
Figure 1.
- Capture Graphics Area
 : HyperWorks Desktop allows you to capture the screen (the
windows in a session page) to a BMP, JPEG, PNG, or TIFF file to use in a
report. You can open the file in an image editor and in HyperView’s video
window.
: HyperWorks Desktop allows you to capture the screen (the
windows in a session page) to a BMP, JPEG, PNG, or TIFF file to use in a
report. You can open the file in an image editor and in HyperView’s video
window. - Capture Graphics Area Video
 : HyperWorks Desktop allows you to capture animation data to an
AVI, AMF (Altair Movie File), BMP, JPEG, TIFF, PNG, or GIF file. You can
view the AVI file in a movie player application and in HyperView’s video window.
: HyperWorks Desktop allows you to capture animation data to an
AVI, AMF (Altair Movie File), BMP, JPEG, TIFF, PNG, or GIF file. You can
view the AVI file in a movie player application and in HyperView’s video window. - Capture Dynamic Rectangular Video
 : This works the same as the Capture Animation Video
function, but after entering the file name, you must graphically select a
rectangular area where the video will be recorded. Use the left mouse button
to draw the window and then click the right mouse button to accept the
area.
: This works the same as the Capture Animation Video
function, but after entering the file name, you must graphically select a
rectangular area where the video will be recorded. Use the left mouse button
to draw the window and then click the right mouse button to accept the
area.
- Altair’s Hyper3D (H3D) file is a compact, binary 3D movie file. This format allows you to store model and results data in a single, compact file, rather than in multiple, large solver results files. You can create an H3D file containing only the data you want someone to access and easily distribute information using H3D files with HyperView Player.
- You can capture multiple pages and windows to various file formats (H3D, AVI, JPEG, etc.) and organizes them into an HTML or PowerPoint (XML or HTML) file. The PowerPoint file will be in XML format. You can read XML files into Microsoft PowerPoint and the HTML files into Microsoft PowerPoint.
HyperView Player
HyperView Player is an Internet browser plug-in and standalone application for visualizing 3D computer aided engineering models and results in H3D file format created from HyperView.
The HyperView Player window is embedded in the HTML or XML reports generated so as to view the 3D data using the plug ins.
In HTML files, you can also display H3D data in a 2D preview image as shown in the image of the sample HTML report below. This image is stored in the H3D file. Click the image to open HyperView Player’s standalone application with the H3D file loaded. Windows and UNIX support 2D preview images.
Create the H3D File for Page 1, Window 1
-
From the Display Control icon,
 , uncheck the option for
Contour.
, uncheck the option for
Contour.
-
From the Animation Controls panel,
 , set Animate start to 0.022 and
Animate end to 0.042. Be sure to press Enter after typing in the new values.
Only displacement results in this range will be saved to the H3D file.
, set Animate start to 0.022 and
Animate end to 0.042. Be sure to press Enter after typing in the new values.
Only displacement results in this range will be saved to the H3D file.
Open the H3D file in HyperView Player
-
Animate the model by clicking the Play button,
 .
.
-
Use the horizontal slider under the Current Time slider to control the speed of
the animation.

Figure 2. -
From the Display Control icon, , turn on the Contour and the
Section Cut.
AVI Capture of Screen/Animation with Box Selection
-
From the Standard Image Capture toolbar, select Capture Dynamic
Rectangular Video, .
Publish Session in HTML or XML Format
-
Open the Session Browser by selecting .
Notice in the bottom half of the browser, there is an option for Publish Page. This allows you to select the individual pages to be published.
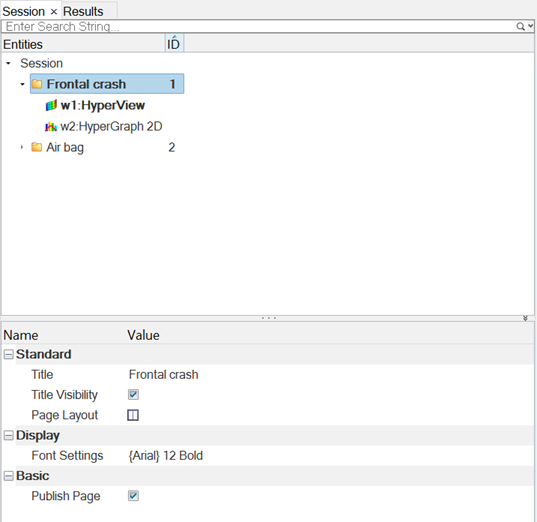
Figure 3.
View the HTML File in Internet Explorer
-
On the Air bag page, click the video window to open a movie player and play the
video.
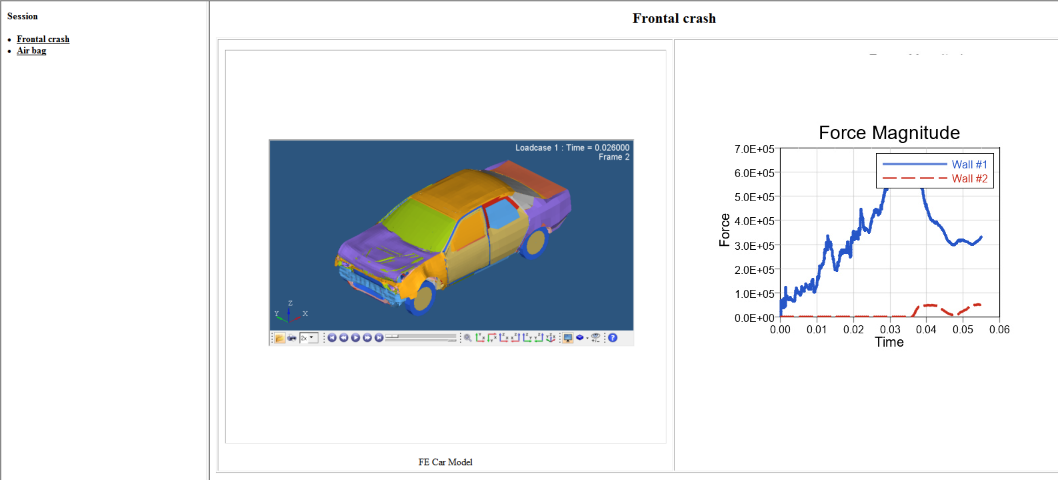
Figure 4.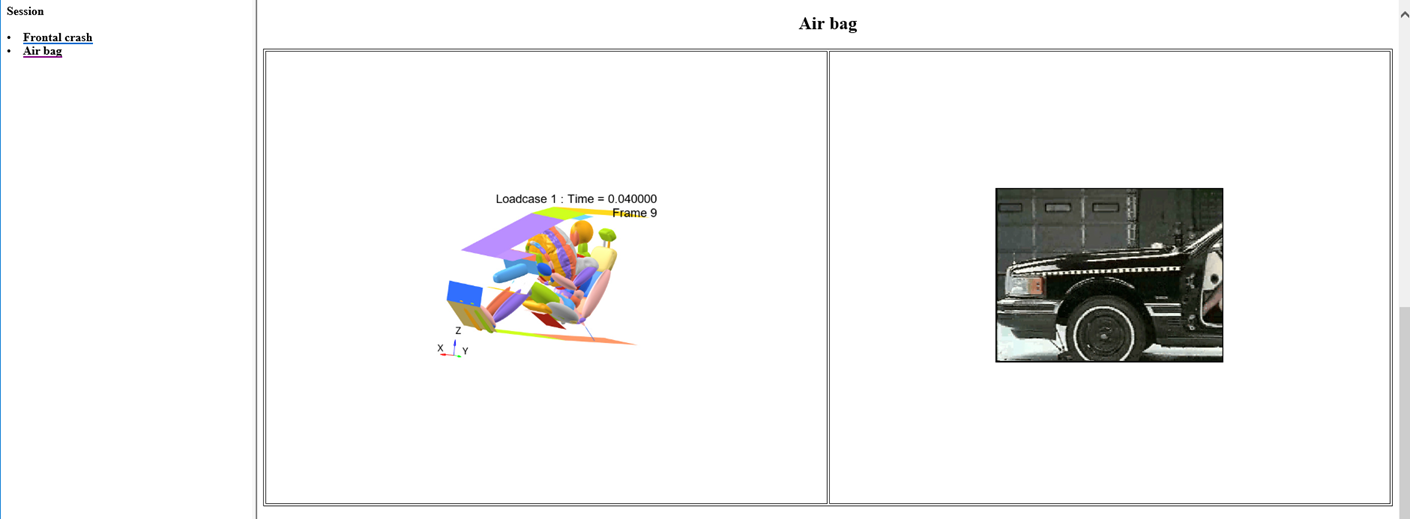
Figure 5.Notice that the video window does not have a description.