Spot Comparison check compares two spot connector files using the Model Verification
tool.
Supported Model
Verification formats include:
-
In the Comparison Browser, right-click and select from the context menu.
The Spotcompare dialog opens.
-
Select Import Type for Base Model.
-
Select a datatype.
Respective data types will be listed.
-
Click on the folder icon and navigate to the model to import (Folder/File
selections).
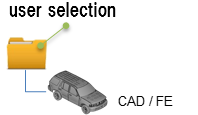
Figure 1.
-
Select Import Type for Variant Model.
-
Select a datatype.
Respective data types will be listed.
-
Click on the folder icon and navigate to the model to import (Folder/File
selections).
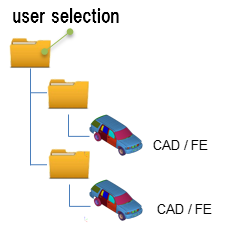
Figure 2.
-
In the Report Path, navigate to the directory where the reports generated by
the Model Verification tool will be stored.
-
In the Project Name field, enter a name for the project, if applicable.
-
In the Slide Number field, enter a starting number of the slides to use in the
PowerPoint report, if applicable.
-
Choose a method for running the model.
-
The Processes drop-down list becomes active when you select the Background
option and it also depends on the processor.
The Model Verification tool launches as many hmbatch processes
selected.
-
Click Run to execute the function.
-
Click Stop to stop the operation.
This closes front and background Engineering Solutions
sessions.
-
Click View Report to display the Summary PowerPoint
report.
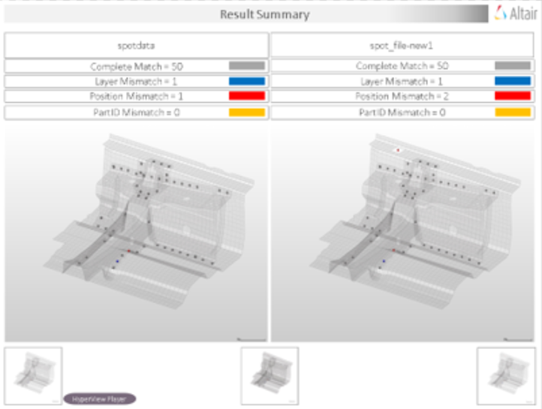
Figure 3. PowerPoint Summary Report. (Stored in Report Path)