HS-1660: Extract Hotspots with HyperView Model
In this tutorial, you will learn to read hotspots from a numerical analysis output into HyperStudy via a HyperView model.
Run OptiStruct Job within HyperMesh
In this step, you will perform a numerical analysis to obtain the result file required in the HyperView model setup phase.
Import Variables from HyperWorks
In this step, you will import input variables from HyperWorks to HyperStudy.
-
In the Model Parameters dialog, add variables as shown in
Figure 1 and click
OK.
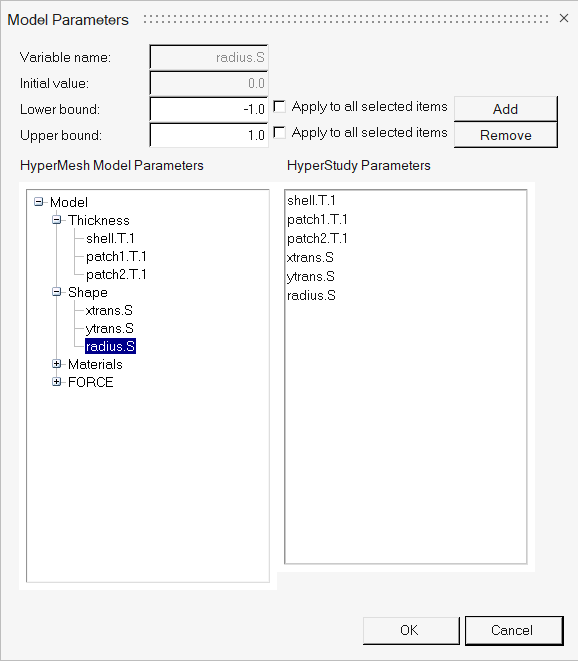
Figure 1.HyperStudy launches with the HyperWorks model.
Query Hotspots in HyperView
In this step, you will query hotspots in HyperView and prepare the session file.
-
From the guide bar, click
 .
The Hotspot Finder dialog opens.
.
The Hotspot Finder dialog opens. -
In the Hotspot Finder dialog, query shell hotspot.
- For Label, enter Shell.
- For Selection, verify Components is selected.
- In the modeling window, select the Shell component.
- For Result Value Filter, verify Greater than is selected and enter 1.e+1
- For Number of Hotspots, verify 3 is entered.
- Click Find Hotspot.
- Click Save.
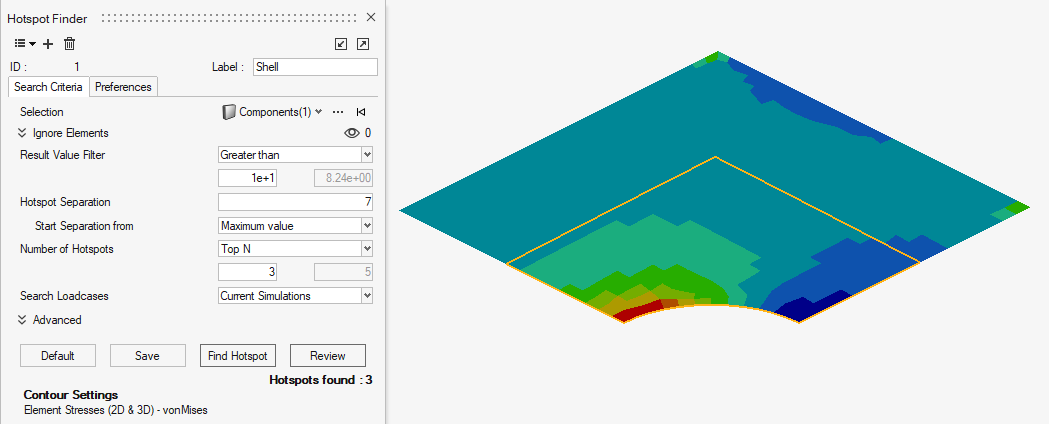
Figure 2. -
Query Patch1 hotspot by repeating step 6.
- For Label, replace Shell with Patch1.
- In the modeling window, select the Patch1 component.
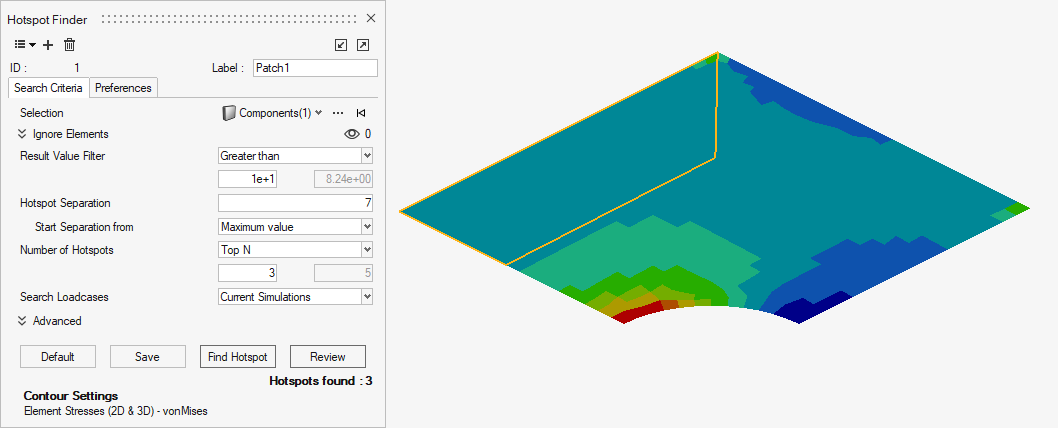
Figure 3. -
Query Patch2 hotspot by repeating step 6.
- For Label, replace Shell with enter Patch2.
- In the modeling window, select the Patch2 component.

Figure 4.
Add HyperView Model
In this step, you will setup a HyperView model
-
From the Directory in HyperStudy, drag-and-drop the
plate.mvw file into the Define Models area.
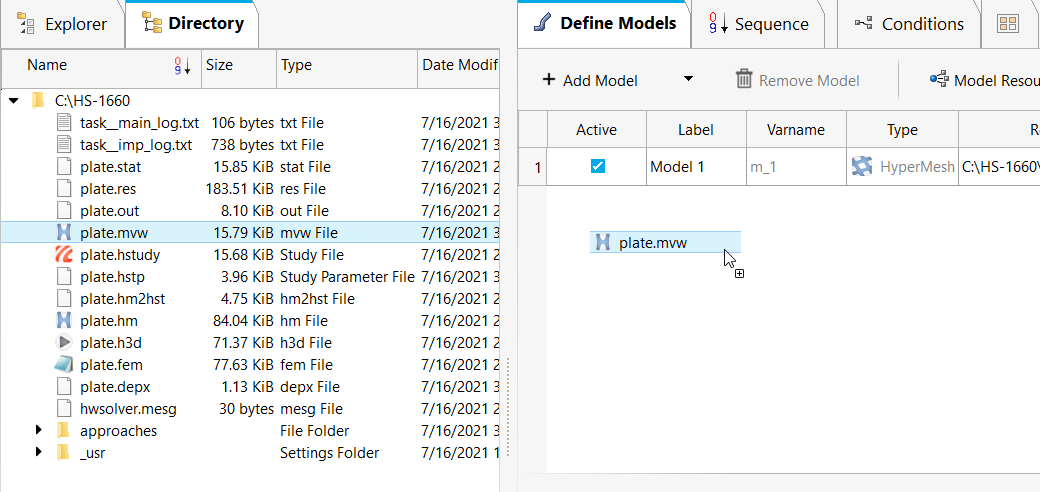
Figure 5. -
In the Model Resources dialog, define a model dependency
that references the result file from m_1 directory,
plate.h3d to be used as an input for the HyperView model.
- Select Model 2 (m_2).
- Click .
- In the Select File dialog, navigate to the m_1 directory and add the plate.h3d file.
- Set the plate.h3d operation to Copy.
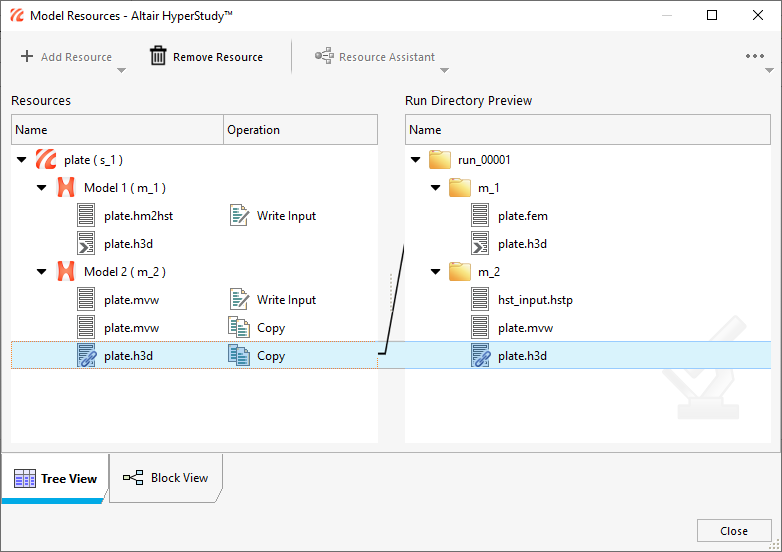
Figure 6.