HS-1036: Set Up an Excel Model with a Visual Basic Script
Learn how to couple HyperStudy with a spreadsheet containing Visual Basic scripts and identify input variables and output responses.
Before you begin, copy the model files used in
this tutorial from <hst.zip>/HS-1036/ to your working
directory.
Review the Excel Spreadsheet
When you create an Excel spreadsheet model, it is important that the spreadsheet is formatted correctly. A variable's value and label can be formatted in two consecutive rows or two consecutive columns. Variable labels should only contain English characters, or a combination of English characters and numbers. If a label is not created for a variable, HyperStudy will assign one by default.
Perform the Study Setup
-
Start a new study in the following ways:
- From the menu bar, click .
- On the ribbon, click
 .
.
-
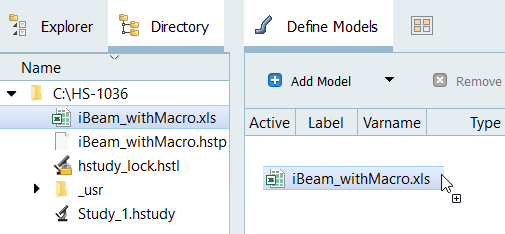
Add a Spreadsheet model.
-
From the Directory, drag-and-drop the
iBeam_withMacro.xls file into the work area.
Figure 1.
 The Solver input file field displays hst_input.hstp, this is the name of the solver input file Summary panel writes during an evaluation.
 -
In the Solver input arguments column, enter
PerformCalcs.
This is the name of the Visual Basic script.Figure 2.

-
From the Directory, drag-and-drop the
iBeam_withMacro.xls file into the work area.
-
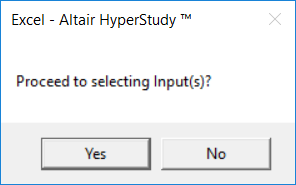
Add input variables.
-
In the Excel dialog, click
Yes to begin selecting input variables.
Figure 3.
-
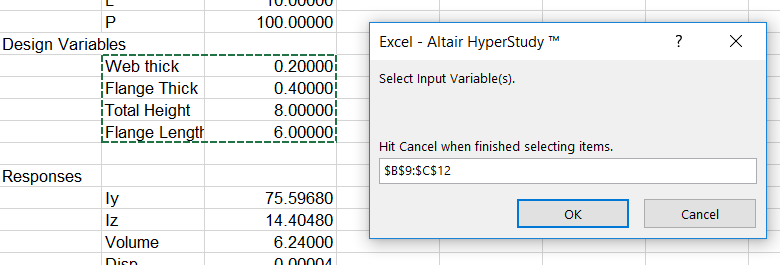
In the spreadsheet, select the cells that contain the input variable's
labels and values.
Figure 4.
-
In the Excel dialog, click
Yes to begin selecting input variables.
-
Add output responses.
-
In the spreadsheet, select the cells that contain the output response's
labels and values.
Figure 5.
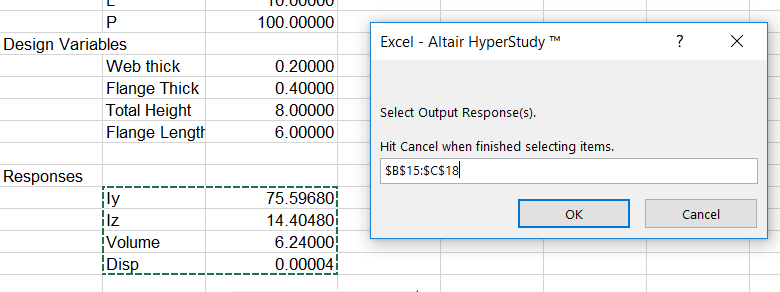
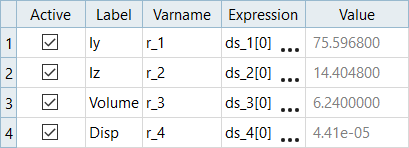
Four input variables and four output responses are imported from the iBeam_withMacro.xls spreadsheet. -
In the spreadsheet, select the cells that contain the output response's
labels and values.
Perform Nominal Run
Review Output Responses
-
Review the output responses imported into the study.
Figure 6.