Constraints Creation

In this step, you can apply loads on nodes and associate the loads to subcases. The panel is as shown below.
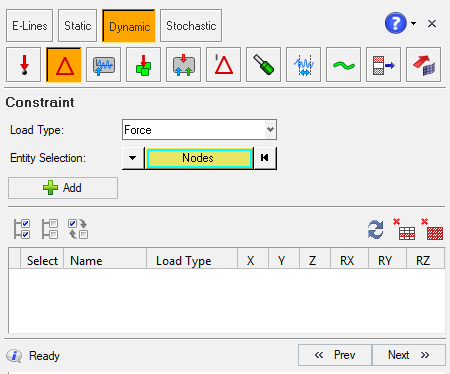

Figure 1.

Define Loads

  1. From the Load type drop-down list, select the required load type. The choices are shown below.
    • Force
    • Enforced Displacement
    • Enforced Velocity
    • Enforced Acceleration
  2. Click Nodes.
    A node selection panel displays.
  3. Select the required nodes using any of the node selection methods available on the panel.
    Click to clear the node selection, if required.
  4. Click proceed.
  5. Click Add on the Define Load Points panel.
    The loads display as rows in the table.
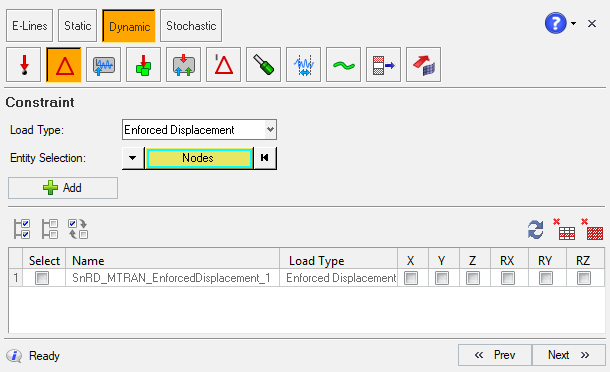

    Figure 2.
  6. Select the required loading direction checkboxes from the table for each of the nodes in the table.
  7. Update - update a tabled1 data with a new load definition file
  8. Entry Selection Options - perform selection options, such as Select All, Unselected All and Reverse Selection for the table entry items
  9. Refresh Data - refresh the data in the panel
  10. Click any load from the table and click .
    A confirmation message is shown.
  11. Click Yes to delete the load, and No to cancel.
  12. Click .
    A confirmation message is shown.
  13. Click Yes to delete the loads, and No to cancel.
  14. Click Next to proceed to the next step in the process.
    Note: Once you click Next, SnRD creates load collectors based on the selected load type, and lists them in the Model Browser.