Create Document Reports
Follow these steps to create Document reports using the Report tool.
To create a Document report, use the Document Report Items, which are accessible from the right-click context menu in the Report Browser.
-
Select the required Document master file. from the Select master
document dialog,
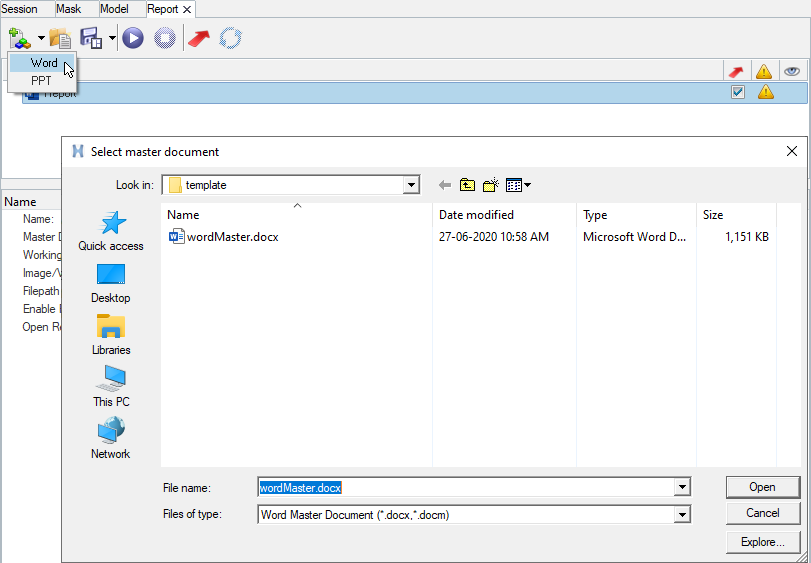
Figure 1. -
Execute the report.
Once the report tree is created, execute the items that query and extract data from the HyperWorks session.
-
Check the boxes under the Export
 column for all
items.
column for all
items.
- Click Run.
All items marked for execution are executed, and the output and previews are generated. Once the tree is executed successfully, you can check the previews of the Image, Table, and Results table items. -
Check the boxes under the Export
-
Export report.
After the execution, export the report to your chosen location.
-
Check the boxes under the Export
column for all items.
-
Click Export Report
.
Important: When exporting a report, verify the following options for these word processing software types:
- For MS Office-
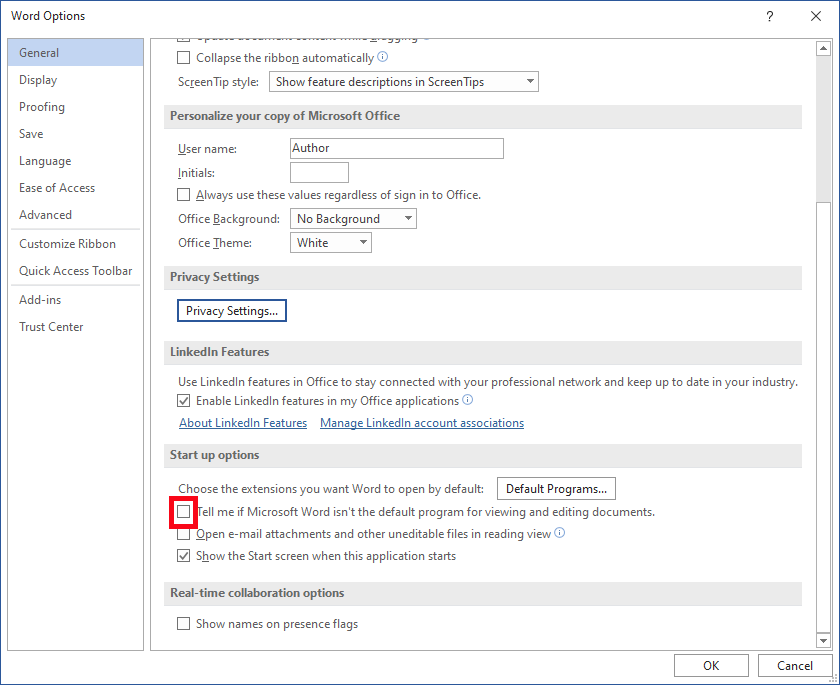
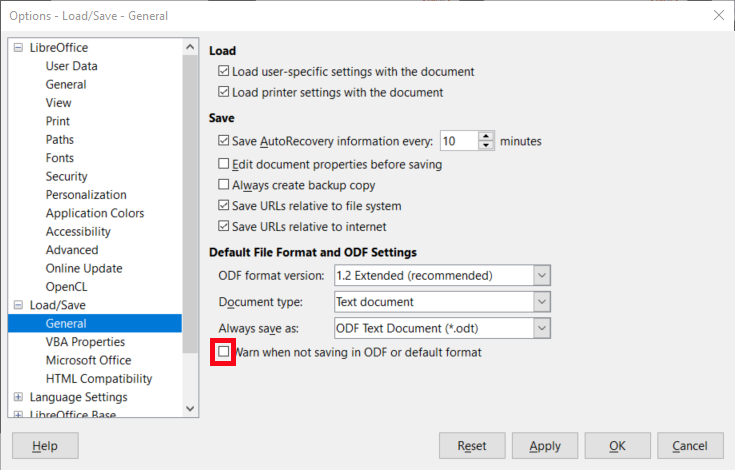
Figure 2. - For LibreOffice-
- For MS Office-
When Open Report file after export is checked, the Document report file launches automatically and the content is inserted dynamically while exporting. Once the report is exported, a success message is displayed in the HyperWorks status bar in the bottom-left window. -
Check the boxes under the Export